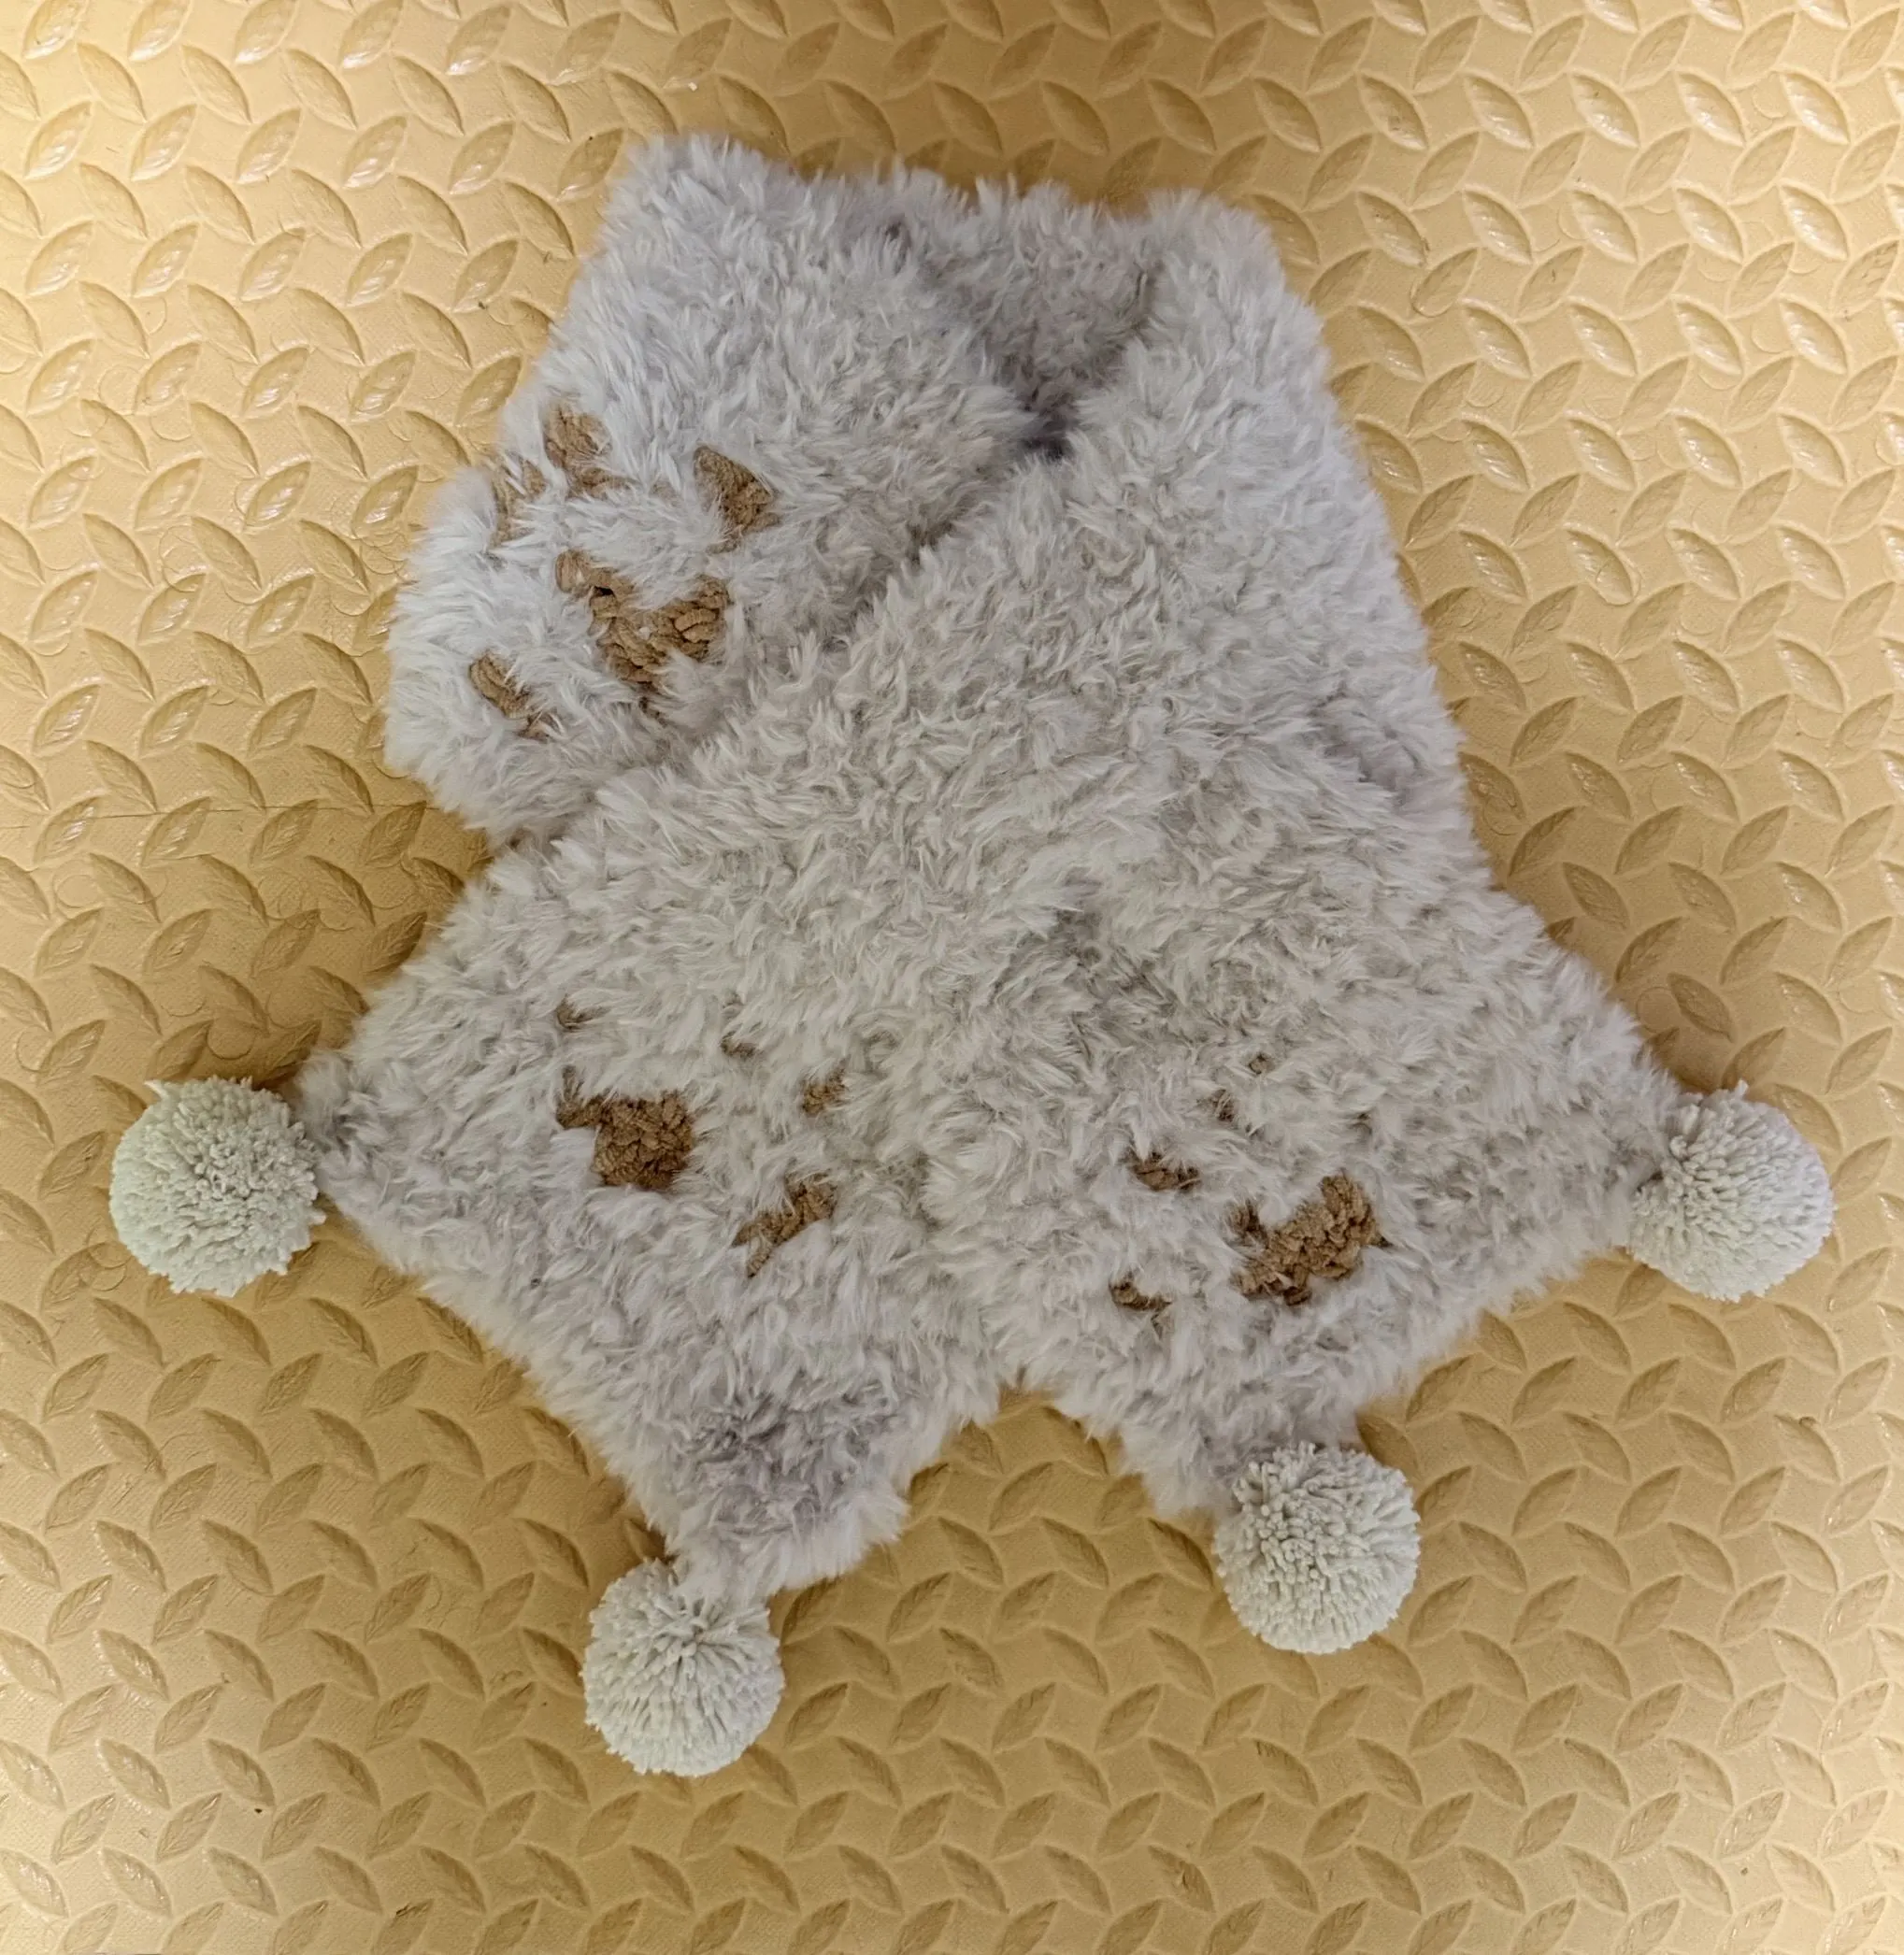
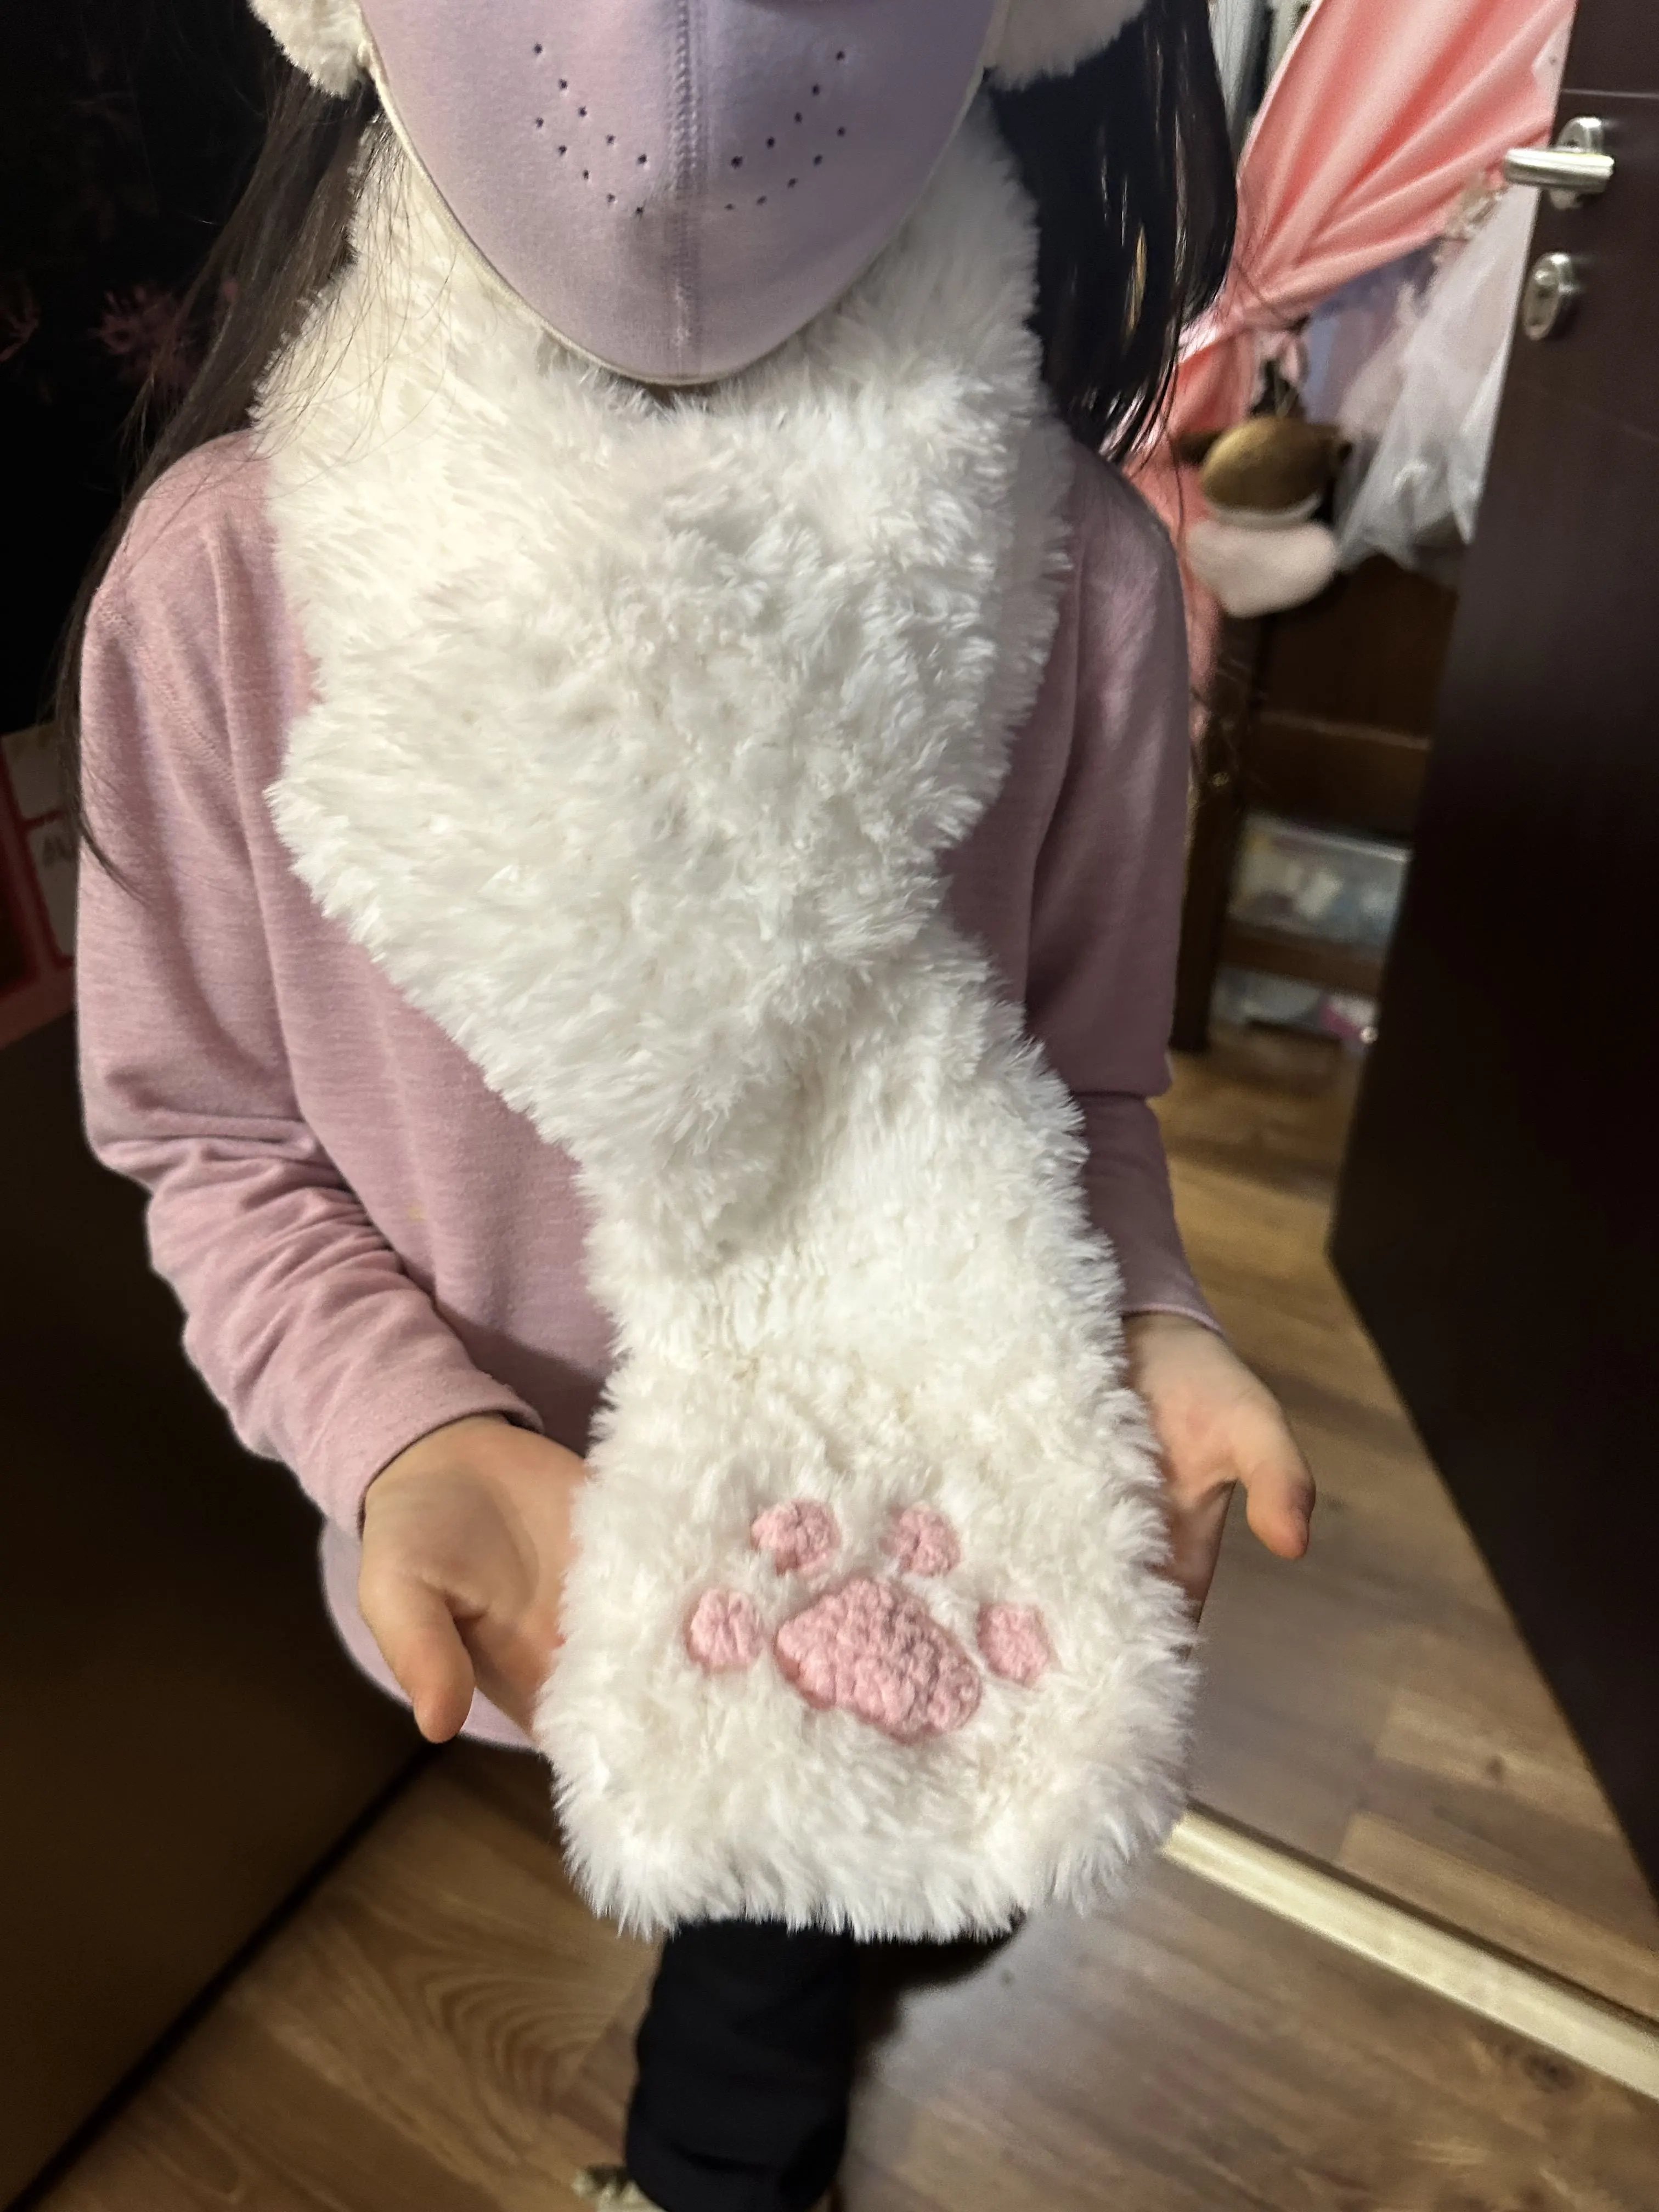
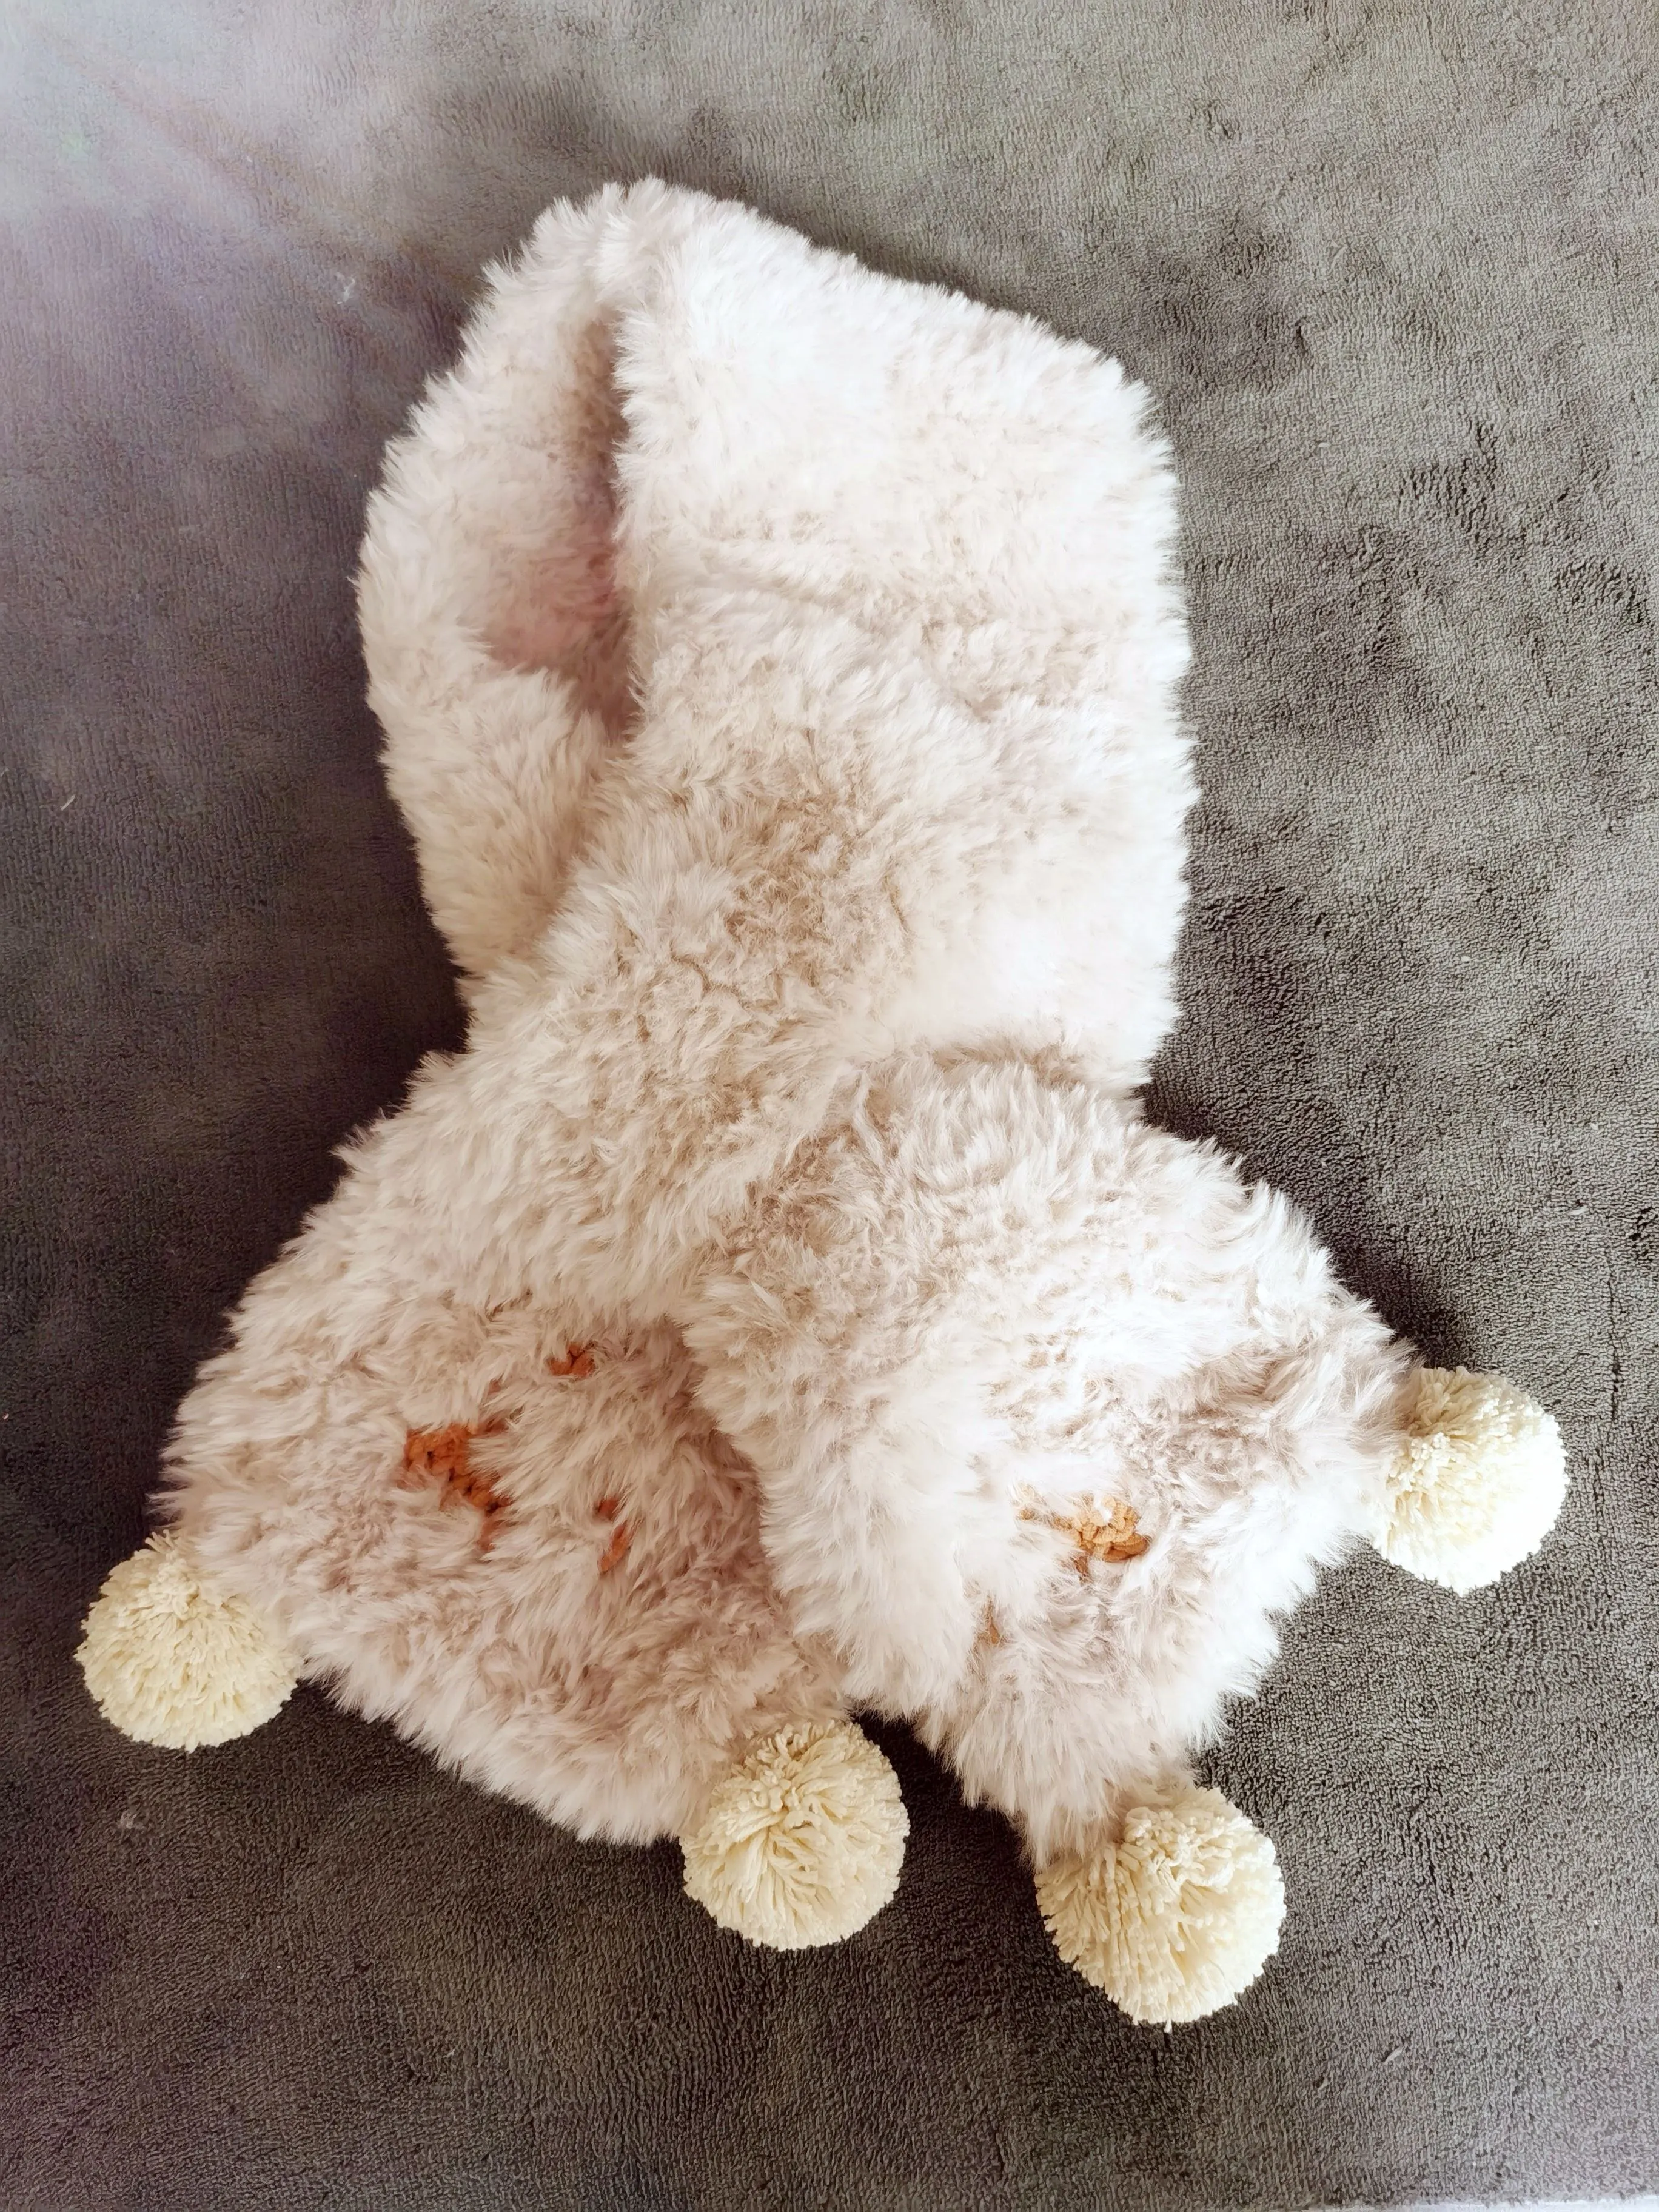
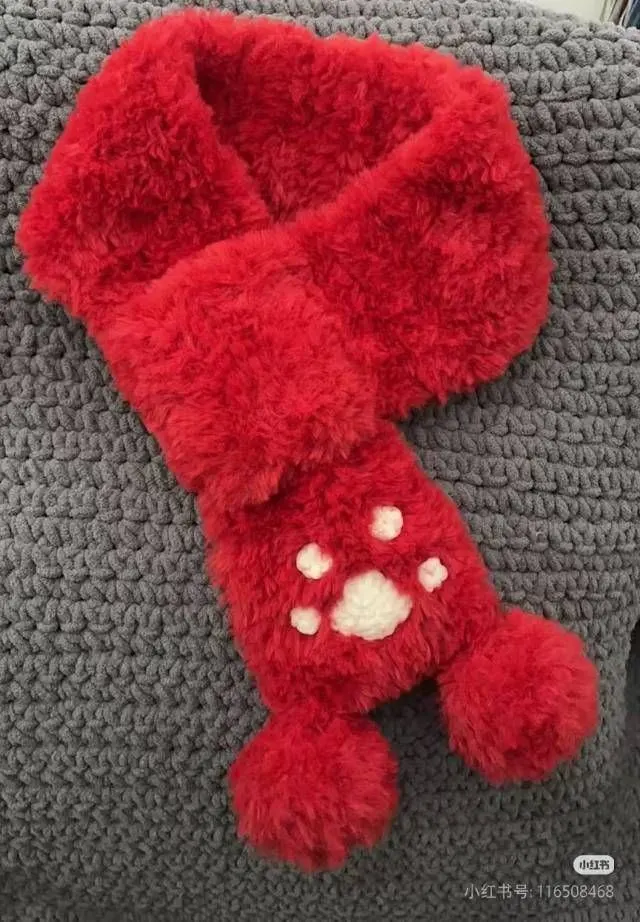
Accessories / Scarf
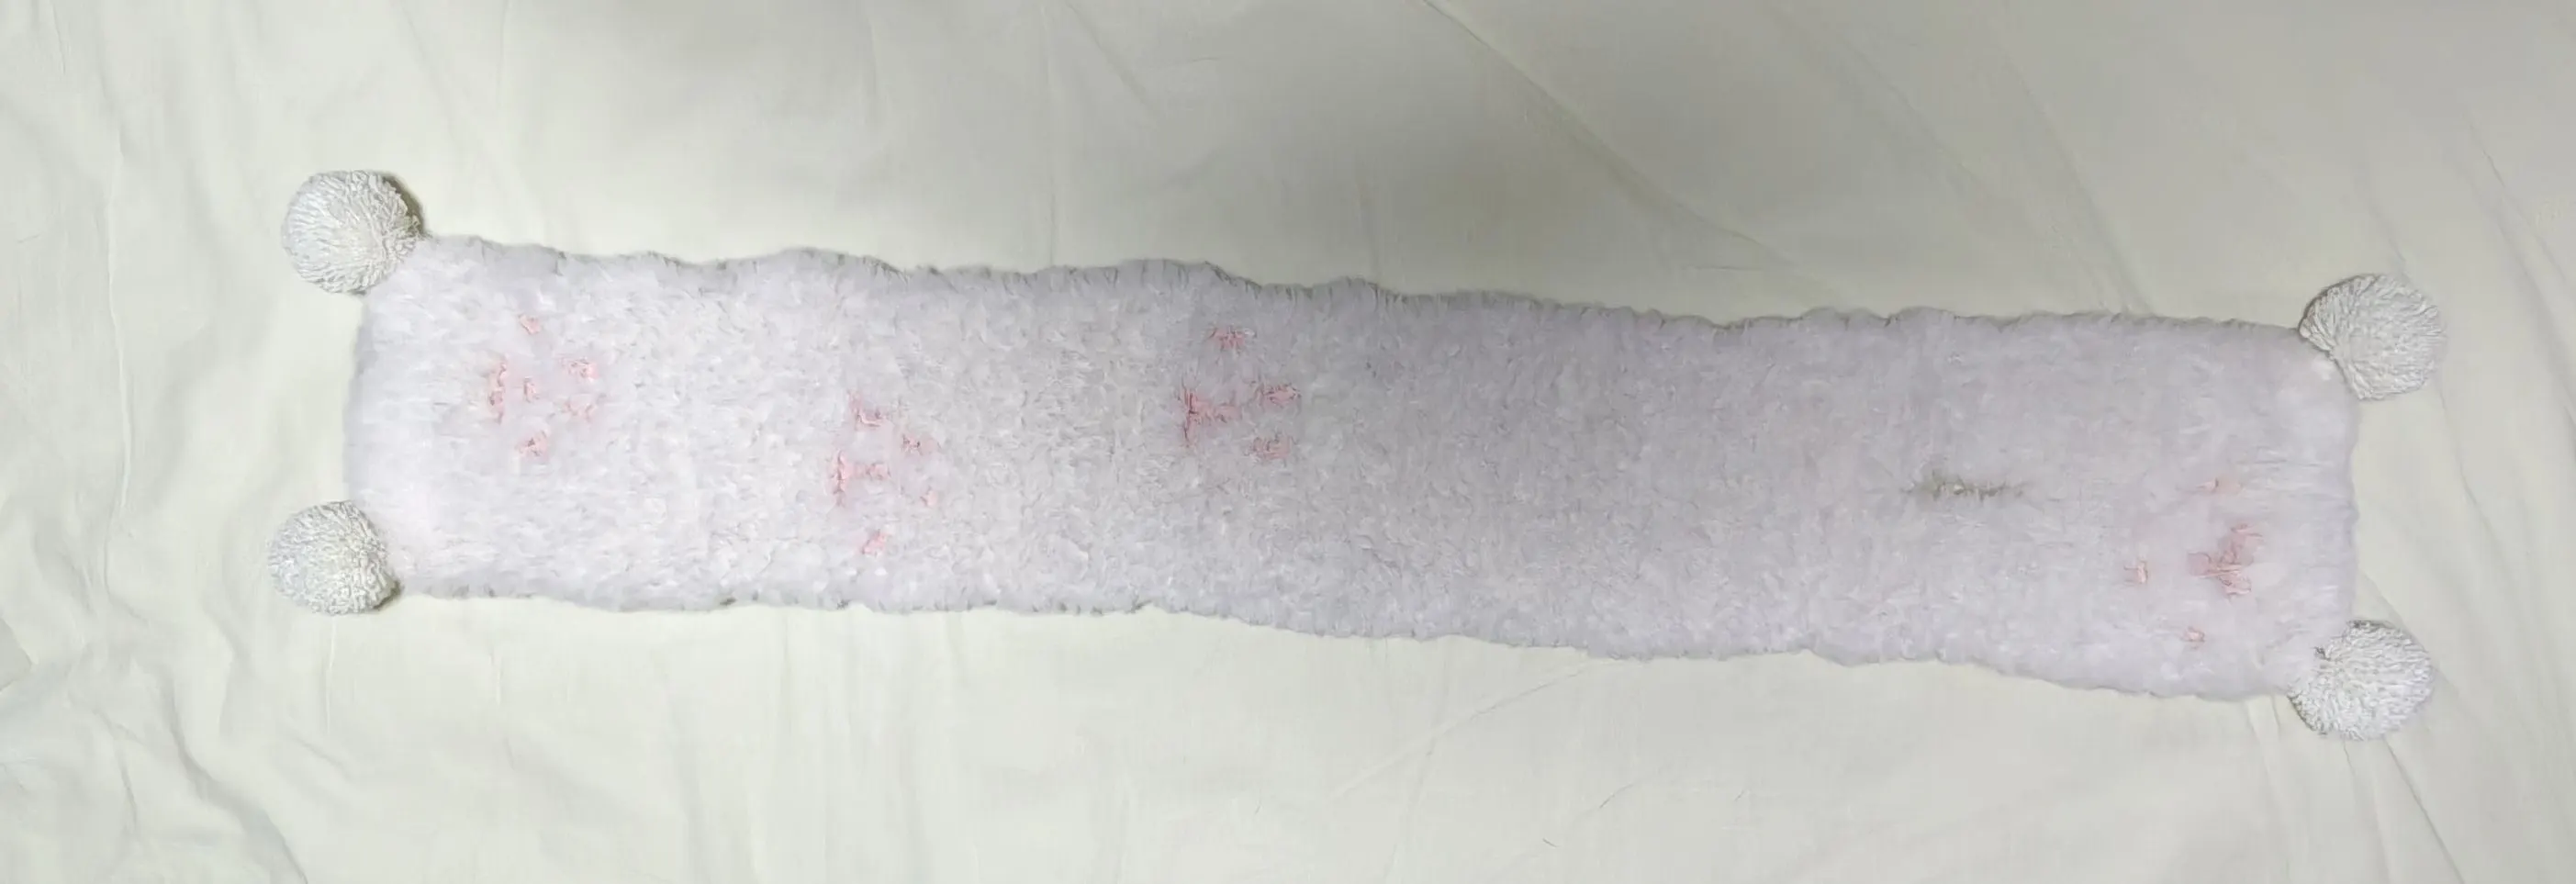
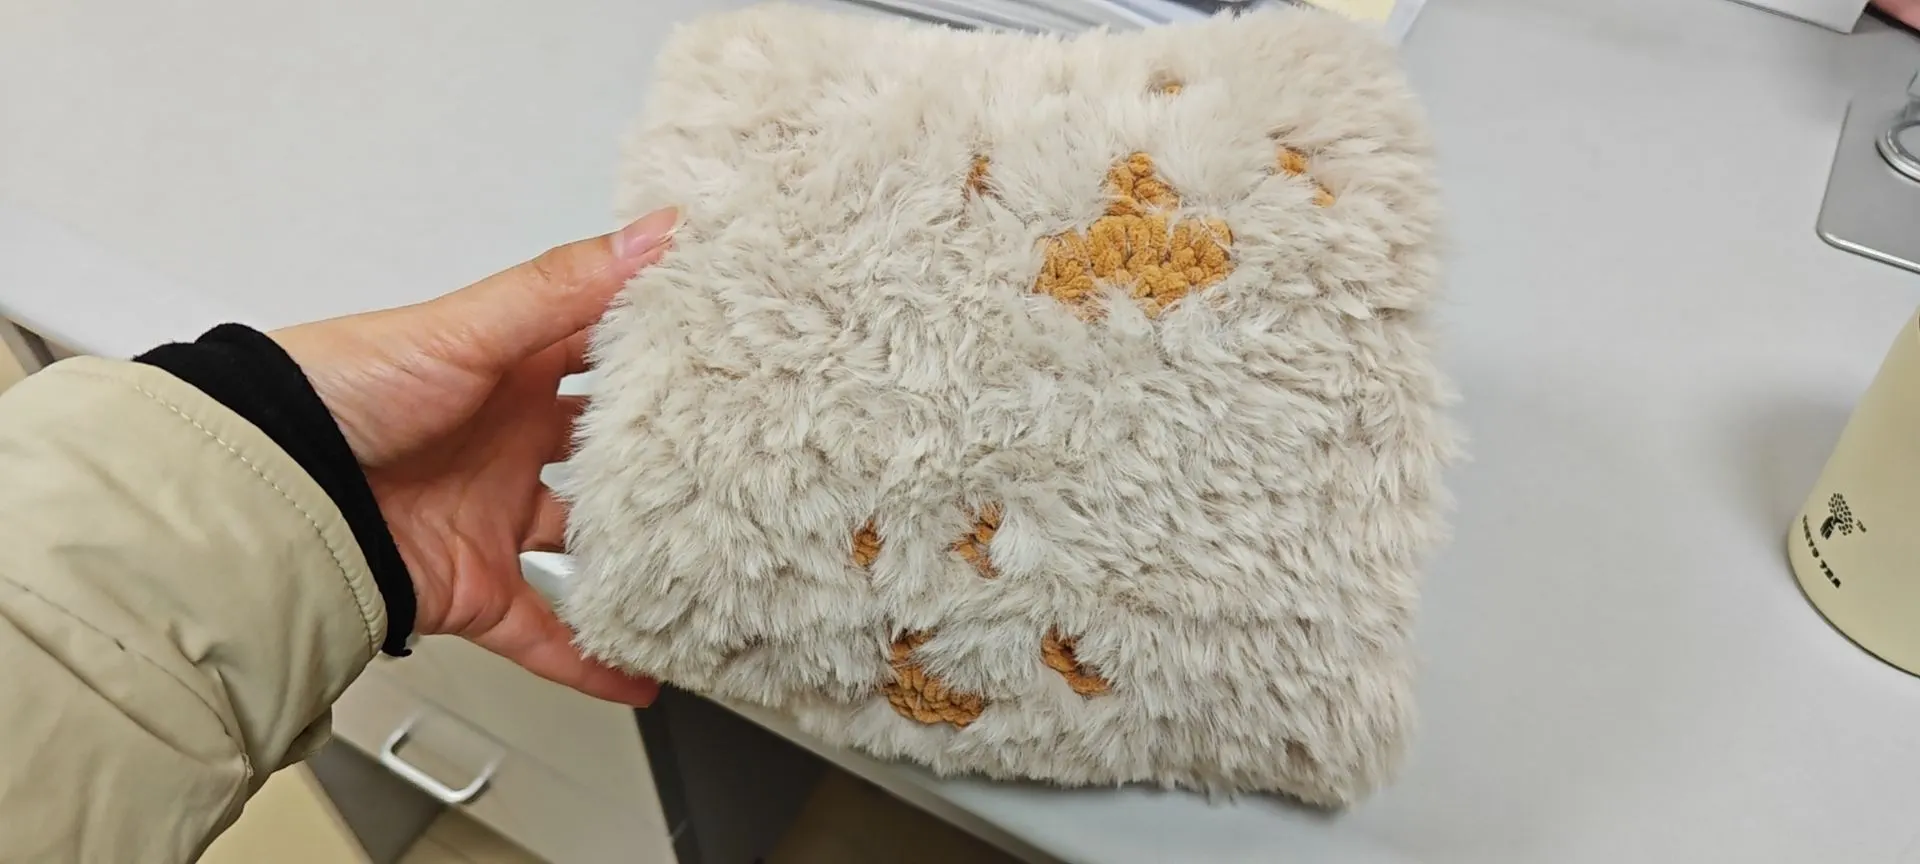
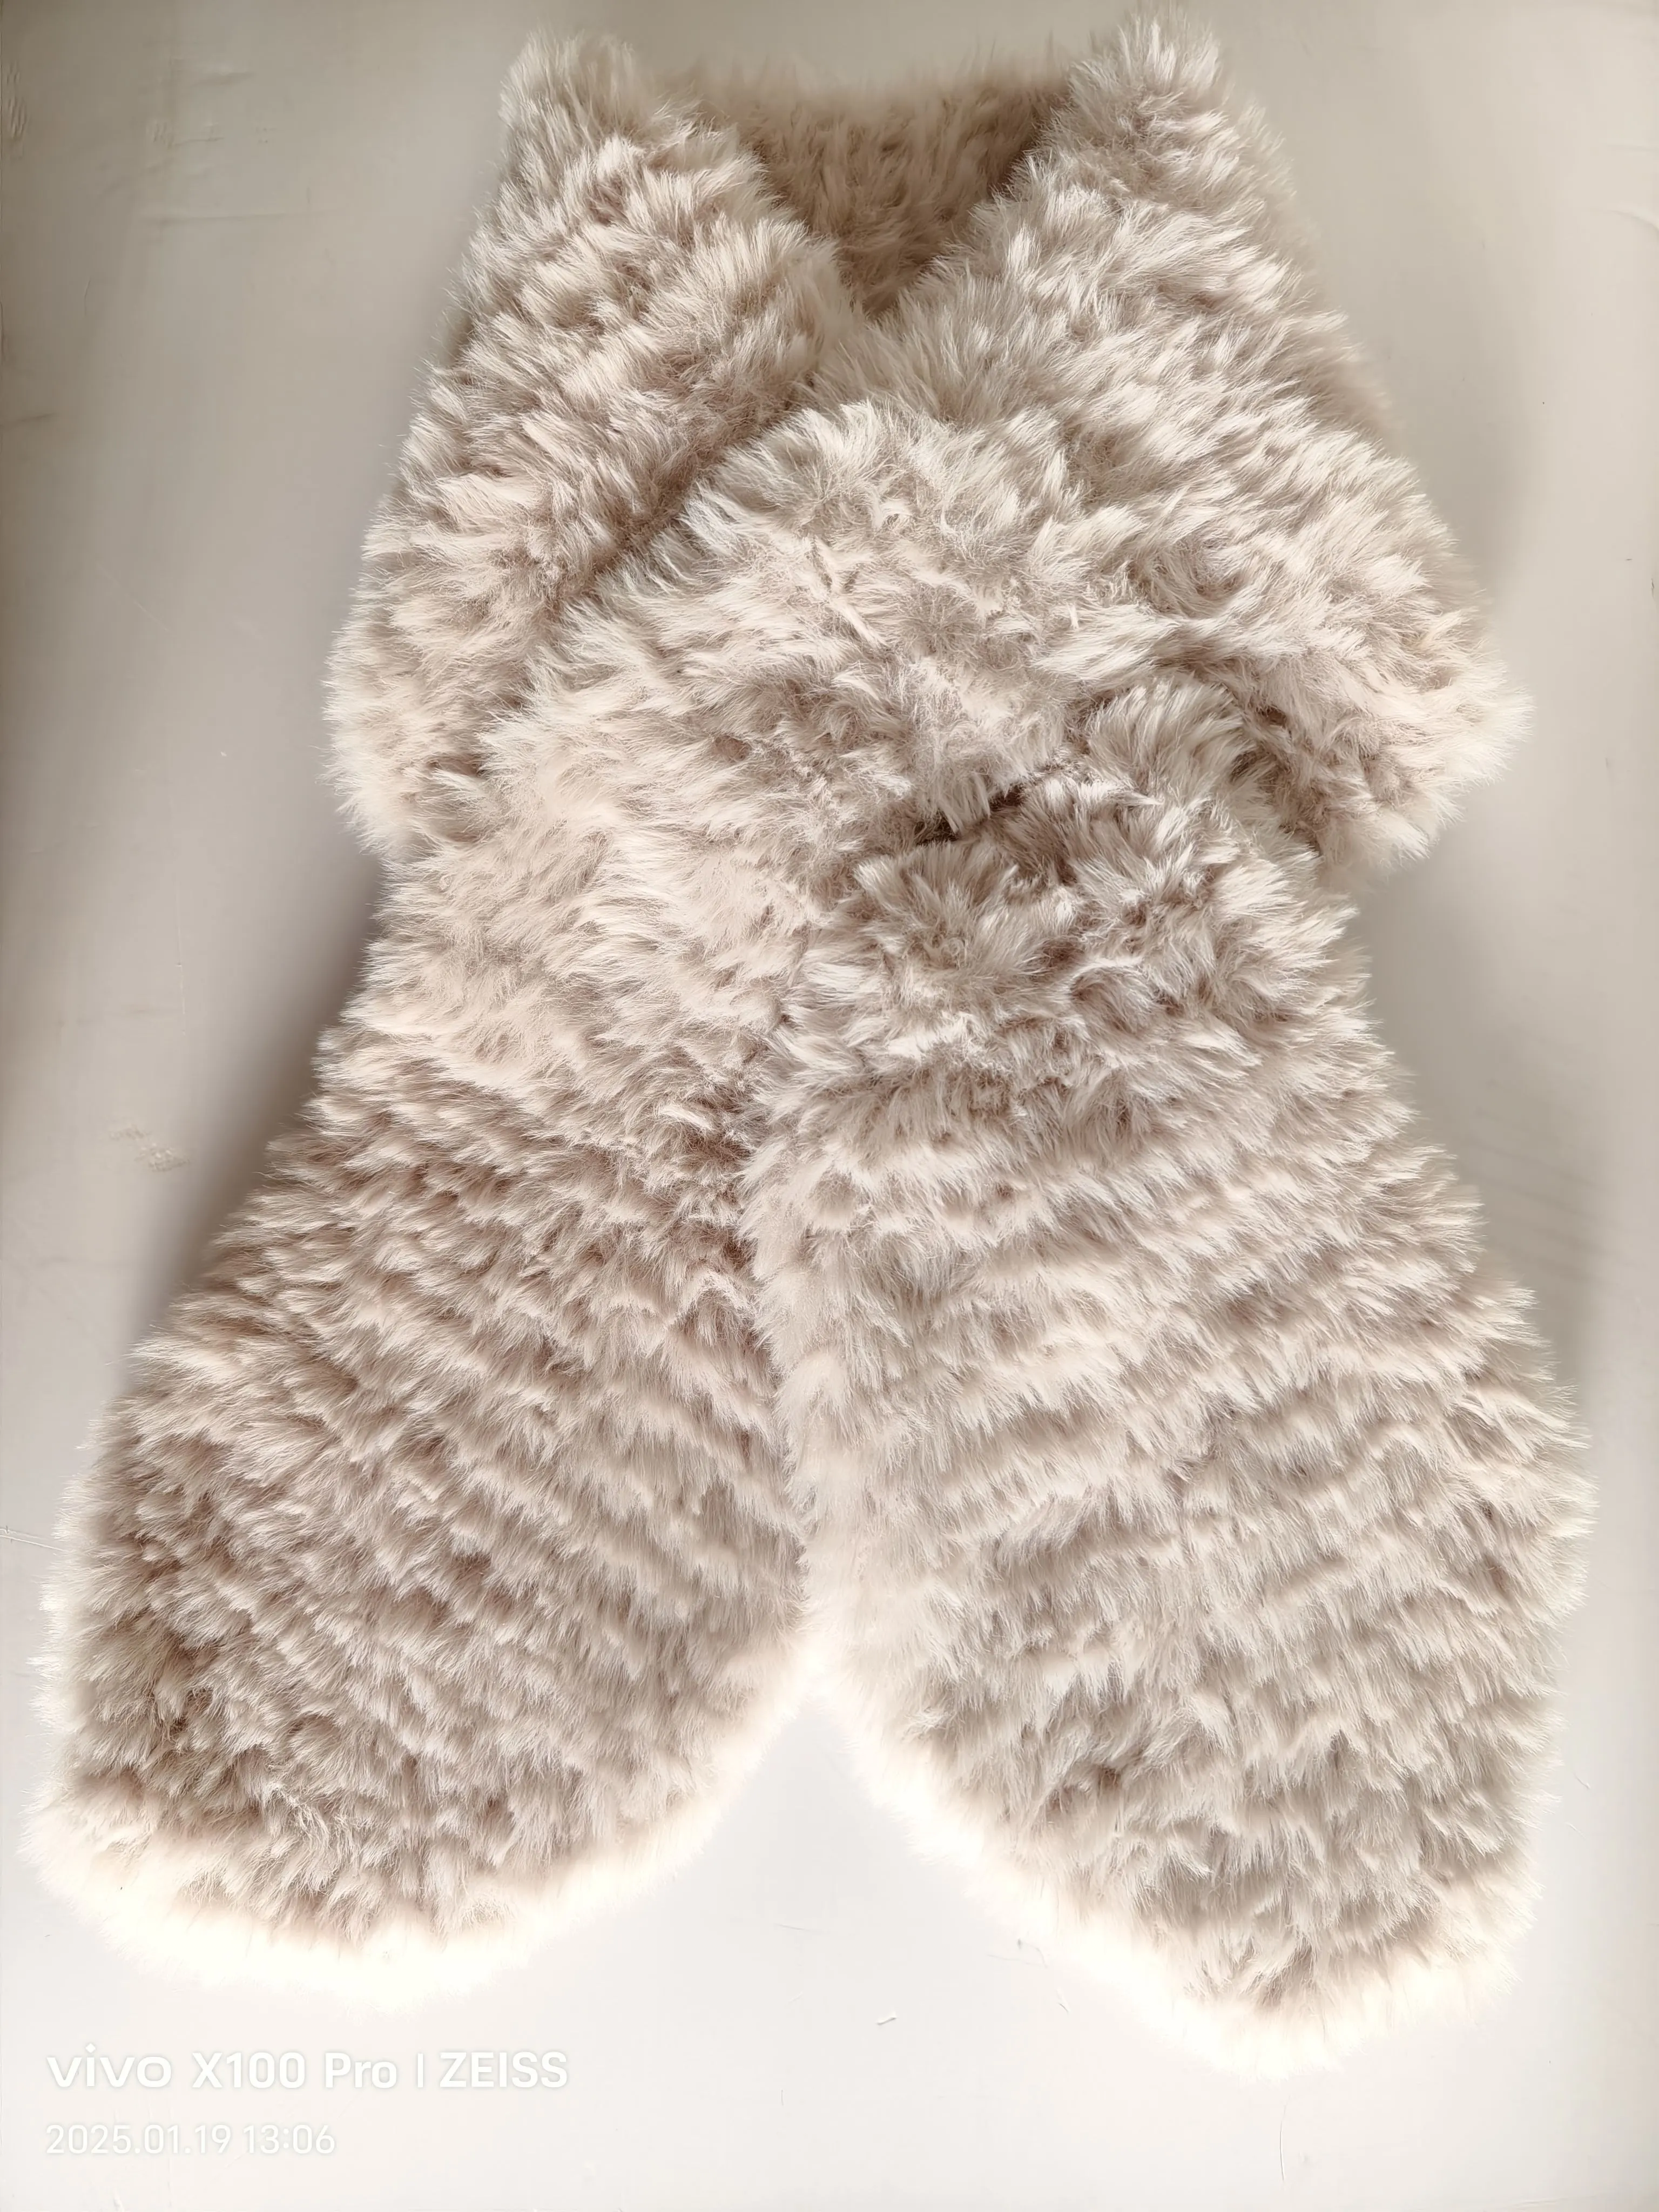
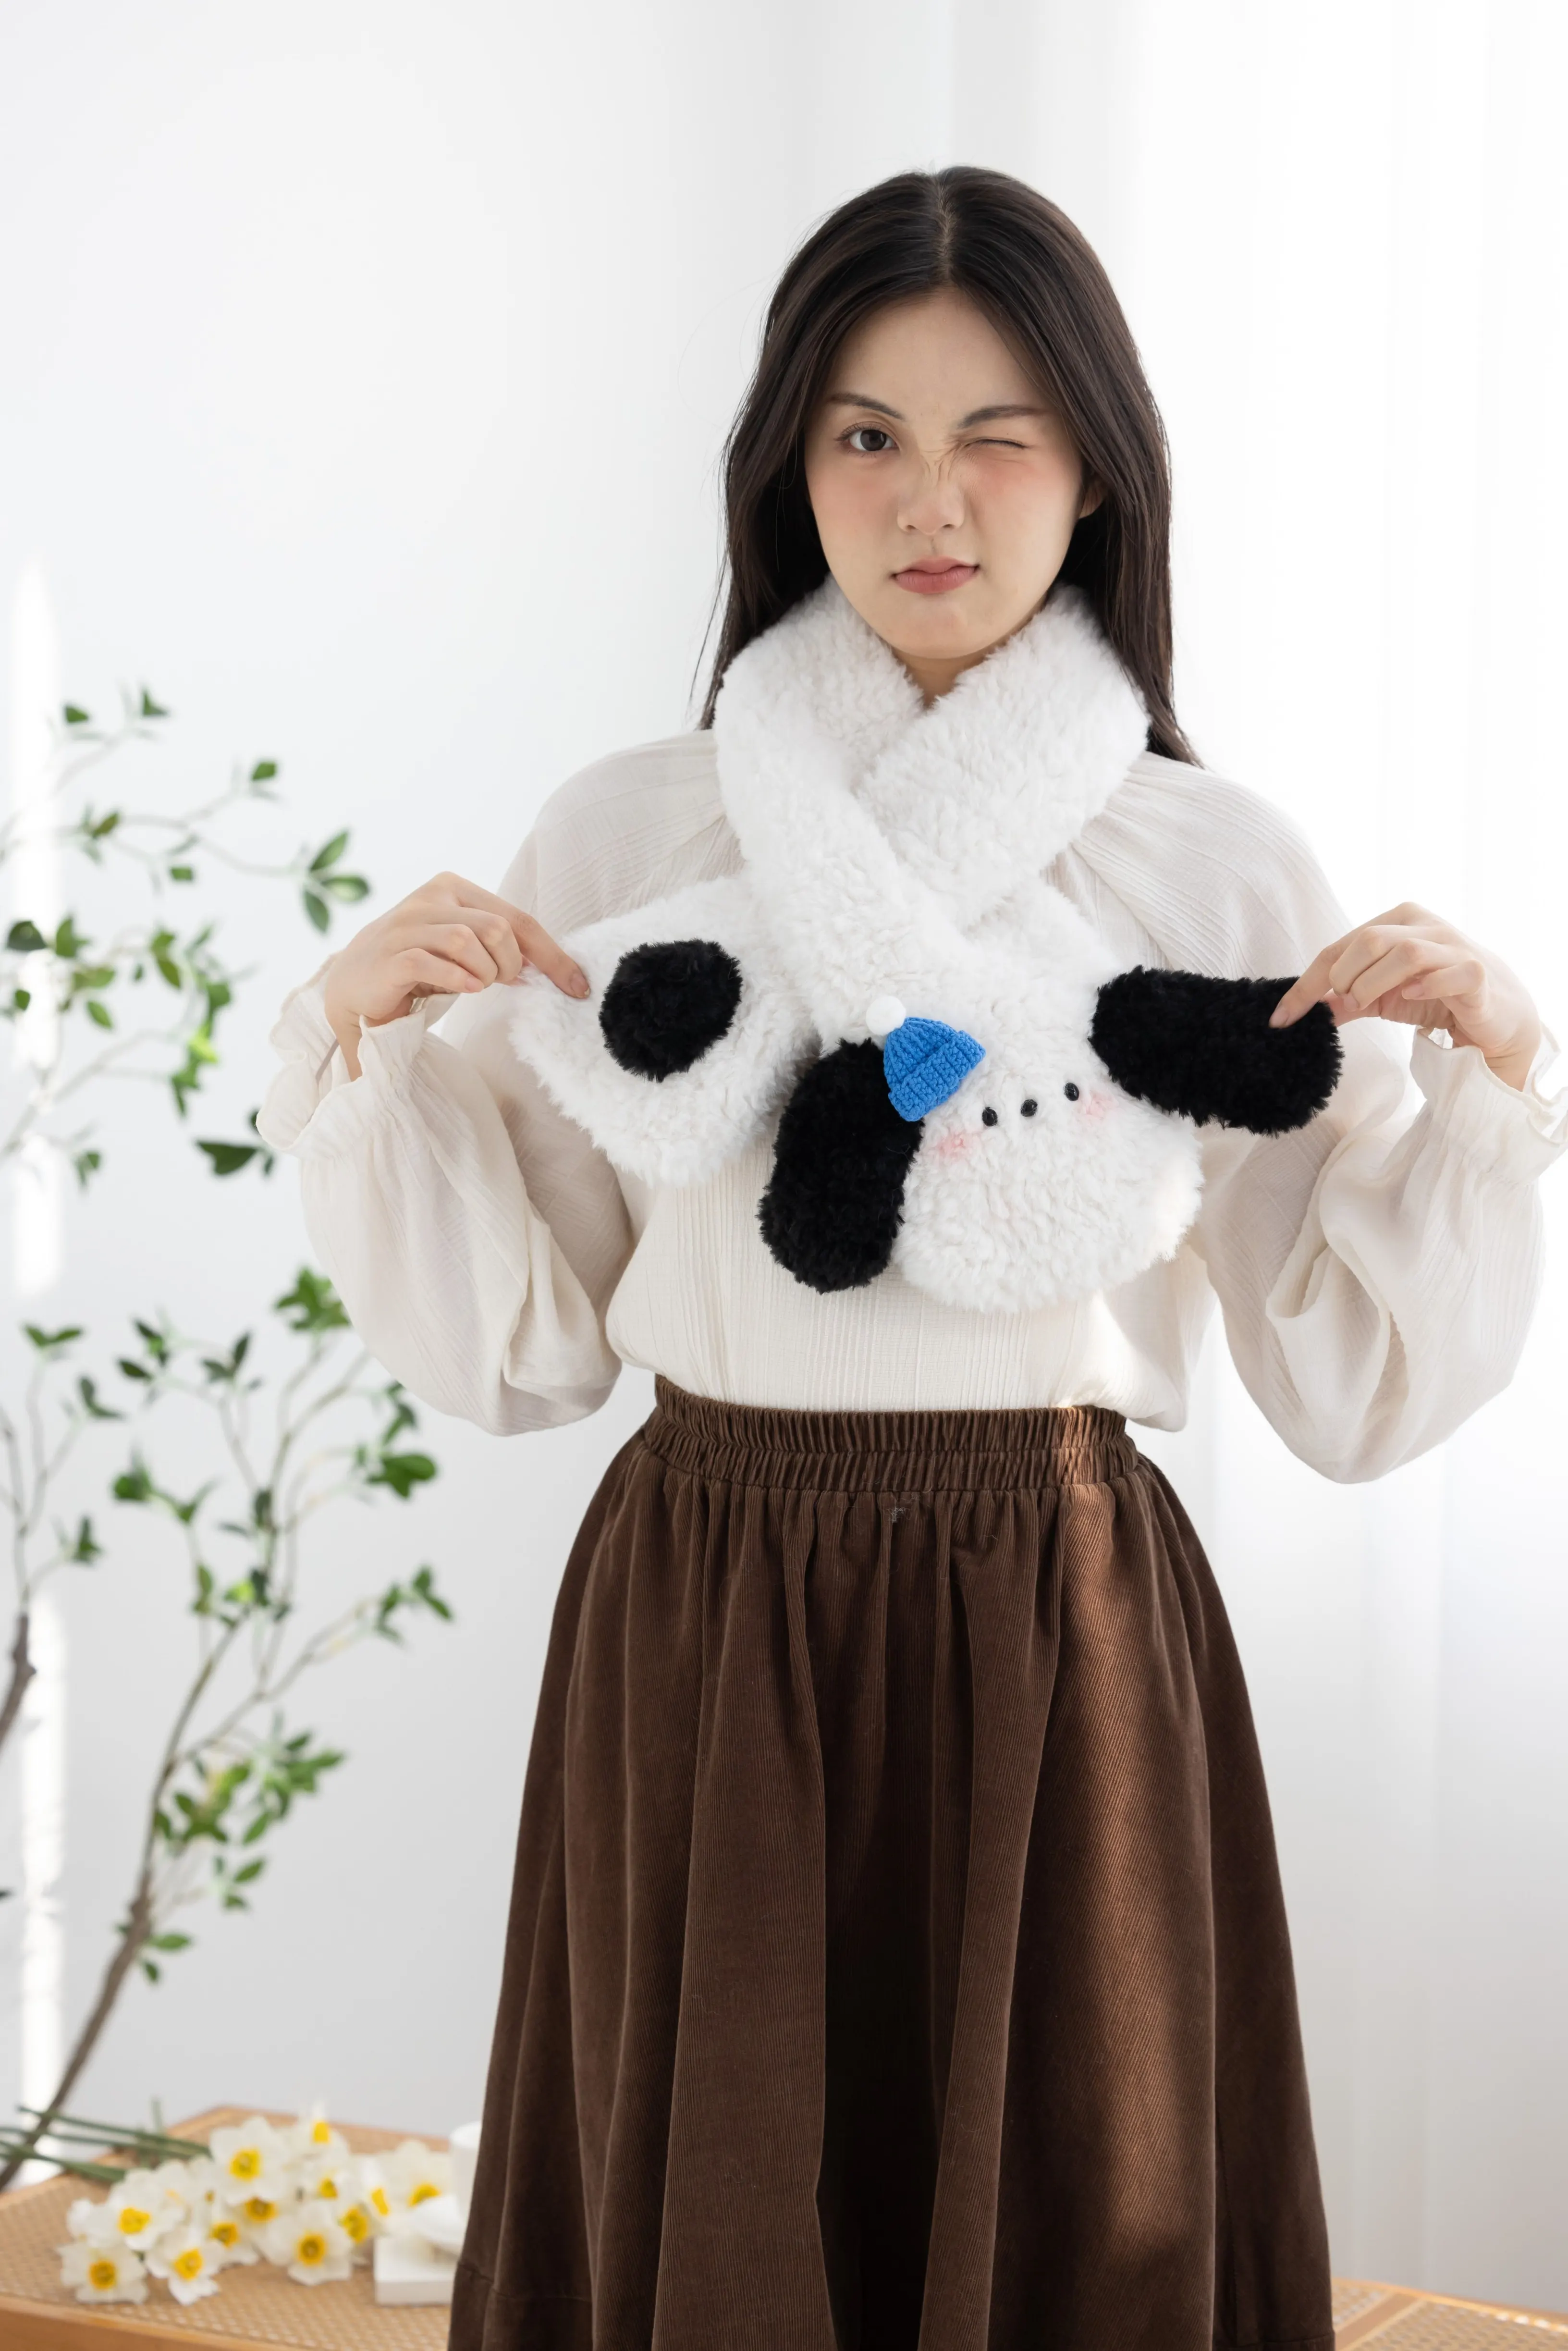
Paw Scarf
Project preview
See the finished project
Pattern format
Instructions
Watch and follow
Video tutorial
| Style | Yarn | Color |
|---|---|---|
| White Version | Cloudlet |  07#Crystal Pink x 1 |
| Marshmallow-Faux Fur Yarn |  01#Whisper White x 2 | |
| Apricot Version | Cloudlet |  20# Khaki x 1 |
| Marshmallow-Faux Fur Yarn |  02#Khaki x 2 | |
| Black Version | Cloudlet |  01#Sky Blue x 1 |
| Marshmallow-Faux Fur Yarn |  05#Black x 2 | |
| Red Version | Cloudlet |  12#Whisper White x 1 |
| Marshmallow-Faux Fur Yarn | 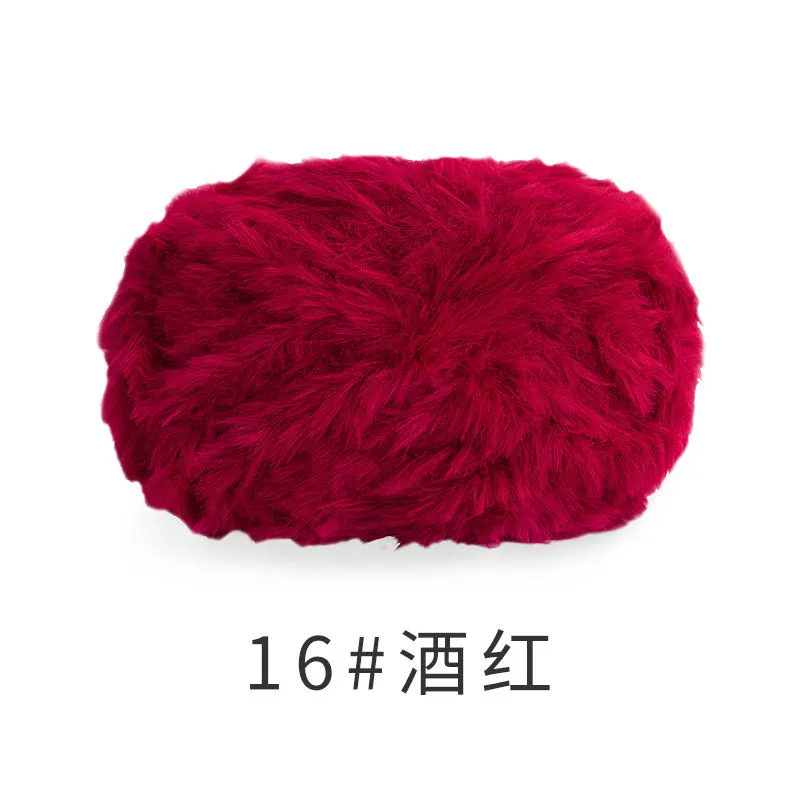 16#Haute Red x 2 |
White Version
01#Whisper White x 2Apricot Version
02#Khaki x 2Black Version
05#Black x 2Red Version
16#Haute Red x 2This scarf is divided into two parts: the main part and the decorations. First, crochet the main part, then make the decorations and assemble them.
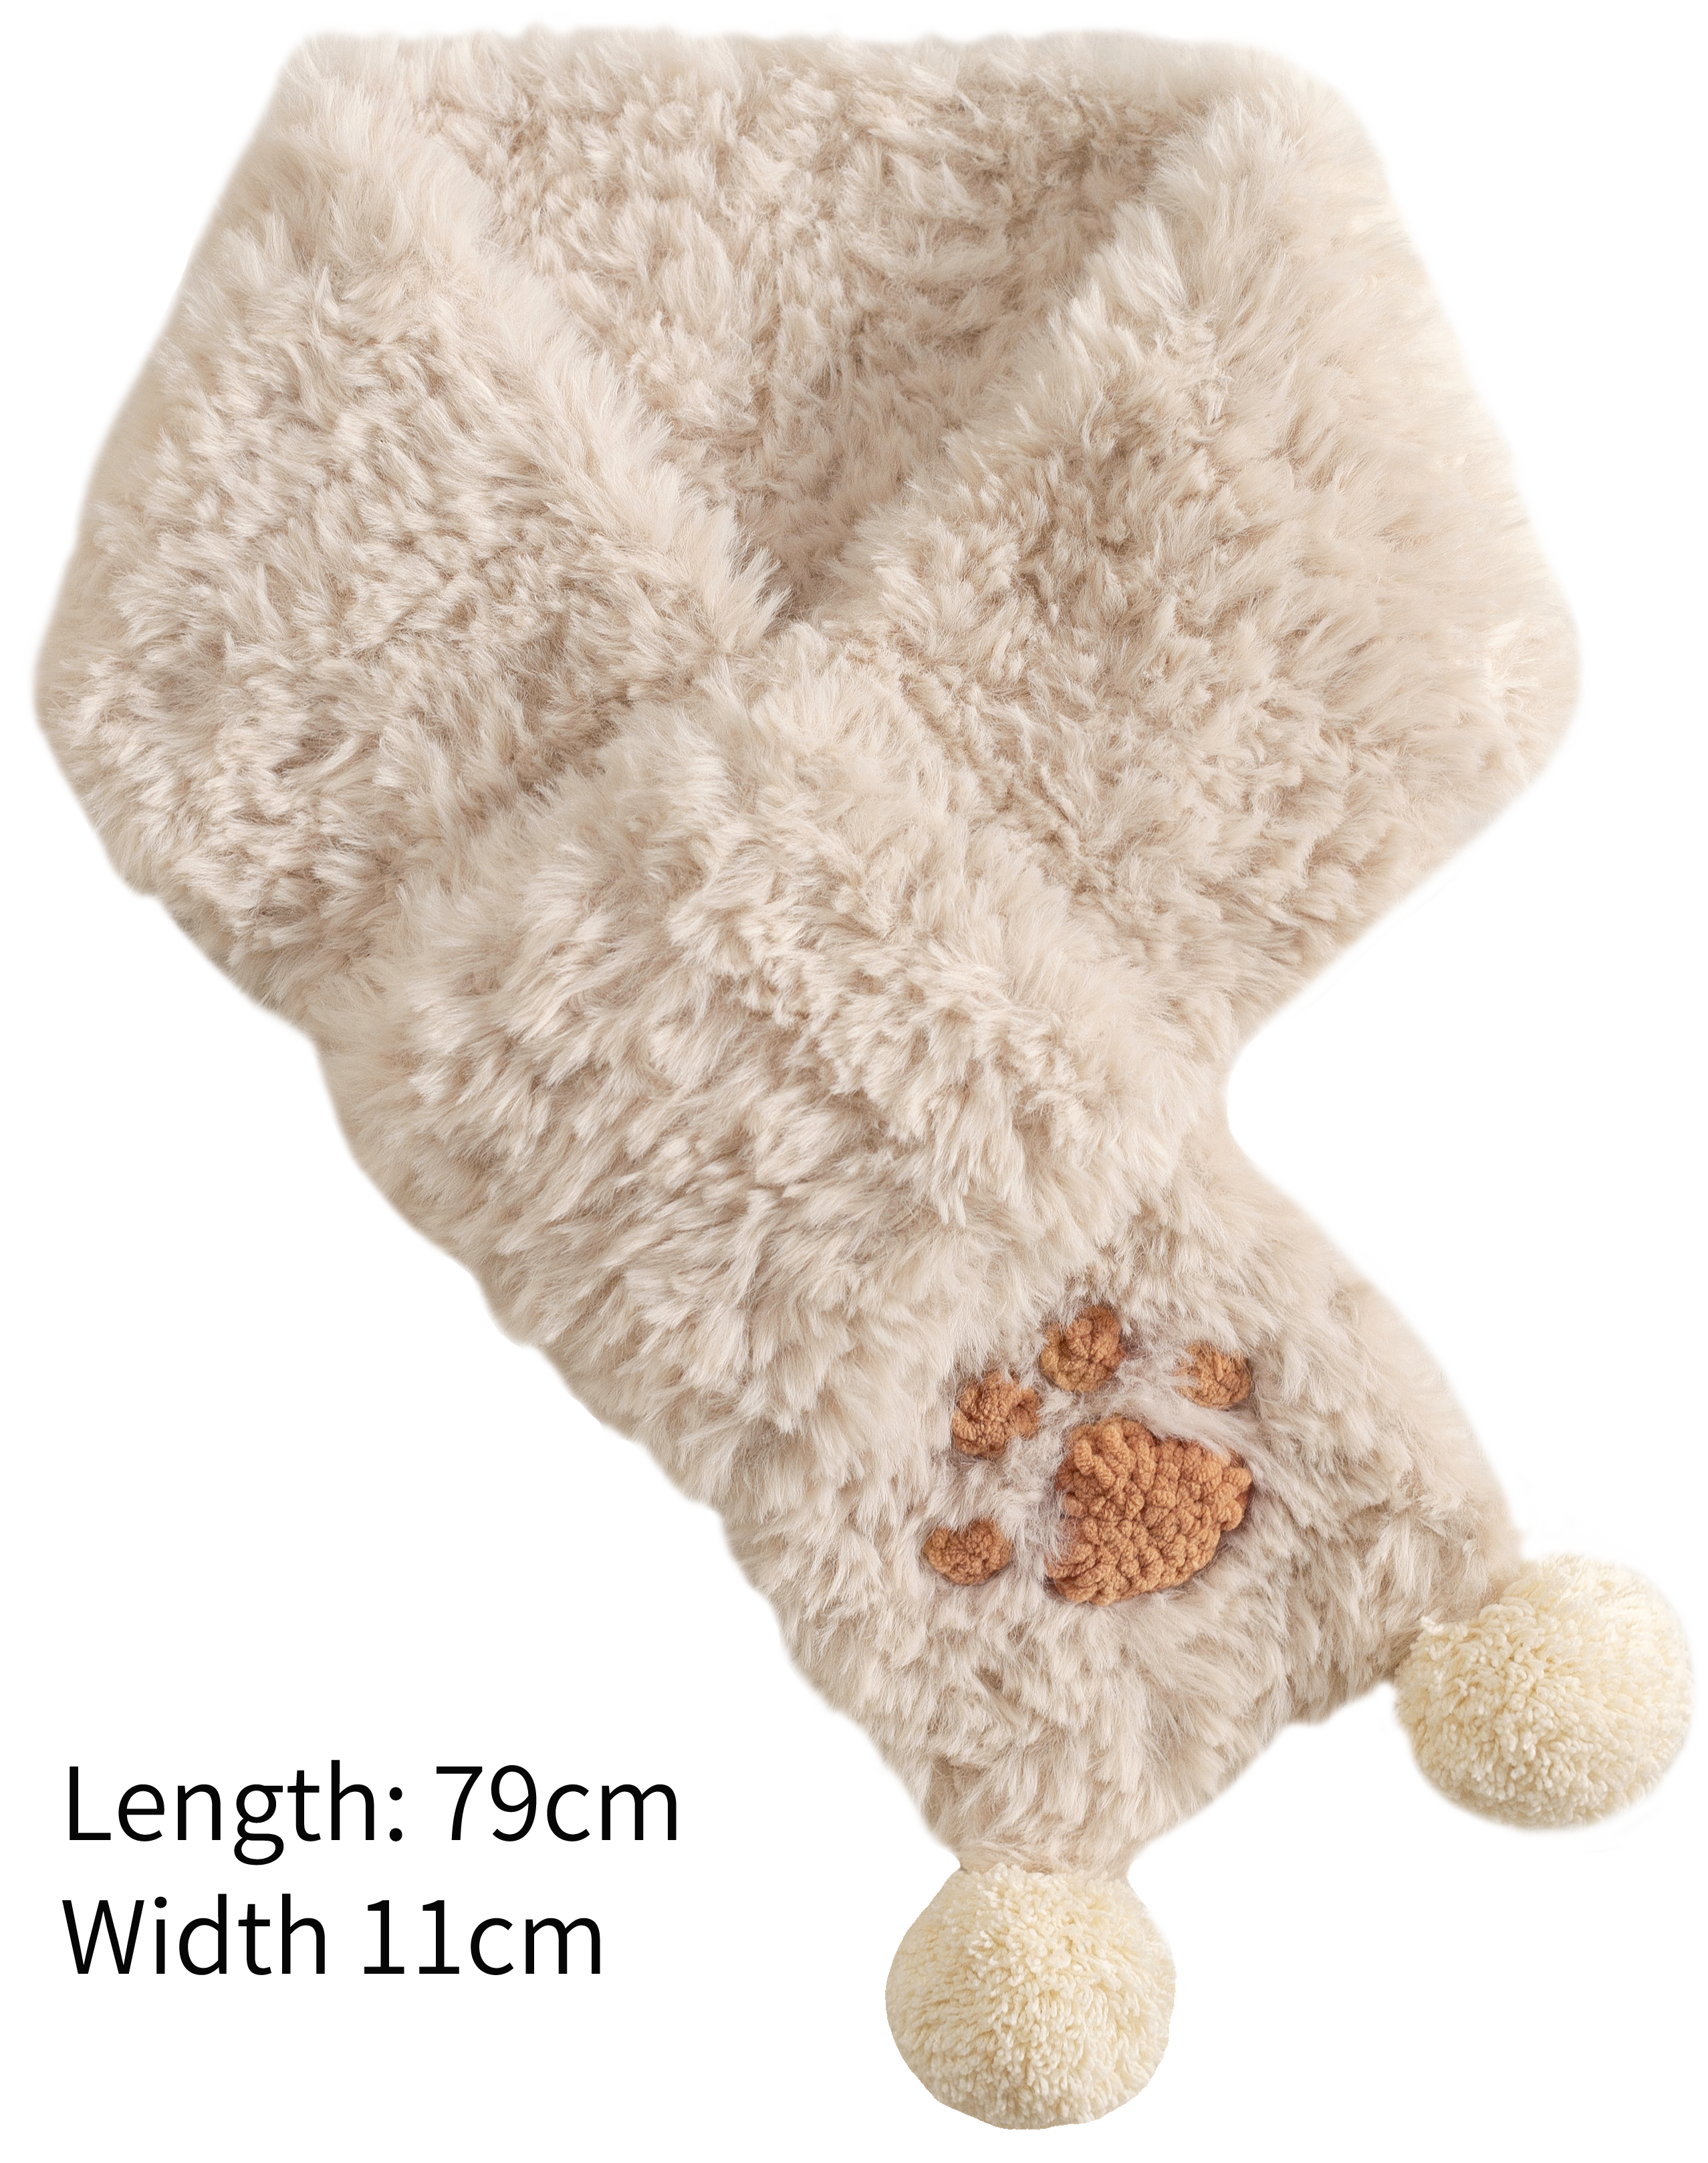
Note: Hand-measured, with a possible error of 1-2 cm. Since everyone's tension varies, the sample size is for reference only.
Yarn: Marshmallow-Faux Fur Yarn, Cloudlet & 4-Ply Combed Cotton
Tools : Susan's Family 5.30mm Hook or A Regular 5.50mm Hook
Note: Unless stated otherwise, when starting to single crochet in rounds, make 1 beginning chain at the start and join with a slip stitch at the end. The beginning chain for the single crochet and the joining slip stitch don't count as 1 stitch.

ABBREVIATIONS
Note:
1. This pattern is making in Chinese crochet pattern terms, and the stitch name is written using American terminology. All measurements in charts are in cm.
2. When crocheting in rounds without further guidance, working in closed rounds, start each round with a set number of beginning chains and close with a slip stitch. The beginning chain preceding a single crochet and the slip stitch used for joining rounds are not included in the total stitches.
3. The yarn used for the finished product is special and makes it hard to see the stitches. You might want to practice with some scrap yarn from home first. Once you’re comfortable, switch to the original yarn. After finishing, you can brush the fibers to make it look nicer.

Part 1 Main Part A 00' 22''
For the main part, start with a chain and work back and forth. Check out the video for a demo.
| Main Part | ||
| Row Number | Stitches Instruction | Total Stitches |
| Cast On & H1 | 13CH, Dao3, 11F | 11 |
| H2 - H44 | 2CH, turn, 11F | 11 |
| Note: 2CH don't count as a stitch. Keep working until it's about 90cm long. Leave about 22cm at one end of the scarf, fold it in half, and sew it together. | ||
Note: 1. After finishing the first 4 rows, check your finished measurement. It should be 11cm in width by 8cm in height.
2. Sew the paw pad and the toe beans with the wrong side facing up. When attaching the paw pad, you can stuff it with a bit of waste yarn.
Part 2 Decorations B 18' 44''
The decorations include paw pads, a big pad, small pads, and pom-poms. Crochet them separately and attach them to the side without small holes. Please refer to the video demonstration for details.
| Decorations | ||||
| Part | Round Number | Stitches Instruction | Total Stitches | Yarn |
| Paw Pads | Cast On & R1 | MR 6X | 6 | Cloudlet |
| R2 | 6V | 12 | ||
| R3 | ([CH, T, F], [F, T], SL)×3, 3SL | 18 | ||
| CH doesn't count as 1 stitch, sl not too tight | ||||
| Large Pads × 2 | Cast On & R1 | MR 8X | 8 | |
| Small Pads × 2 | Cast On & R1 | MR 6X | 6 | |
| Pom-pom × 2 | Wrap 160 rounds on each side of the 3.5cm pom-pom maker. | 4-Ply Combed Cotton | ||
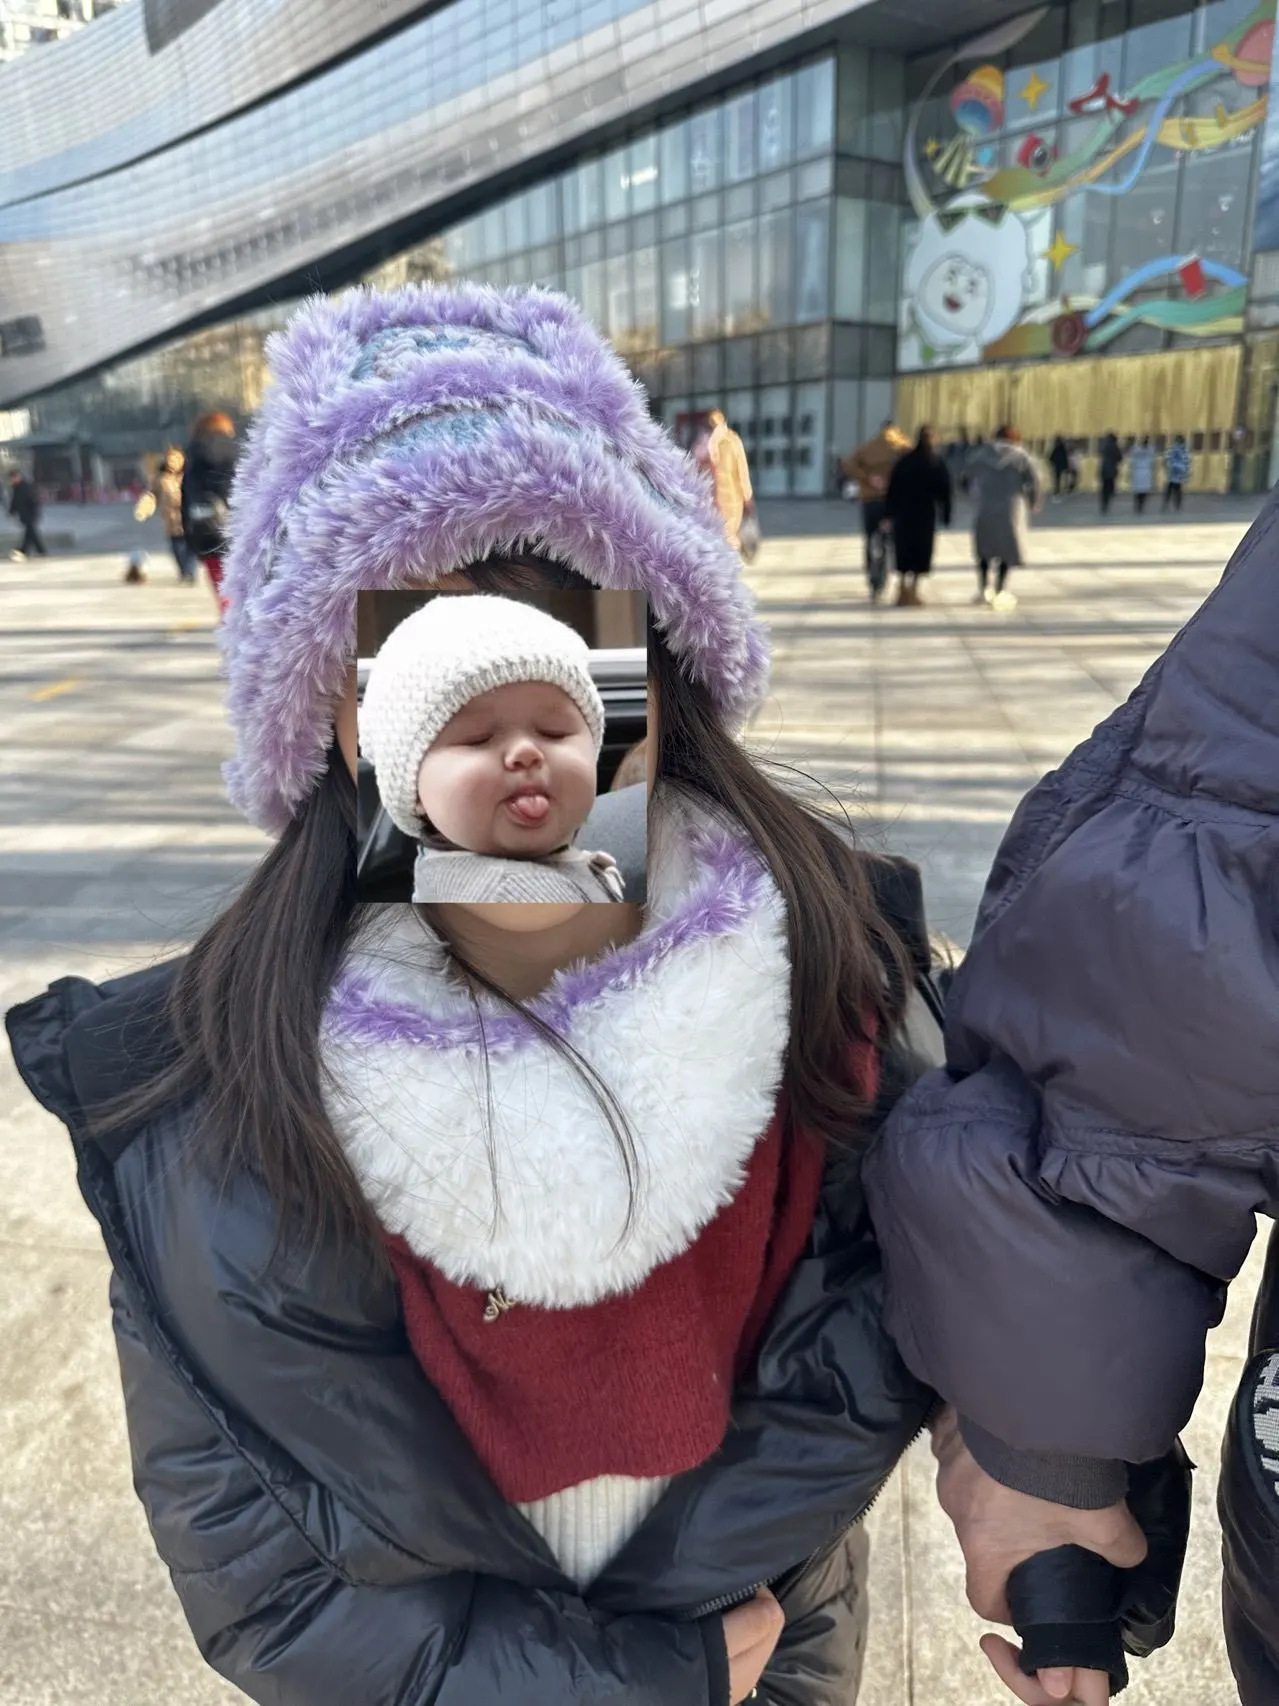
Made by the community