Accessories / Headwear
Retro Reverie
Project preview
See the finished project
Pattern format
Instructions
Watch and follow
Video tutorial
| Style | Yarn | Color |
|---|---|---|
| Linlang Style | Monet Impression | 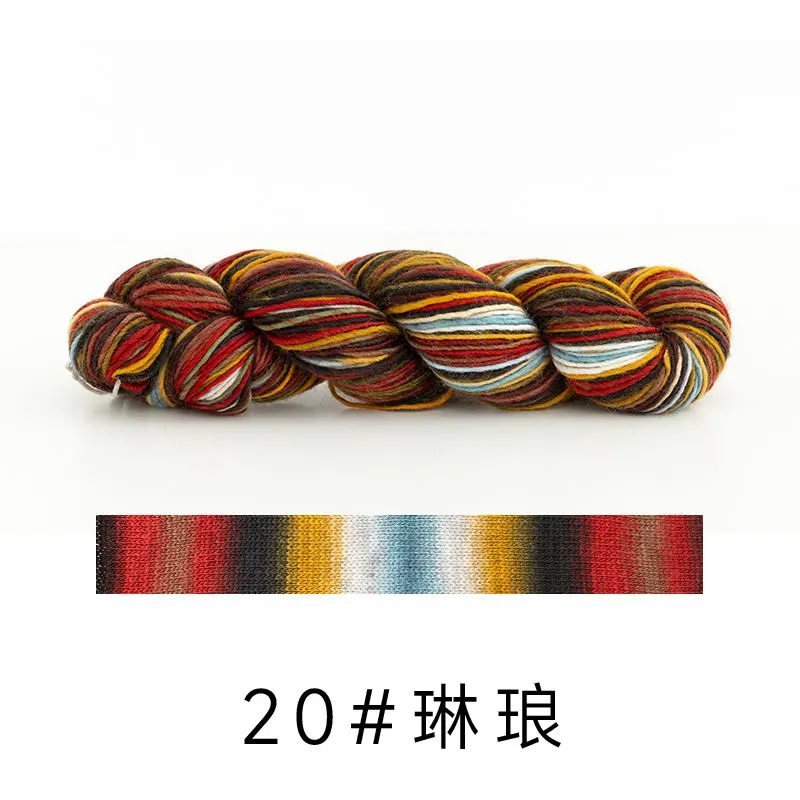 20#Linlang x 3 20#Linlang x 3 |
| Blossom Style | Monet Impression | 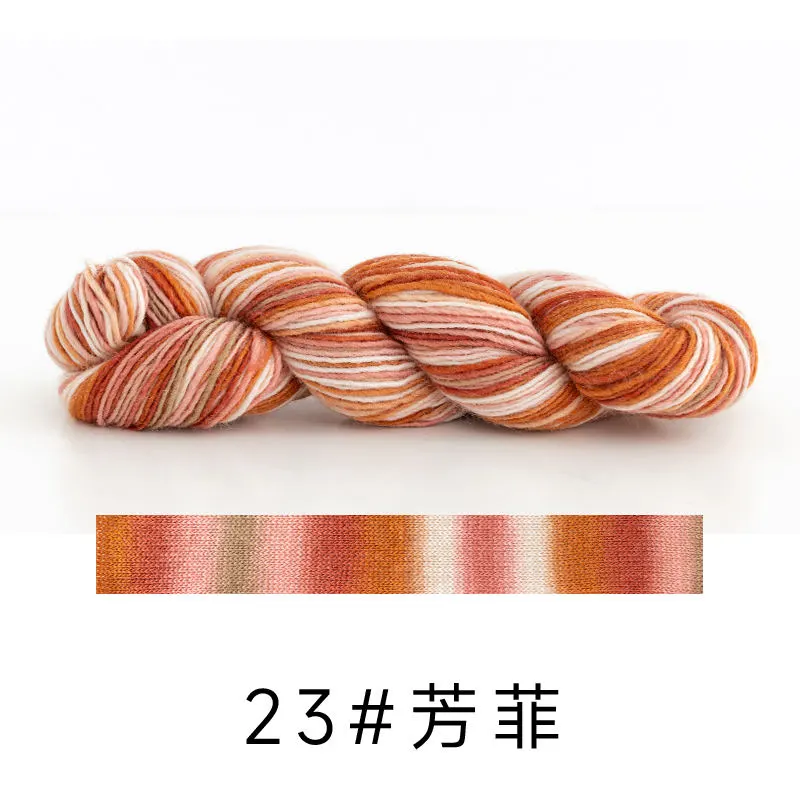 23#Blossom x 3 23#Blossom x 3 |
| Waterlilies Style | Monet Impression |  09#Waterlilies x 3 09#Waterlilies x 3 |
| Dawn Style | Monet Impression |  12#Dawn x 3 12#Dawn x 3 |
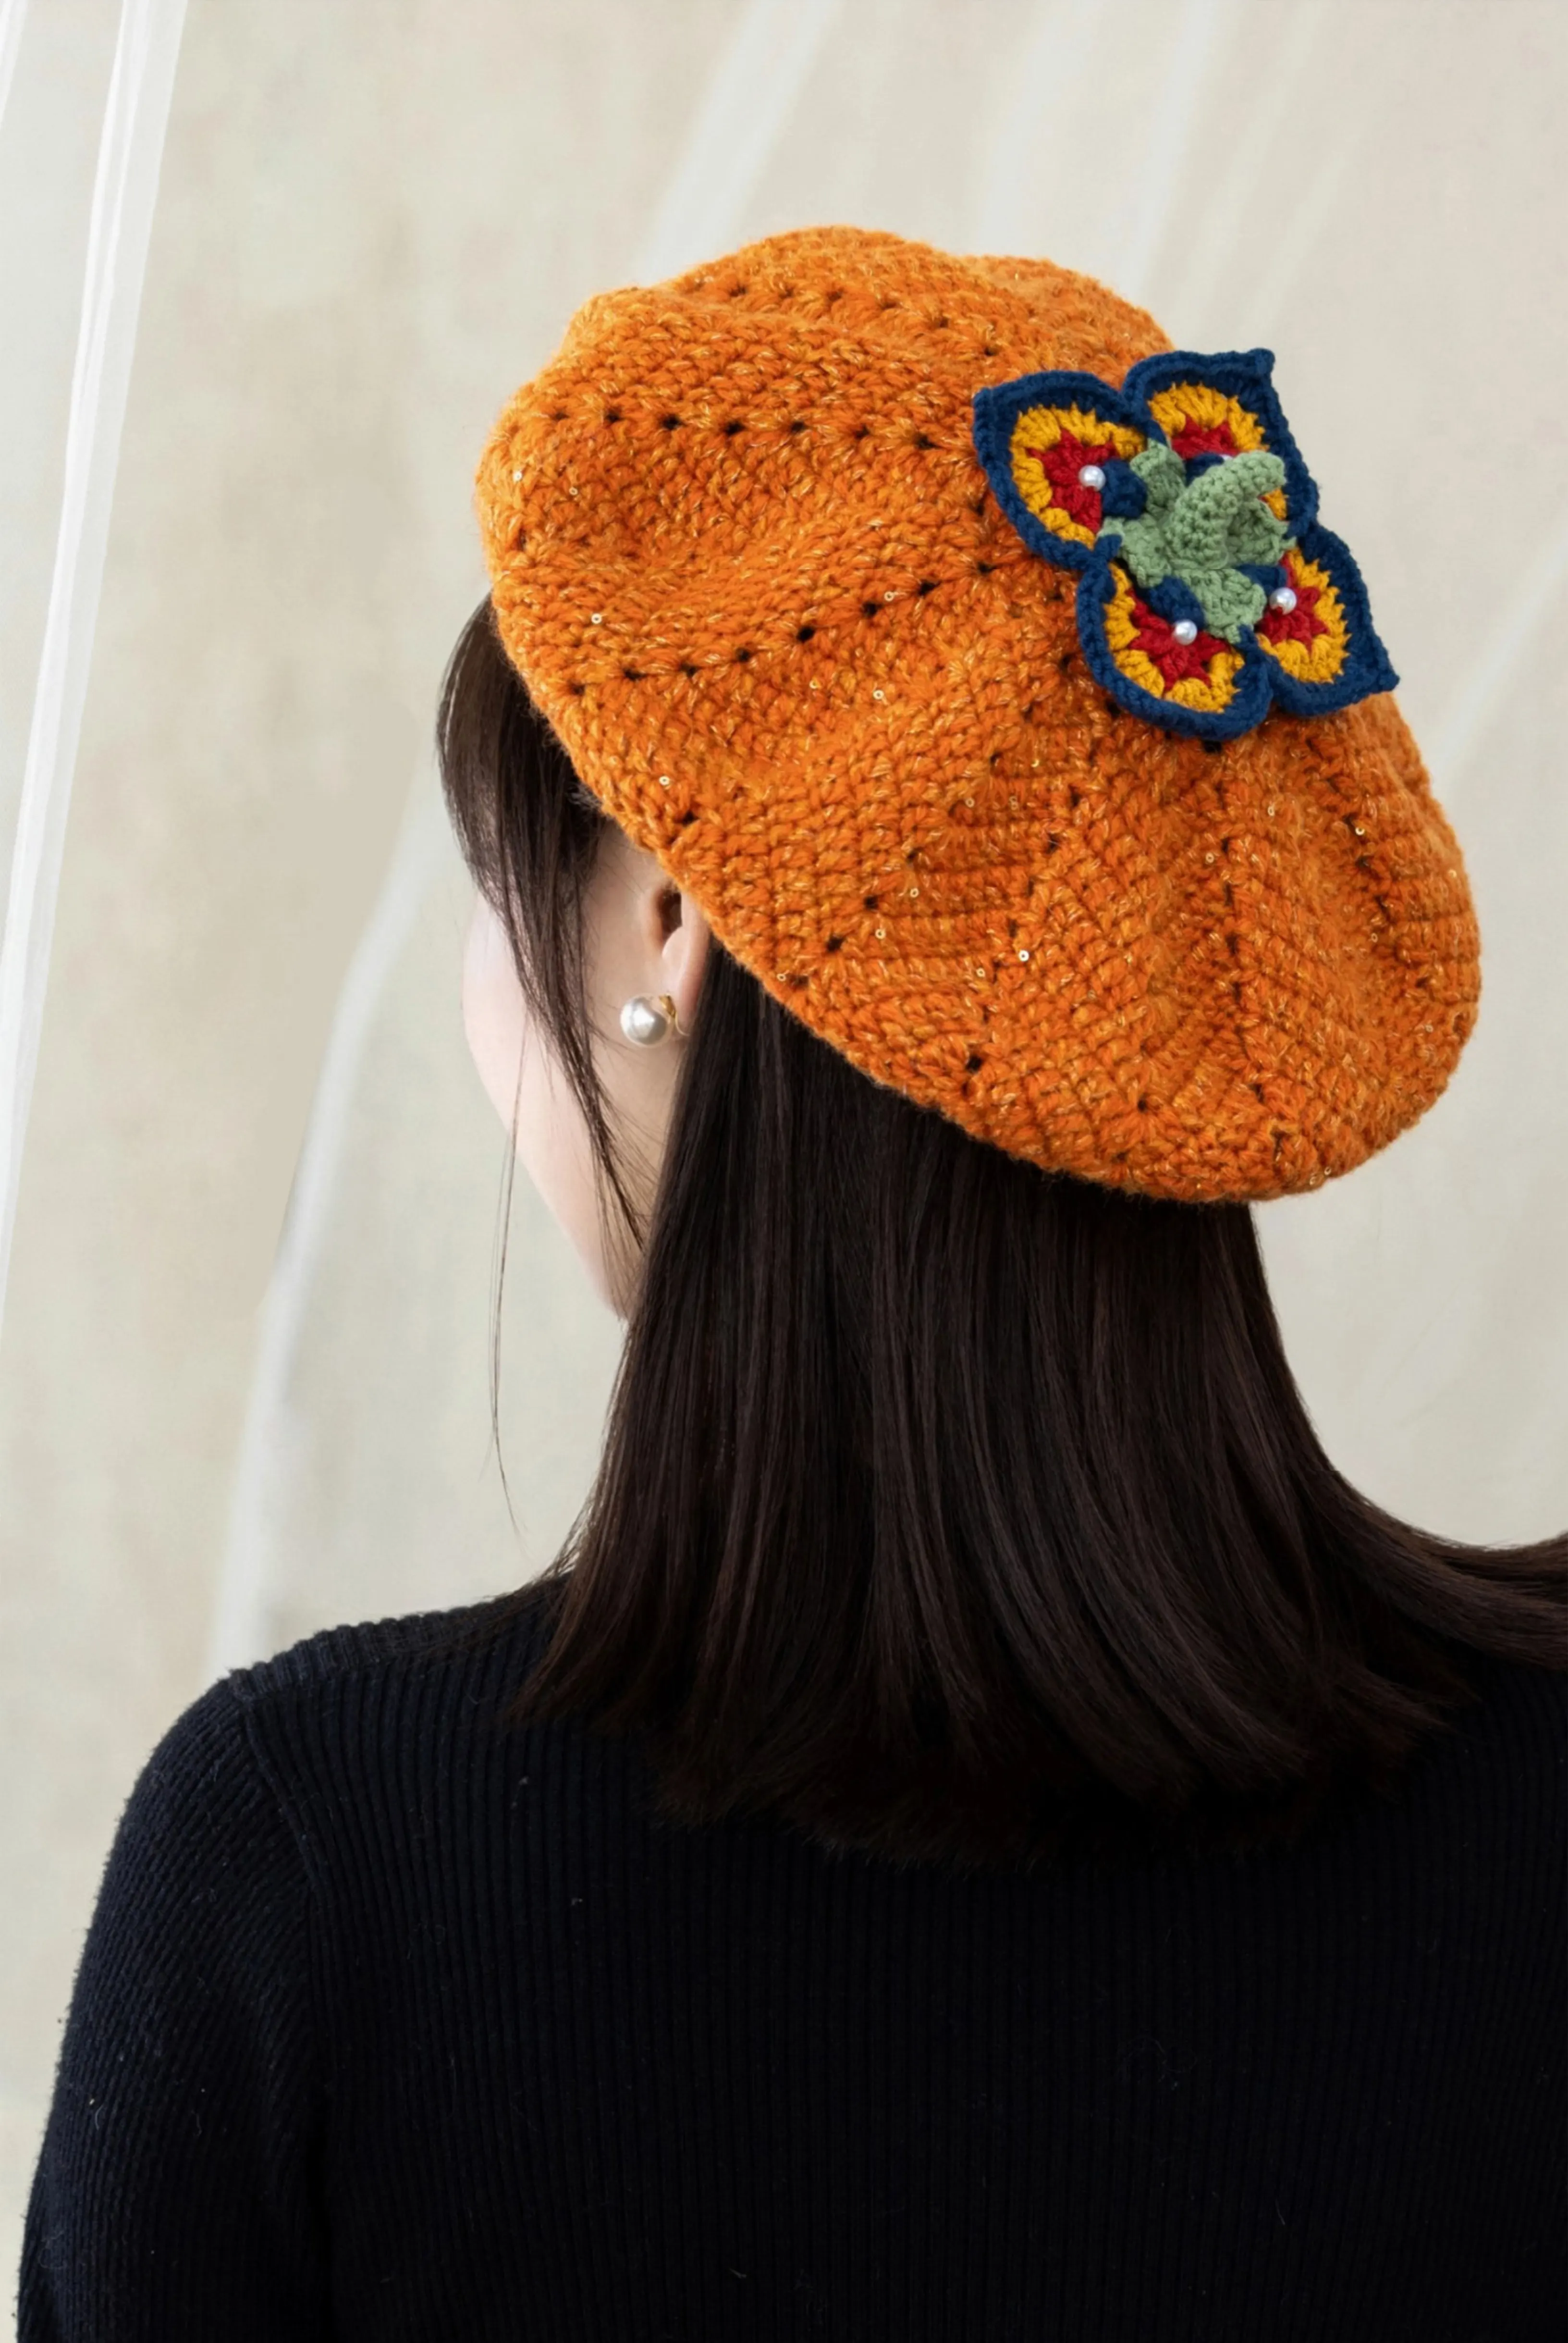
This hat consists of the main part, edging, and ties. When the ties are tightened, it becomes a hat; when loosened, it turns into a scarf.
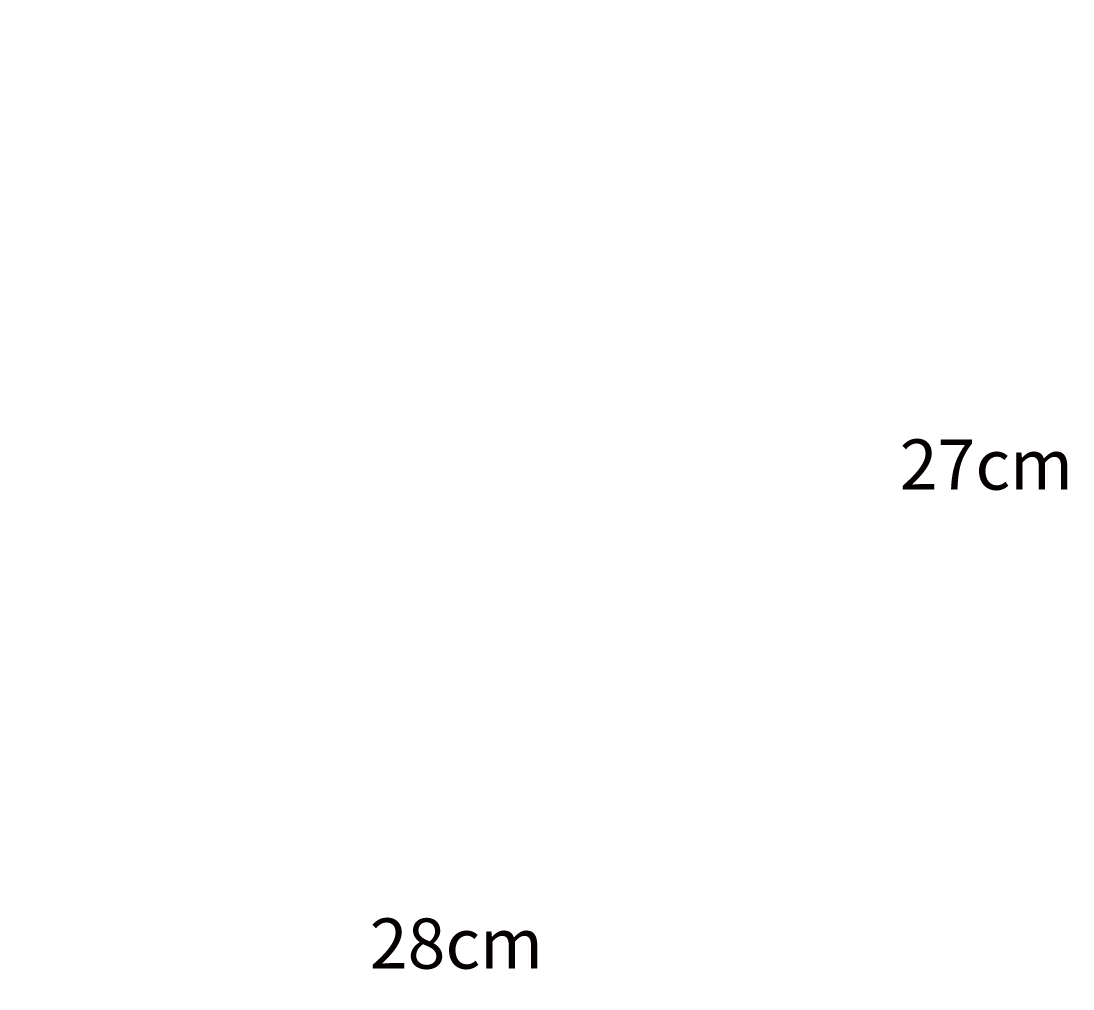
Note: Hand-measured, with a tolerance of 1-2 cm. Due to differences in individual tension, the sample size is for reference only.
Yarn: SuSan's Family Monet Impression. Tools: 2.00 mm crochet hook.

Chart Key





Note: This pattern is making in Chinese crochet pattern terms, and the stitch name is written using American terminology. All measurements in charts are in cm.
PART1 Main Part 00' 29''
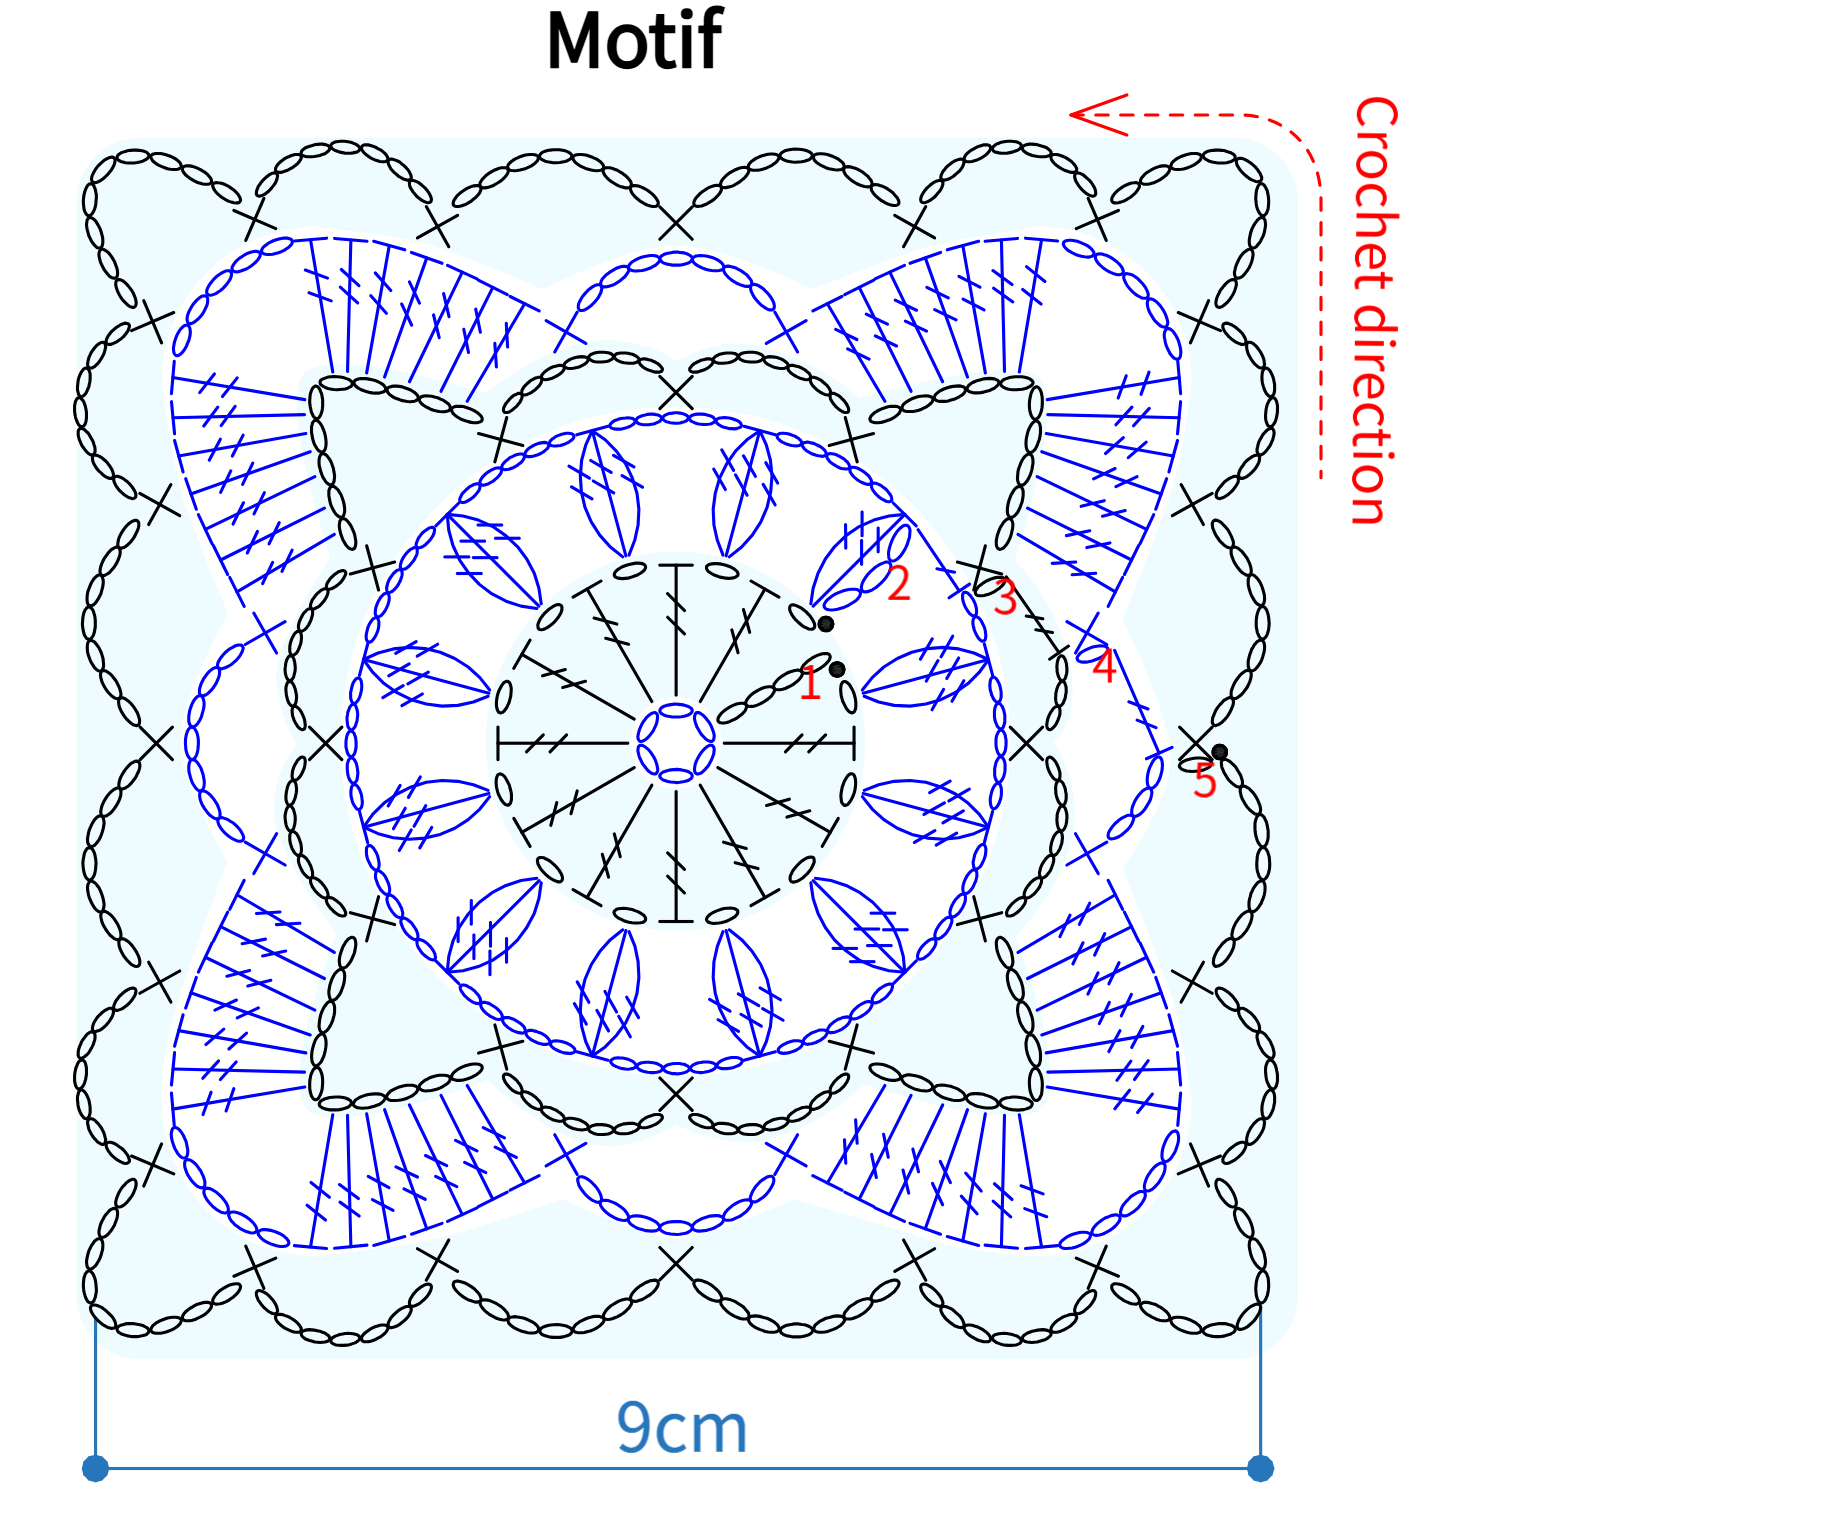
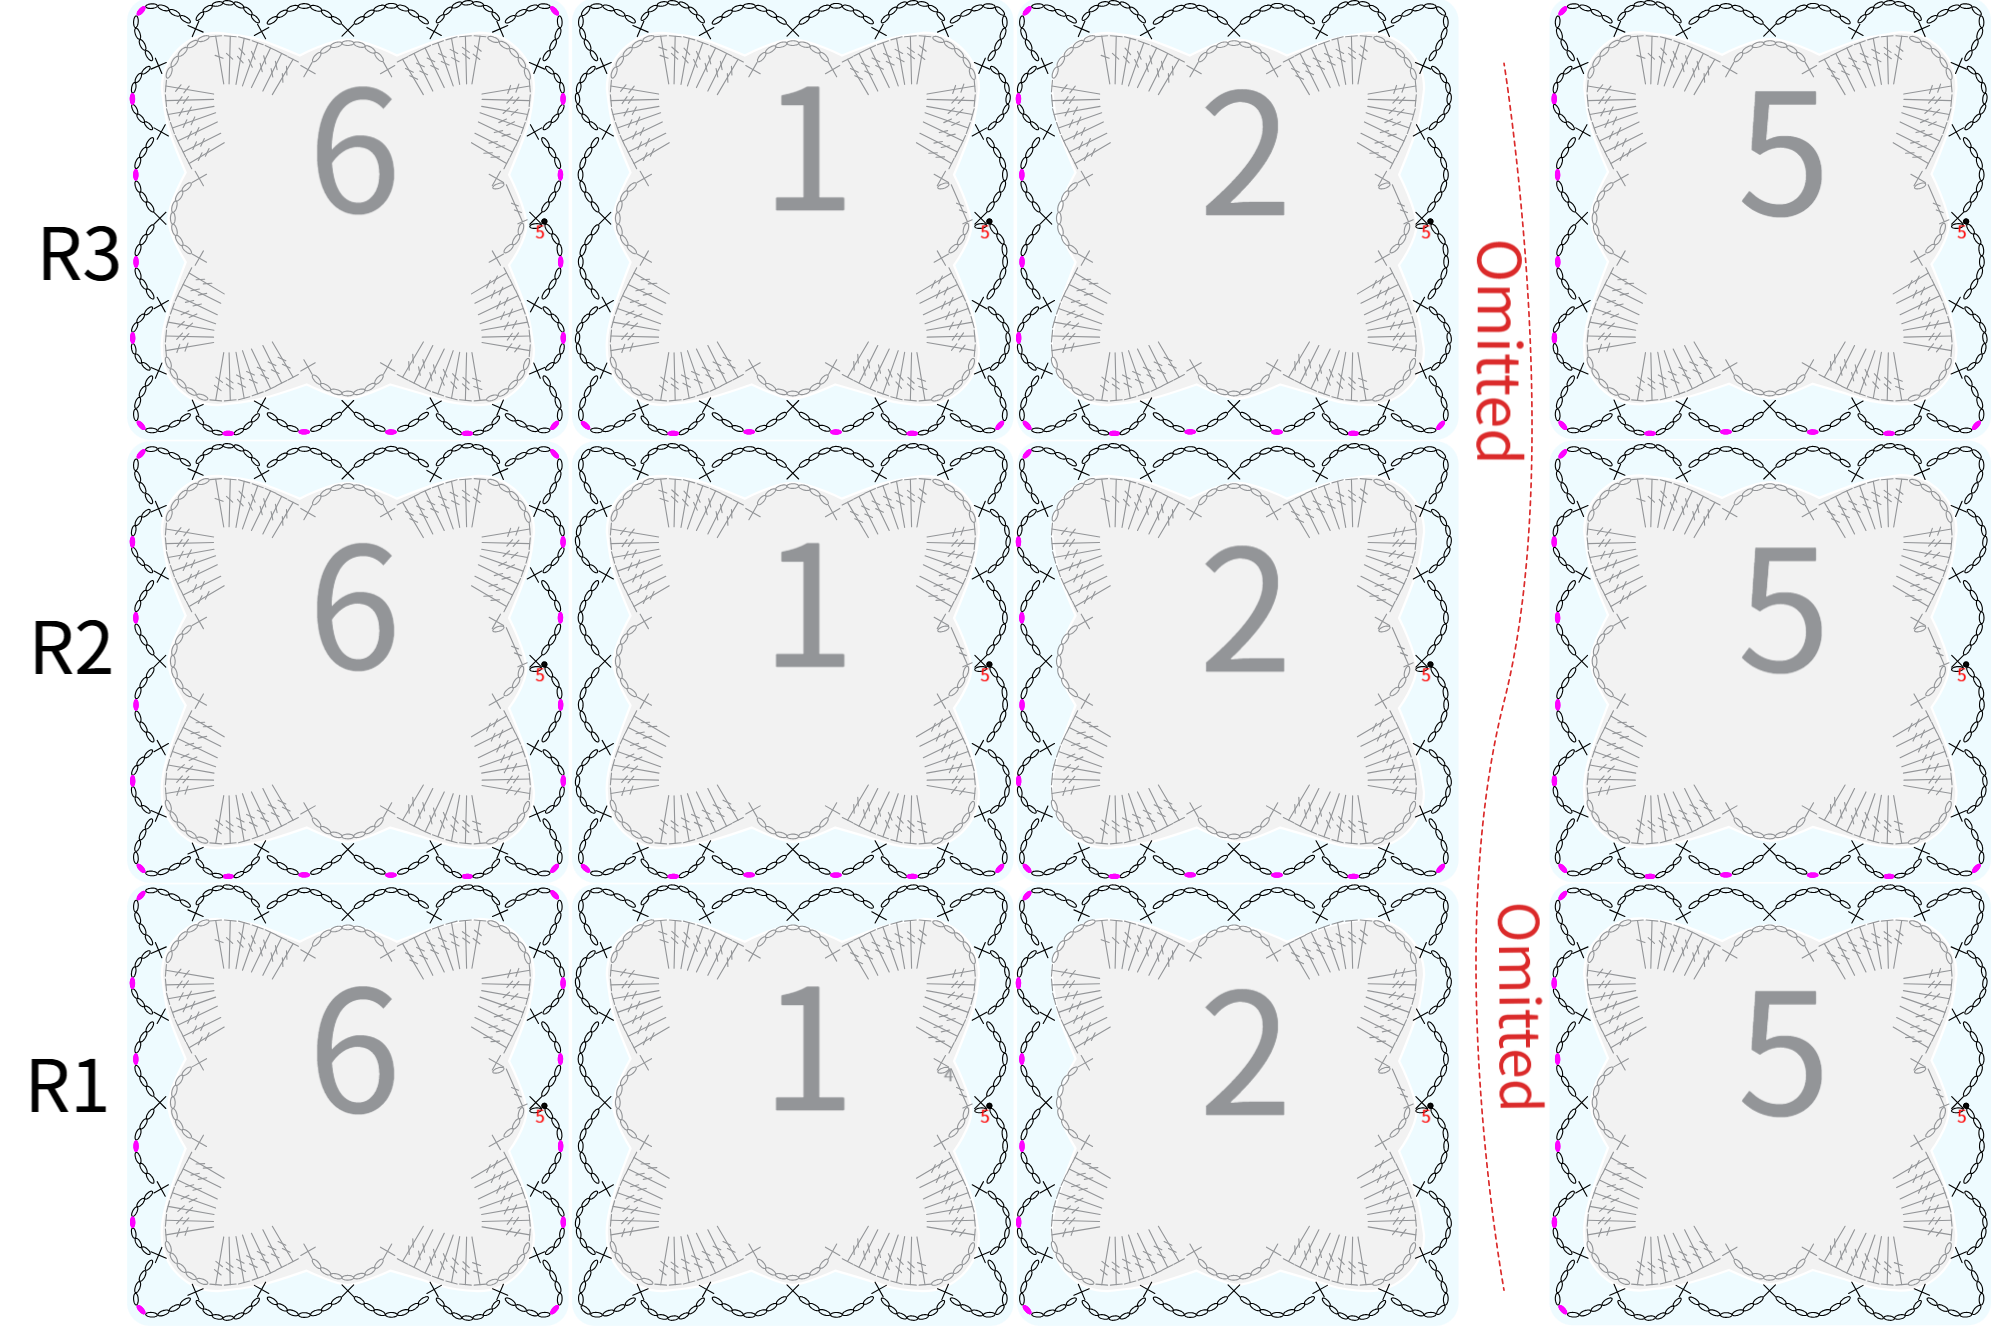
The main part of the hat is made up of individual flower motifs connected together. Start by completing the first full motif. For each following motif, when crocheting the last round, attach it to the adjacent motifs as you go. Each round consists of 6 motifs, and there are 3 rounds in total, making 18 motifs altogether.
Motif Joining Diagram
PART 2 Edging 35' 52''
After completing the main part of the hat, you can choose whether to crochet an edging along the brim based on your personal preference.

PART3 Laces 43' 12''
For the laces part, you'll need to combine the two threads into one for knitting. Leave about 10cm of thread at both the beginning and the end as extra for attaching the pearl decorations. Once finished, simply insert the laces into the hole at the top of the hat.

Made by the community