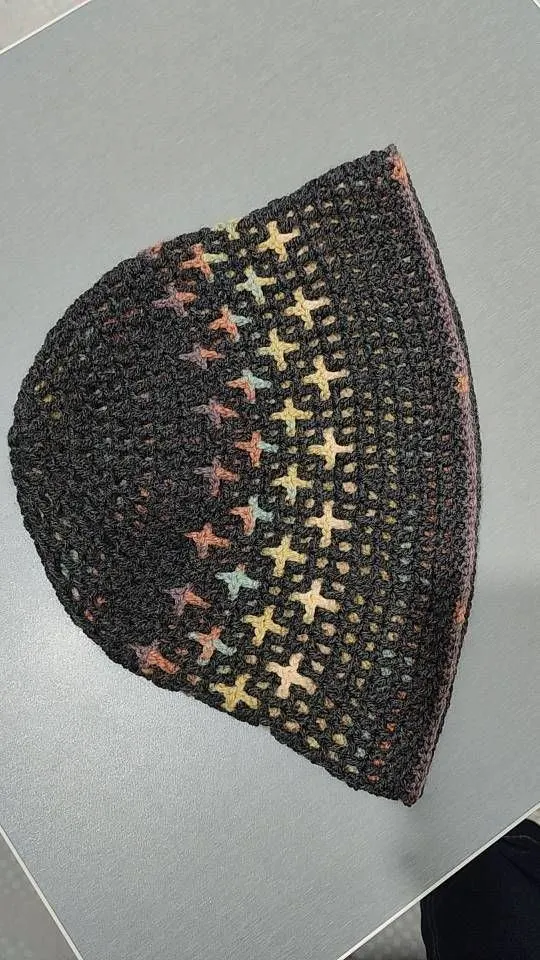
Accessories / Headwear
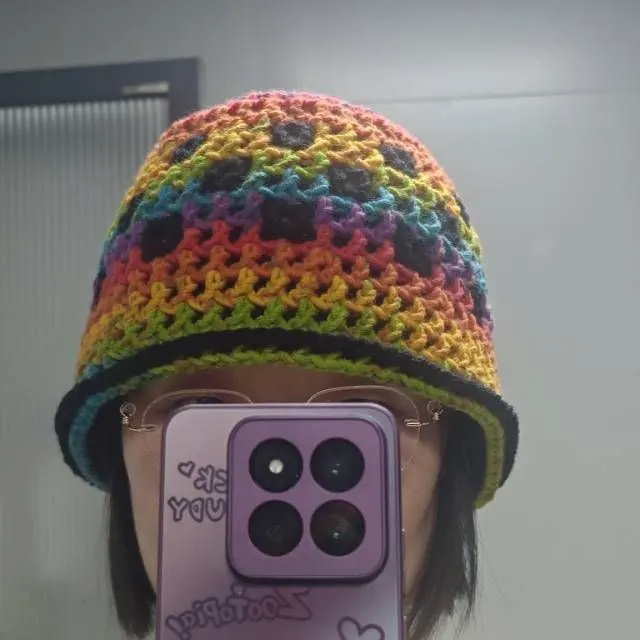
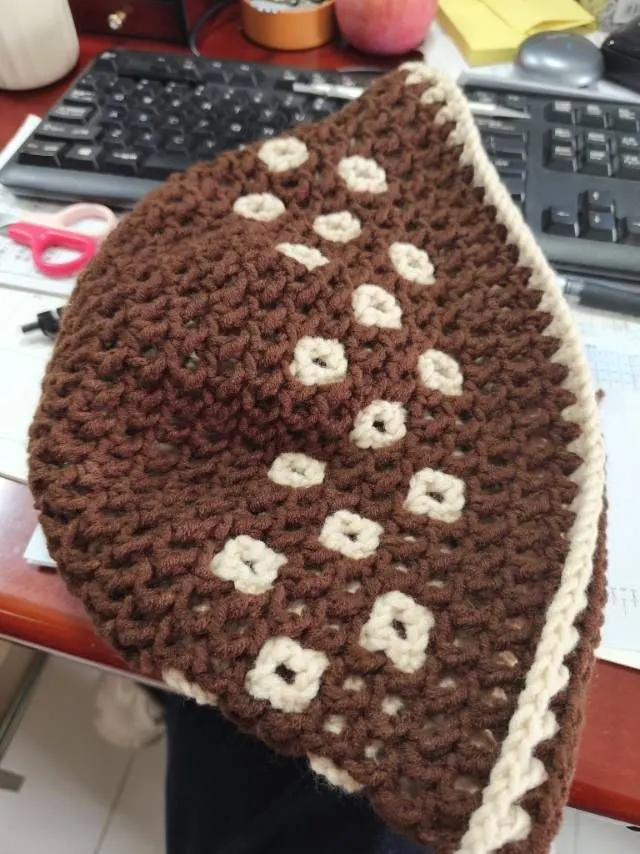
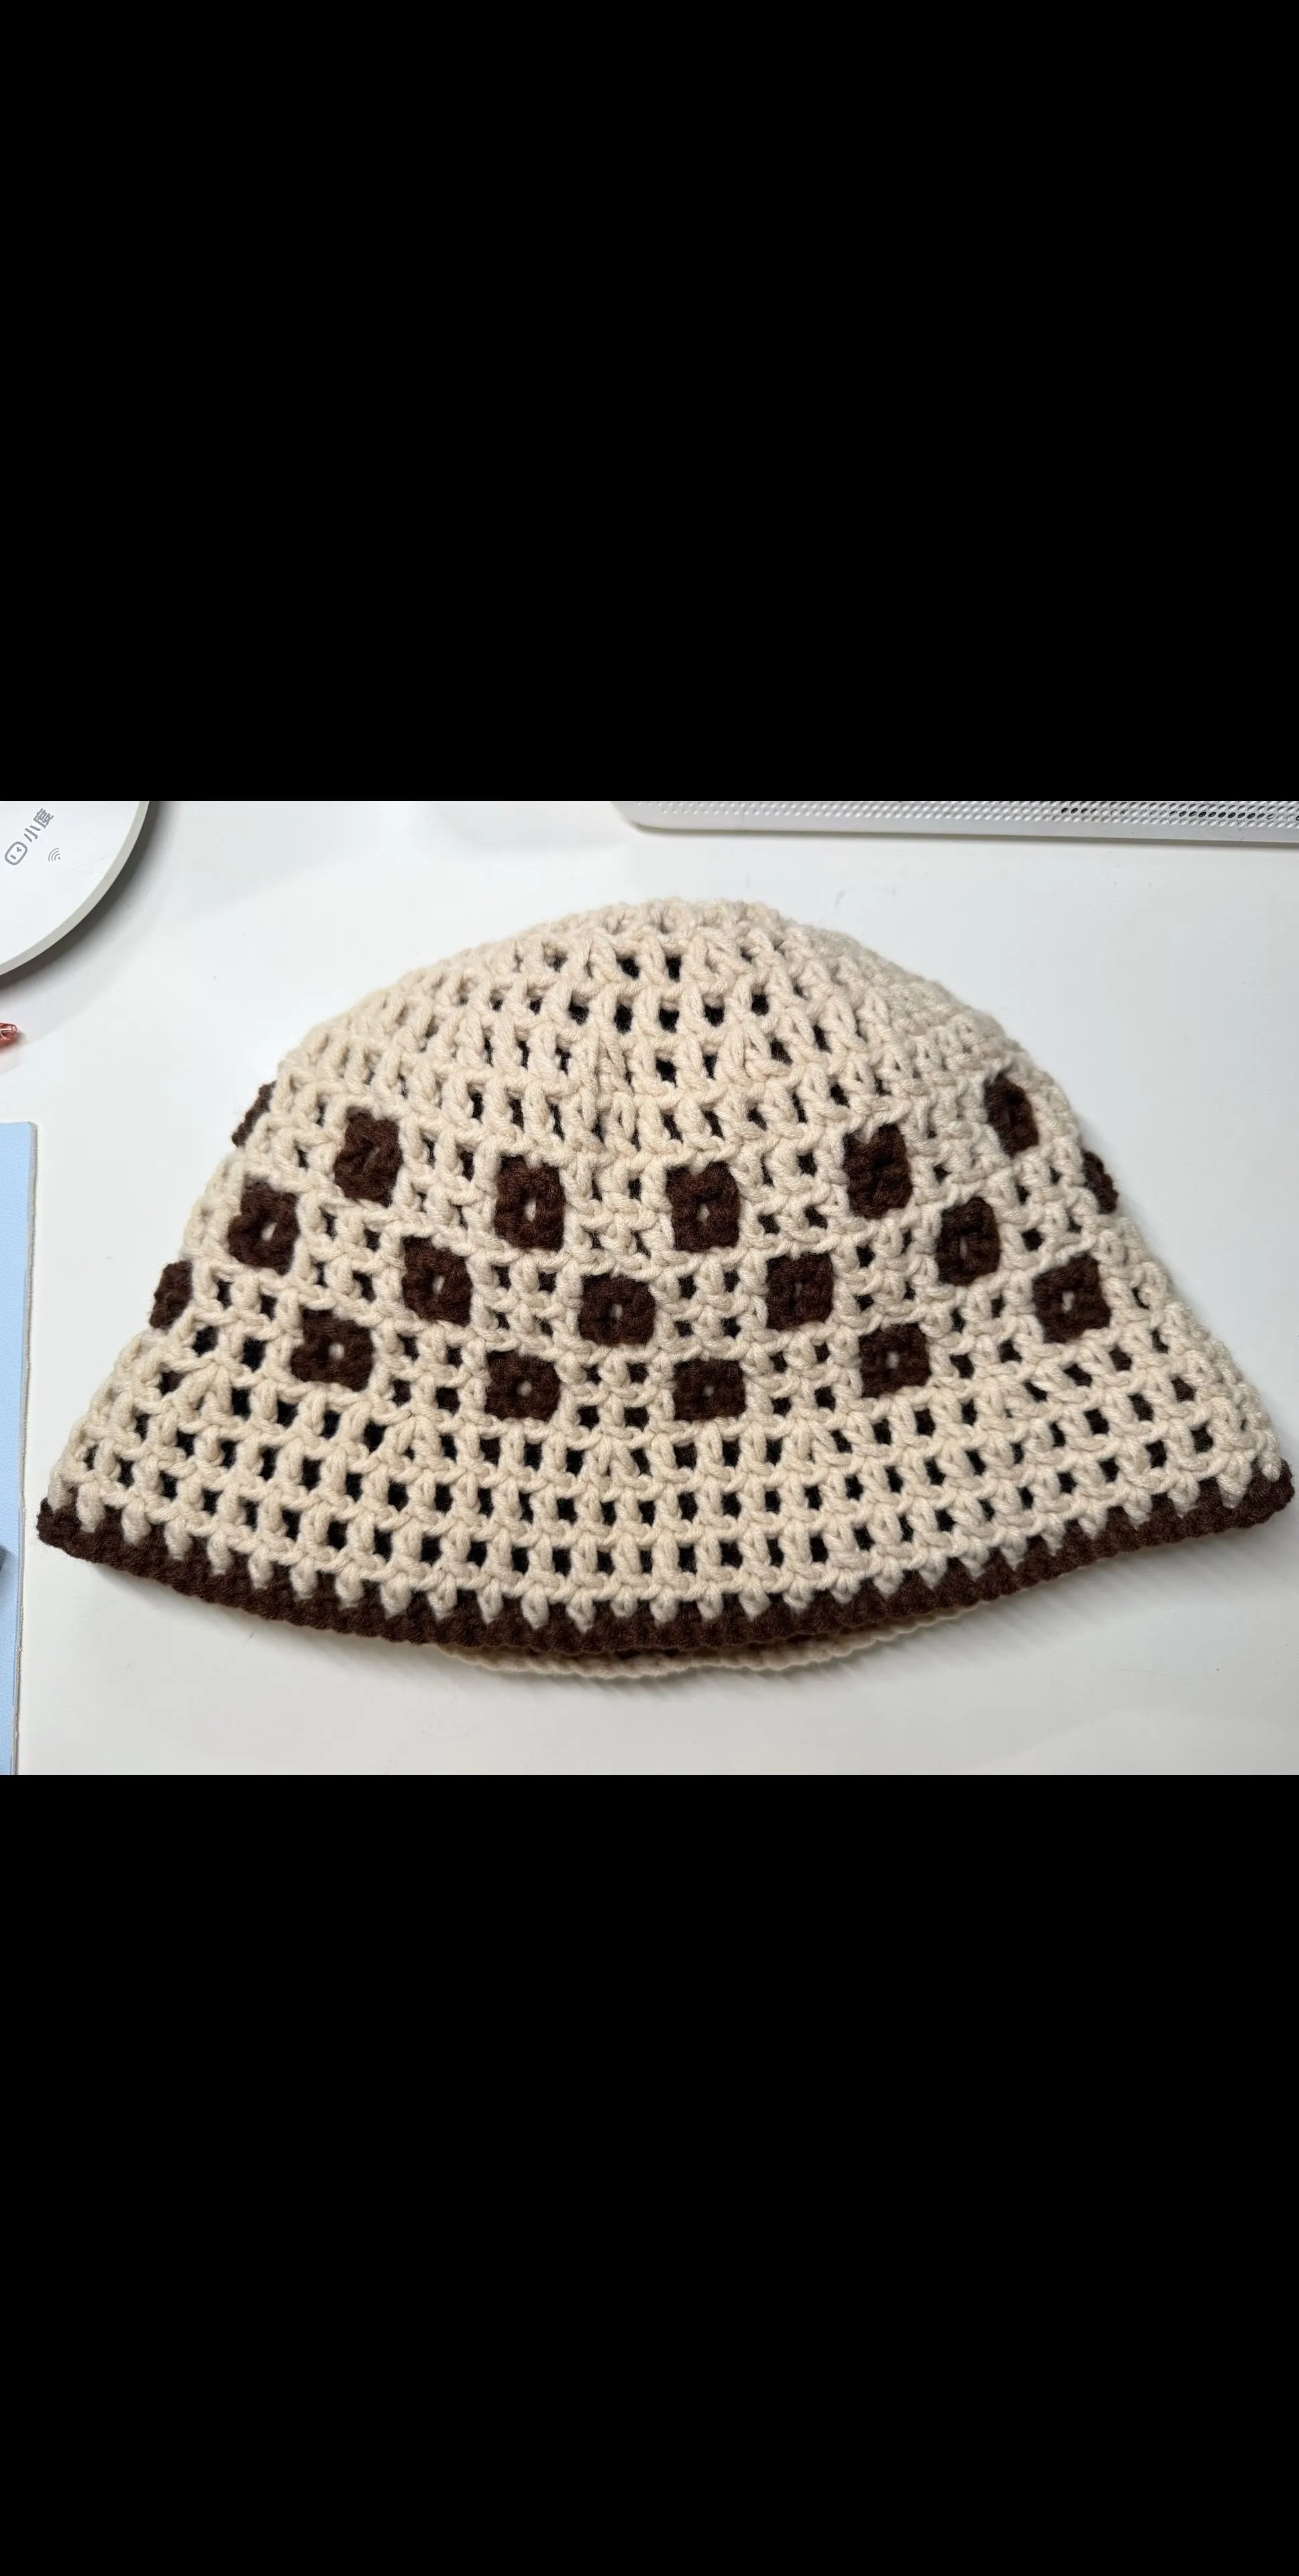
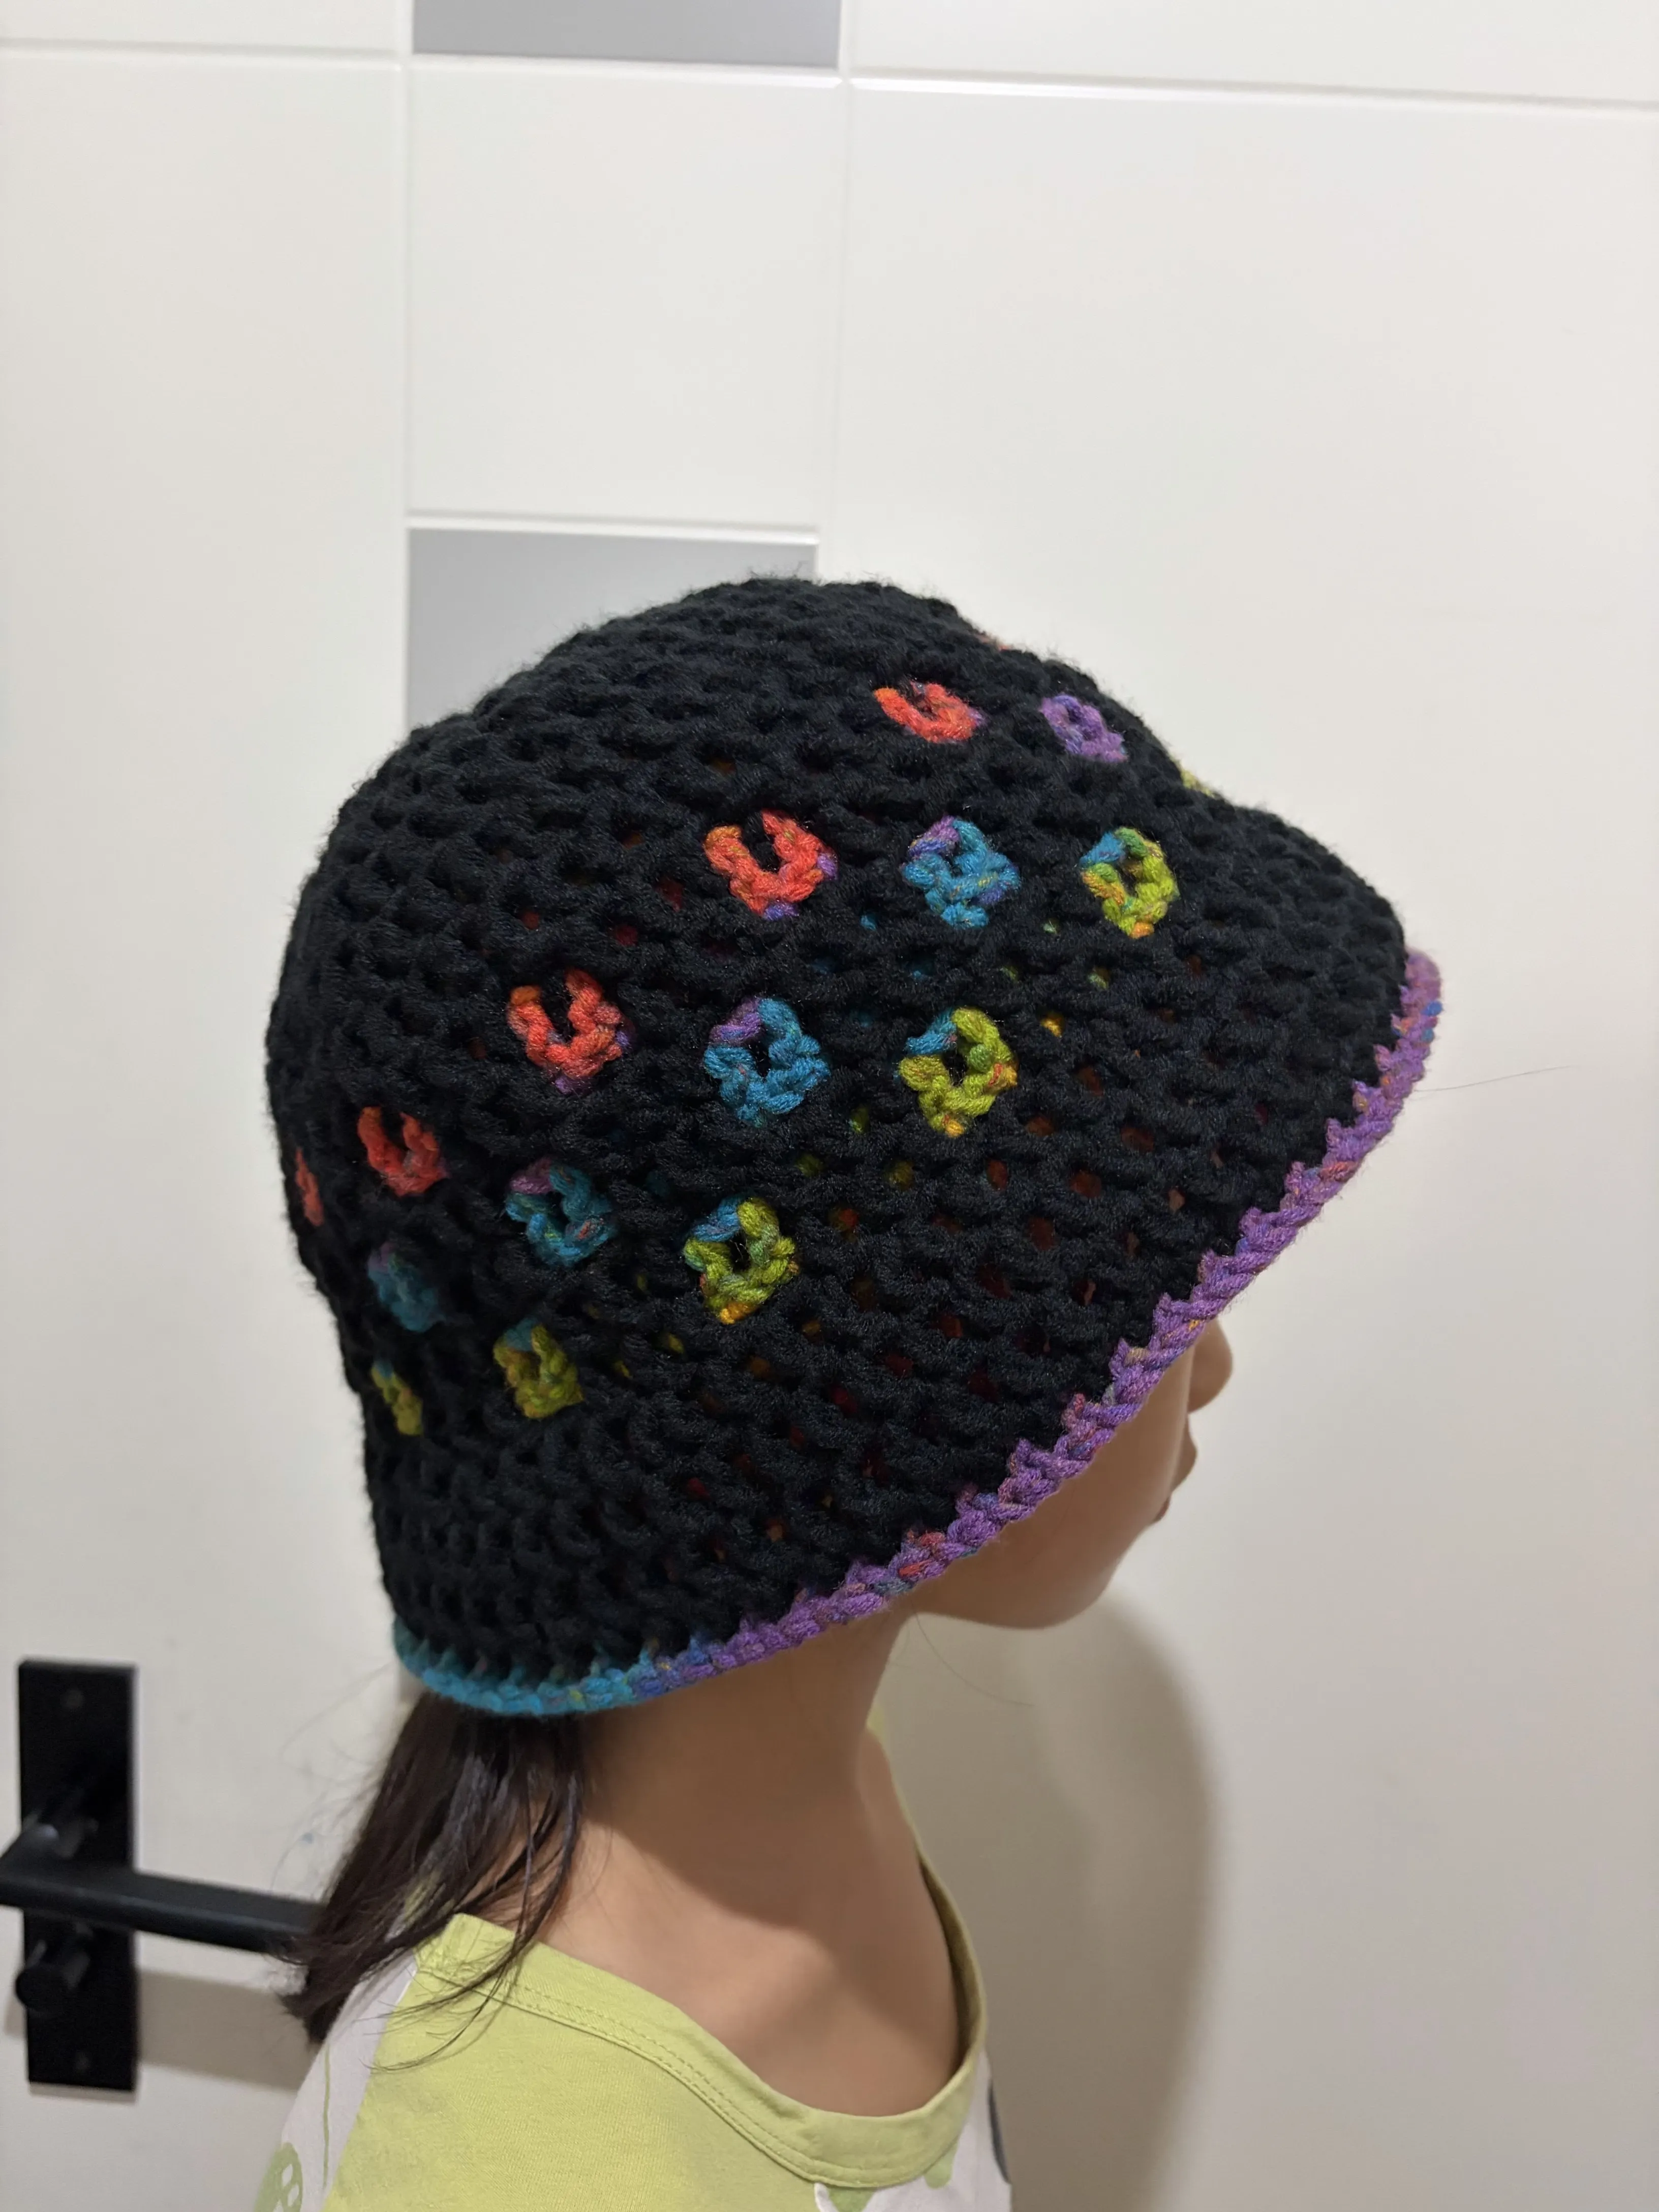
Star Check Bucket Hat
Project preview
See the finished project
Pattern format
Instructions
Watch and follow
Video tutorial
| Style | Yarn | Color |
|---|---|---|
| Cappuccino Version | Handcrafted No.2 Knit Thread |  08#Bleached Sand x 1 08#Bleached Sand x 1 09#Cappuccino x 1 09#Cappuccino x 1 |
| Ribbon Red Version | Handcrafted No.2 Knit Thread |  45#Ribbon Red x 1 45#Ribbon Red x 1 111#Birthday x 1 111#Birthday x 1 |
| Black Beauty Version | Handcrafted No.2 Knit Thread |  13#Black Beauty x 1 13#Black Beauty x 1 105#Autumn Hues x 1 105#Autumn Hues x 1 |
This hat consists of three parts: the crown, the body, and the brim. First, crochet two separate crown pieces, then alternate the pattern for the body section, and finally work the brim and join the inner and outer layers together.
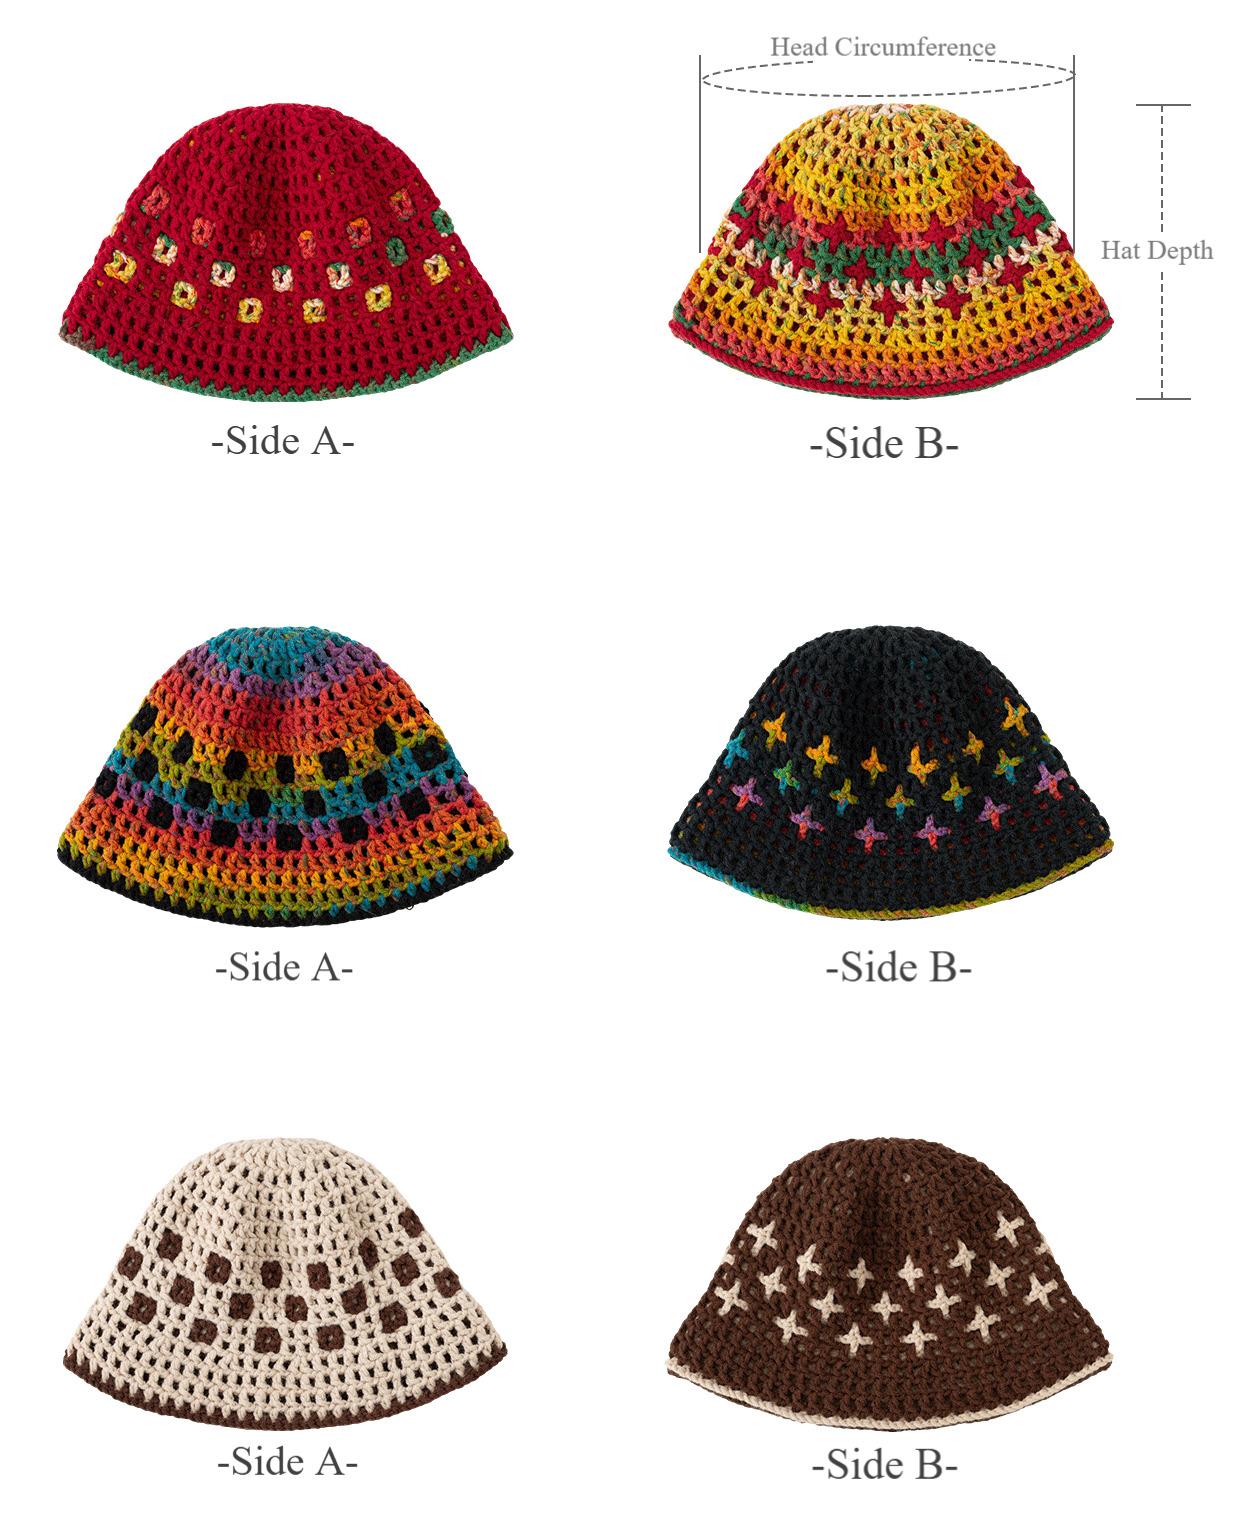
| Unit: cm | Hat Depth | Head Circumference |
| Handcrafted No.2 Knit Thread | 23 | 60 |
Note: Hand-measured, with a possible error of 1-2 cm.
Due to differences in individual tension, the sample size is for reference only.
Yarn: Handcrafted No.2 Knit Thread
Tools: 5.0mm Crochet Hook

Chart Key





Note:
1. This pattern is making in Chinese crochet pattern terms, and the stitch name is written using American terminology. All measurements in charts are in cm.
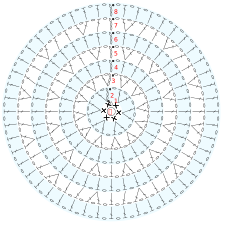
PART 1 Crown
Using the magic ring method, crochet the crown part in two colors separately. For details, please refer to the video demonstration.
PART 2 Hat Body
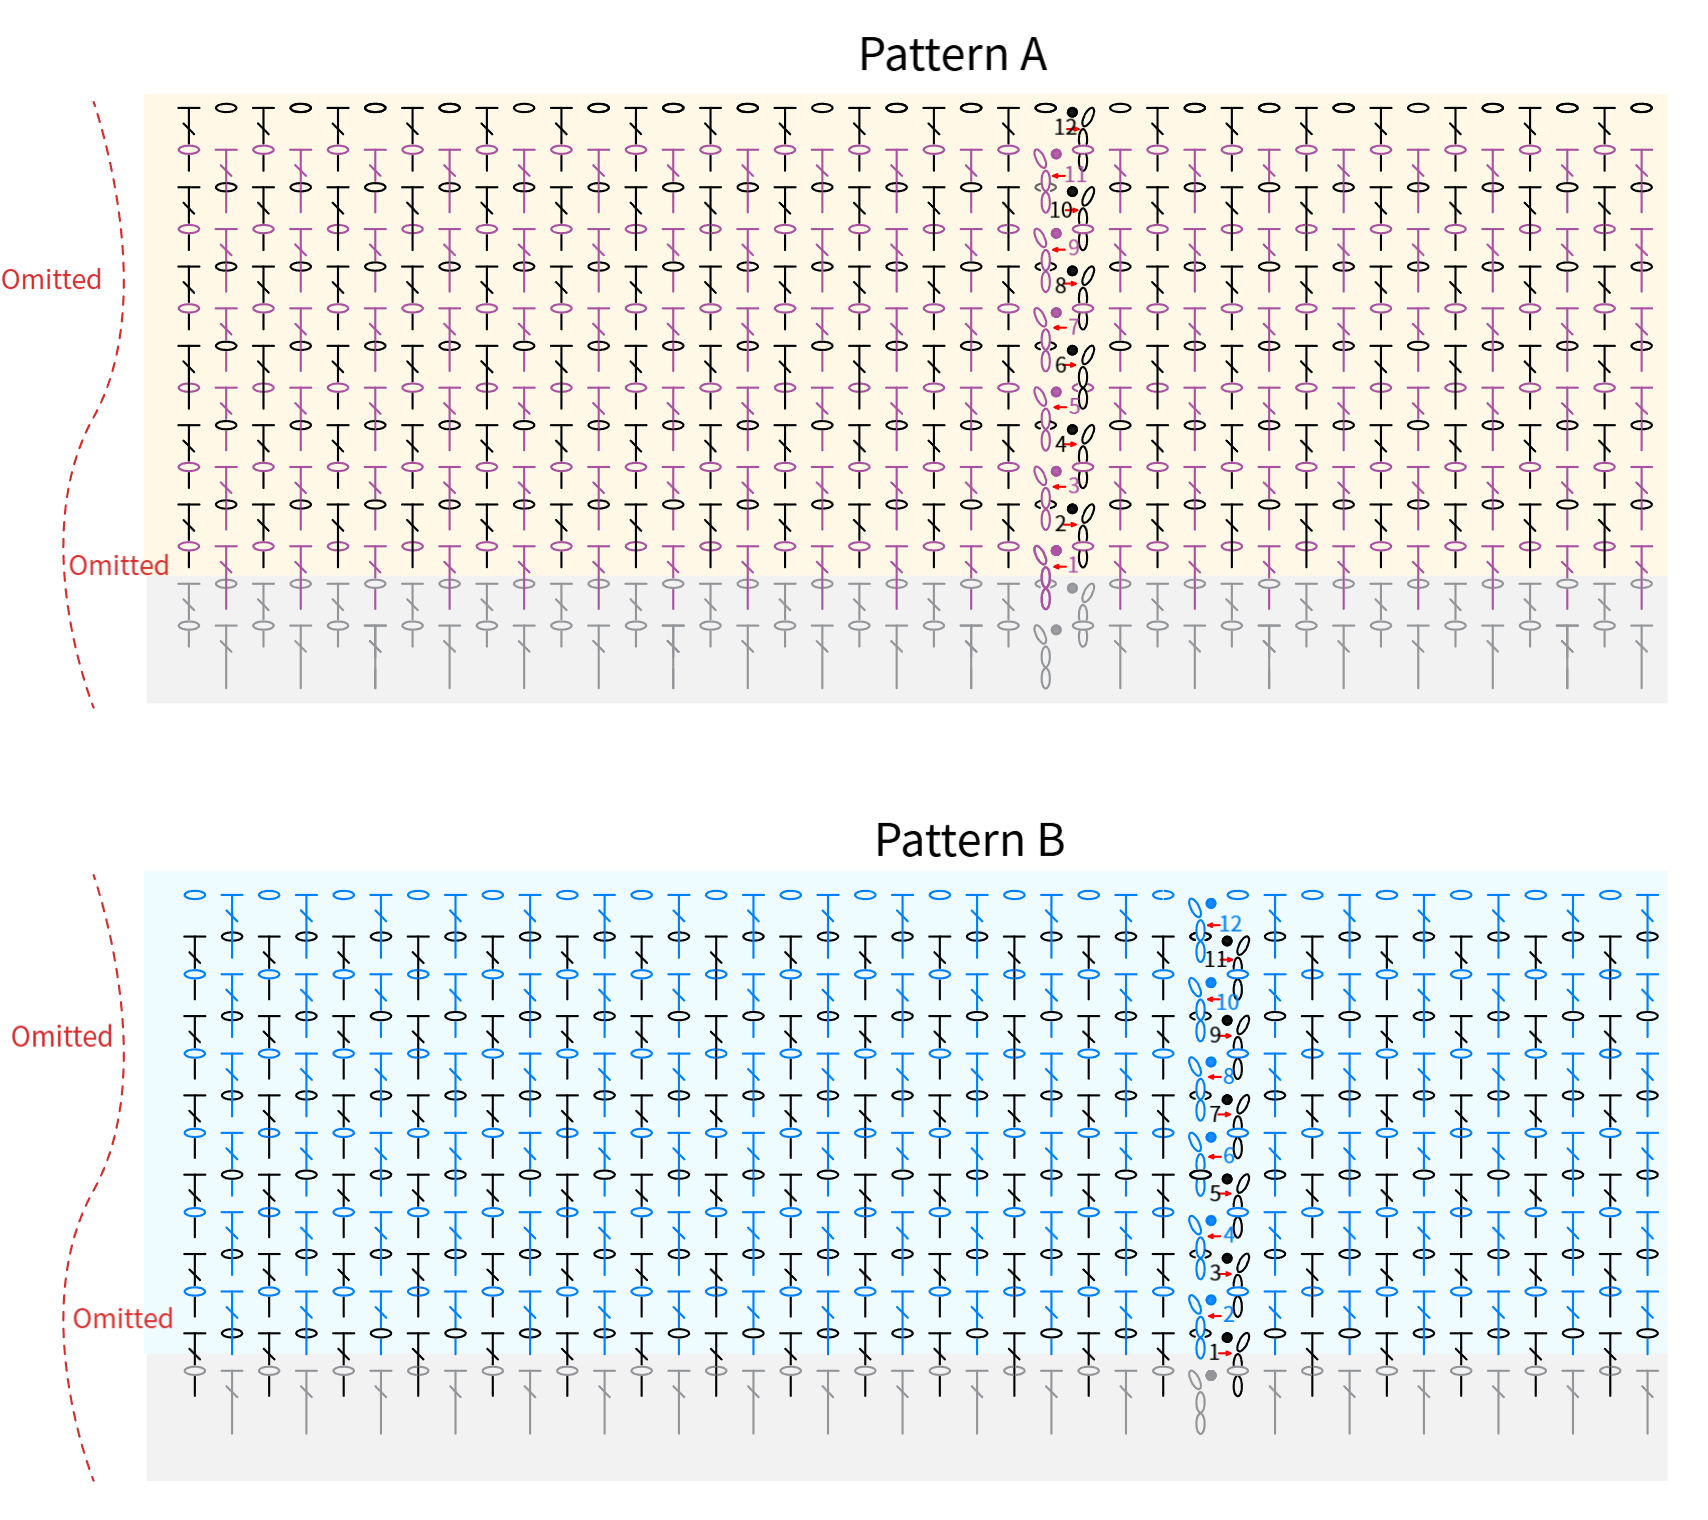
After completing the crown, place the pieces with their wrong sides facing each other and work Pattern A and Pattern B alternately using two colors. The yarn color for each pattern should be the base color of that pattern, which you can choose according to your preference. For details, please refer to the video demonstration.
| Round Number | Pattern Side | Nested Pattern |
| Rnd 1 | A | 1f, (1b, 3f) × 11, 1b, 2f |
| Rnd 2 | B | (2f, 2b) × 12 |
| Rnd 3 | A | 1f, (1b, 3f) × 11, 1b, 2f |
| Rnd 4 | B | Throughout the Front |
| Rnd 5 | A | (3f, 1b) × 12 Note: When joining with a slip stitch, hold the other color in front. |
| Rnd 6 | B | (2b, 2f) × 12 |
| Rnd 7 | A | (3f, 1b) × 12 |
| Rnd 8 | B | Throughout the Front |
| Rnd 9 | A | 1f, (1b, 3f) × 11 times, 1b, 2f |
| Rnd 10 | B | (2f, 2b) × 12 |
| Rnd 11 | A | 1f, (1b, 3f) × 11, 1b, 2f |
| Rnd 12 | B | Throughout the Front |
PART 3 Brim
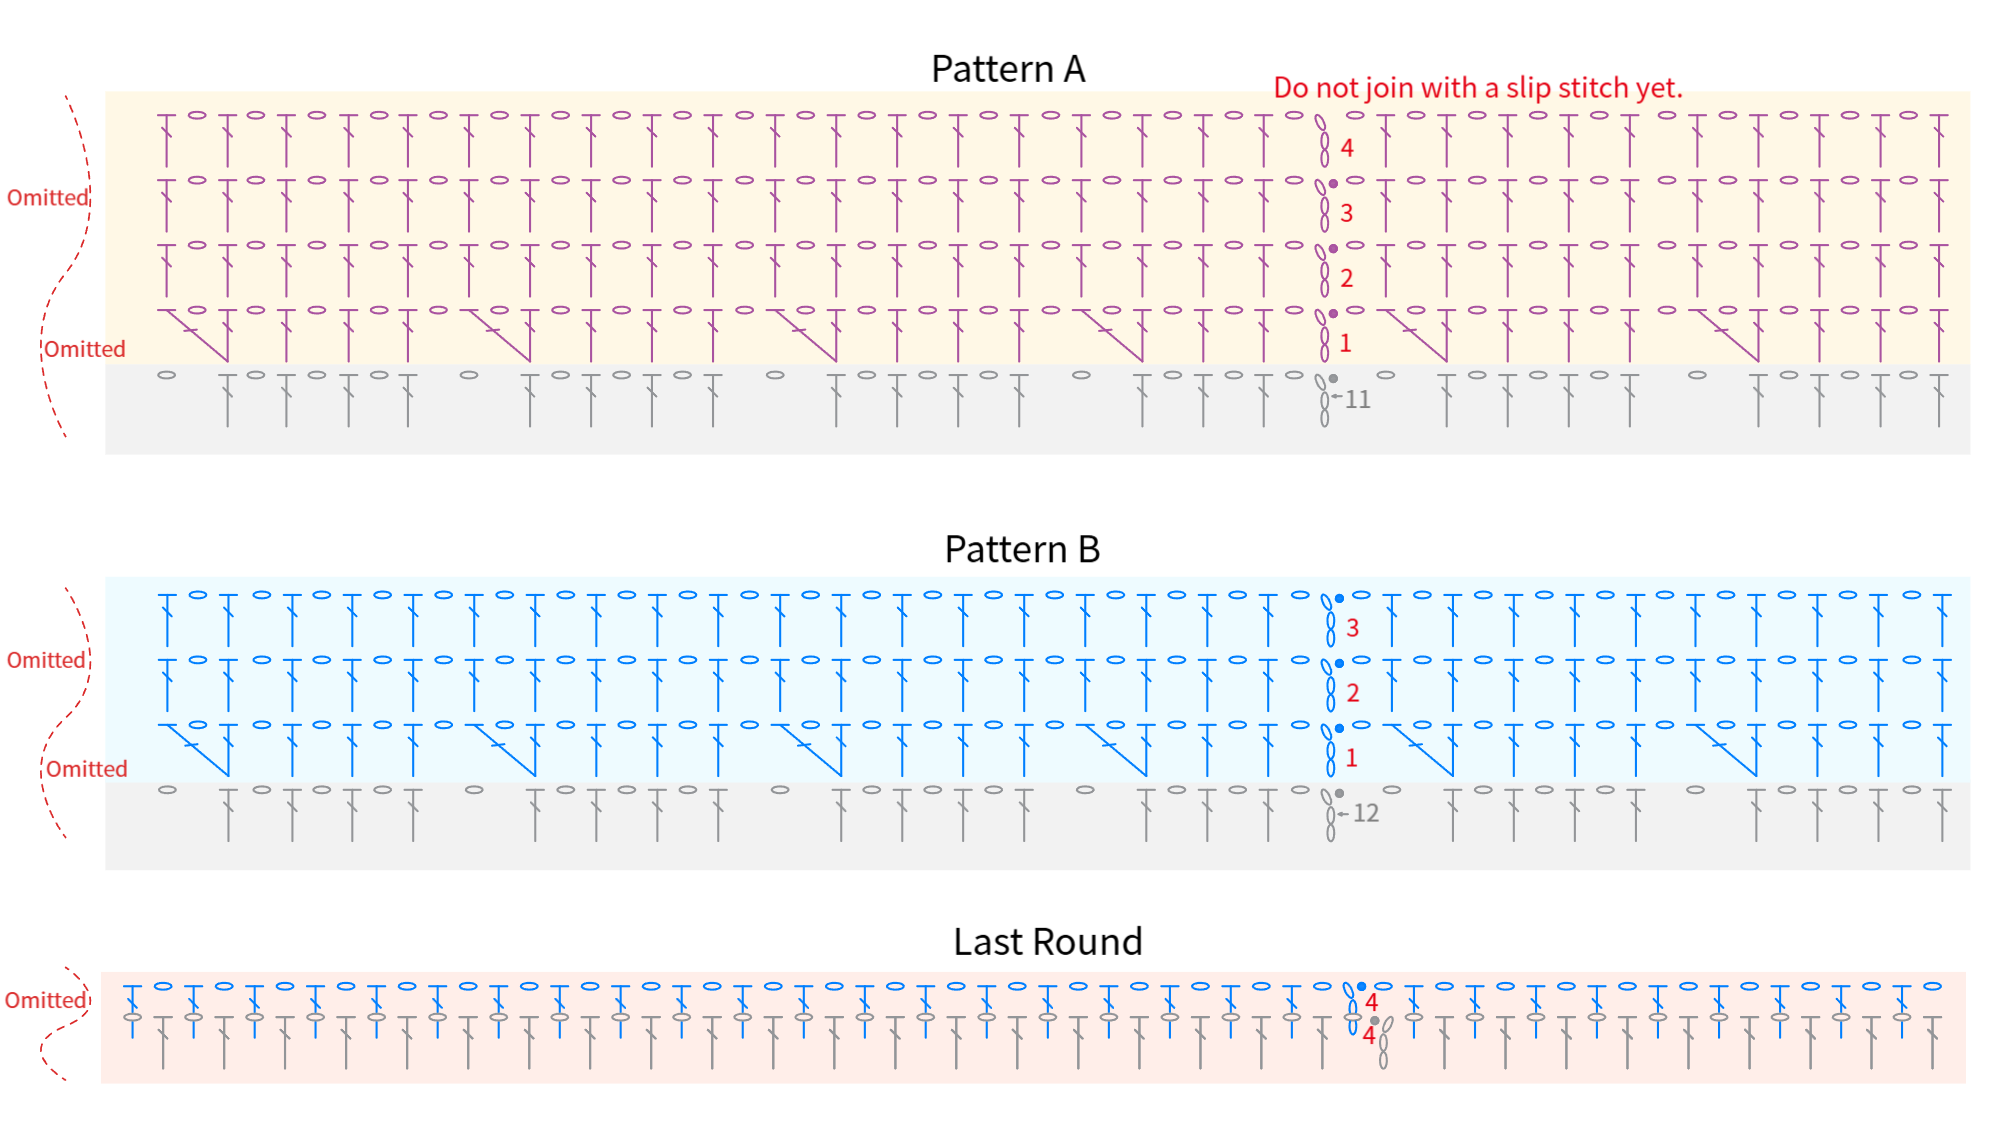
After completing the pattern, increase stitches in the first round using two colors separately, then work even for the remaining rounds. When working the last round of the second color, join the brim section together. Please refer to the video demonstration for details.
Made by the community