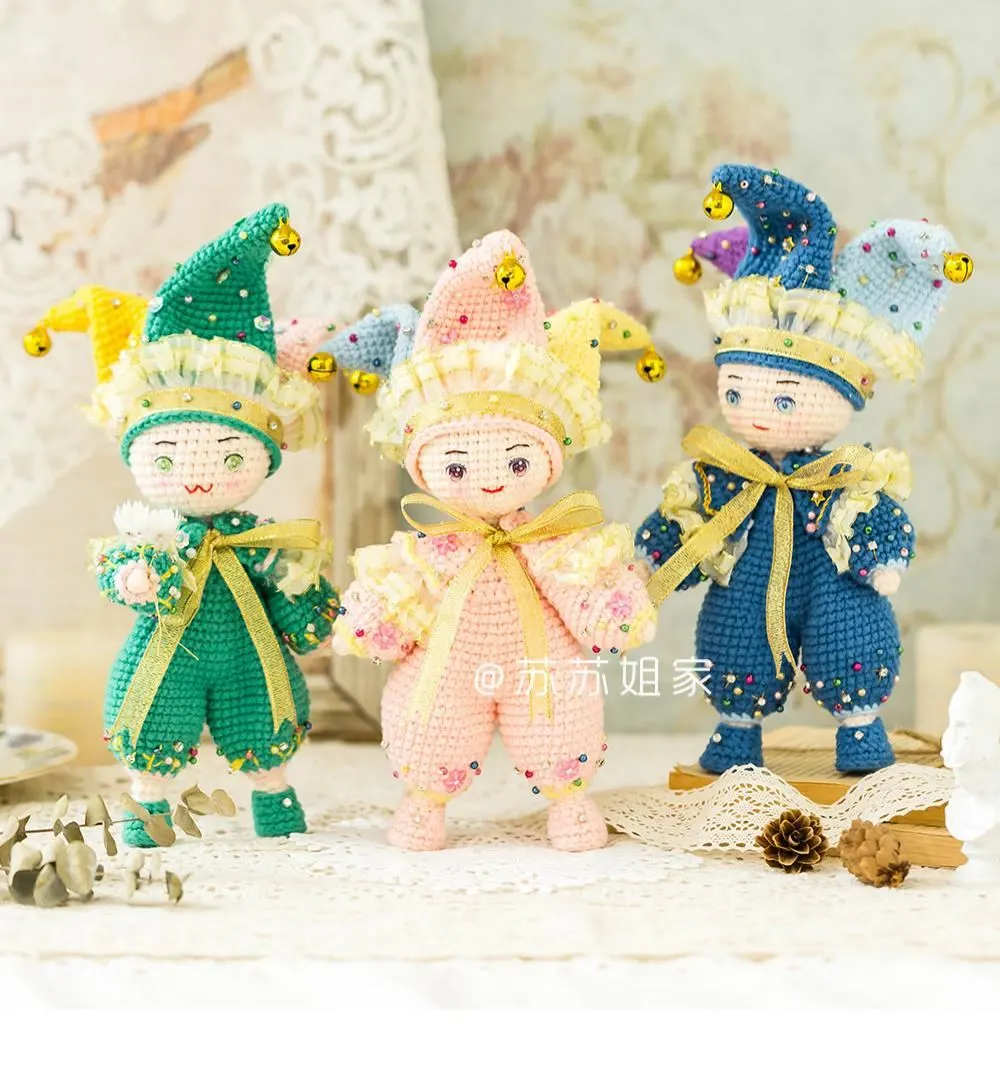
Doll
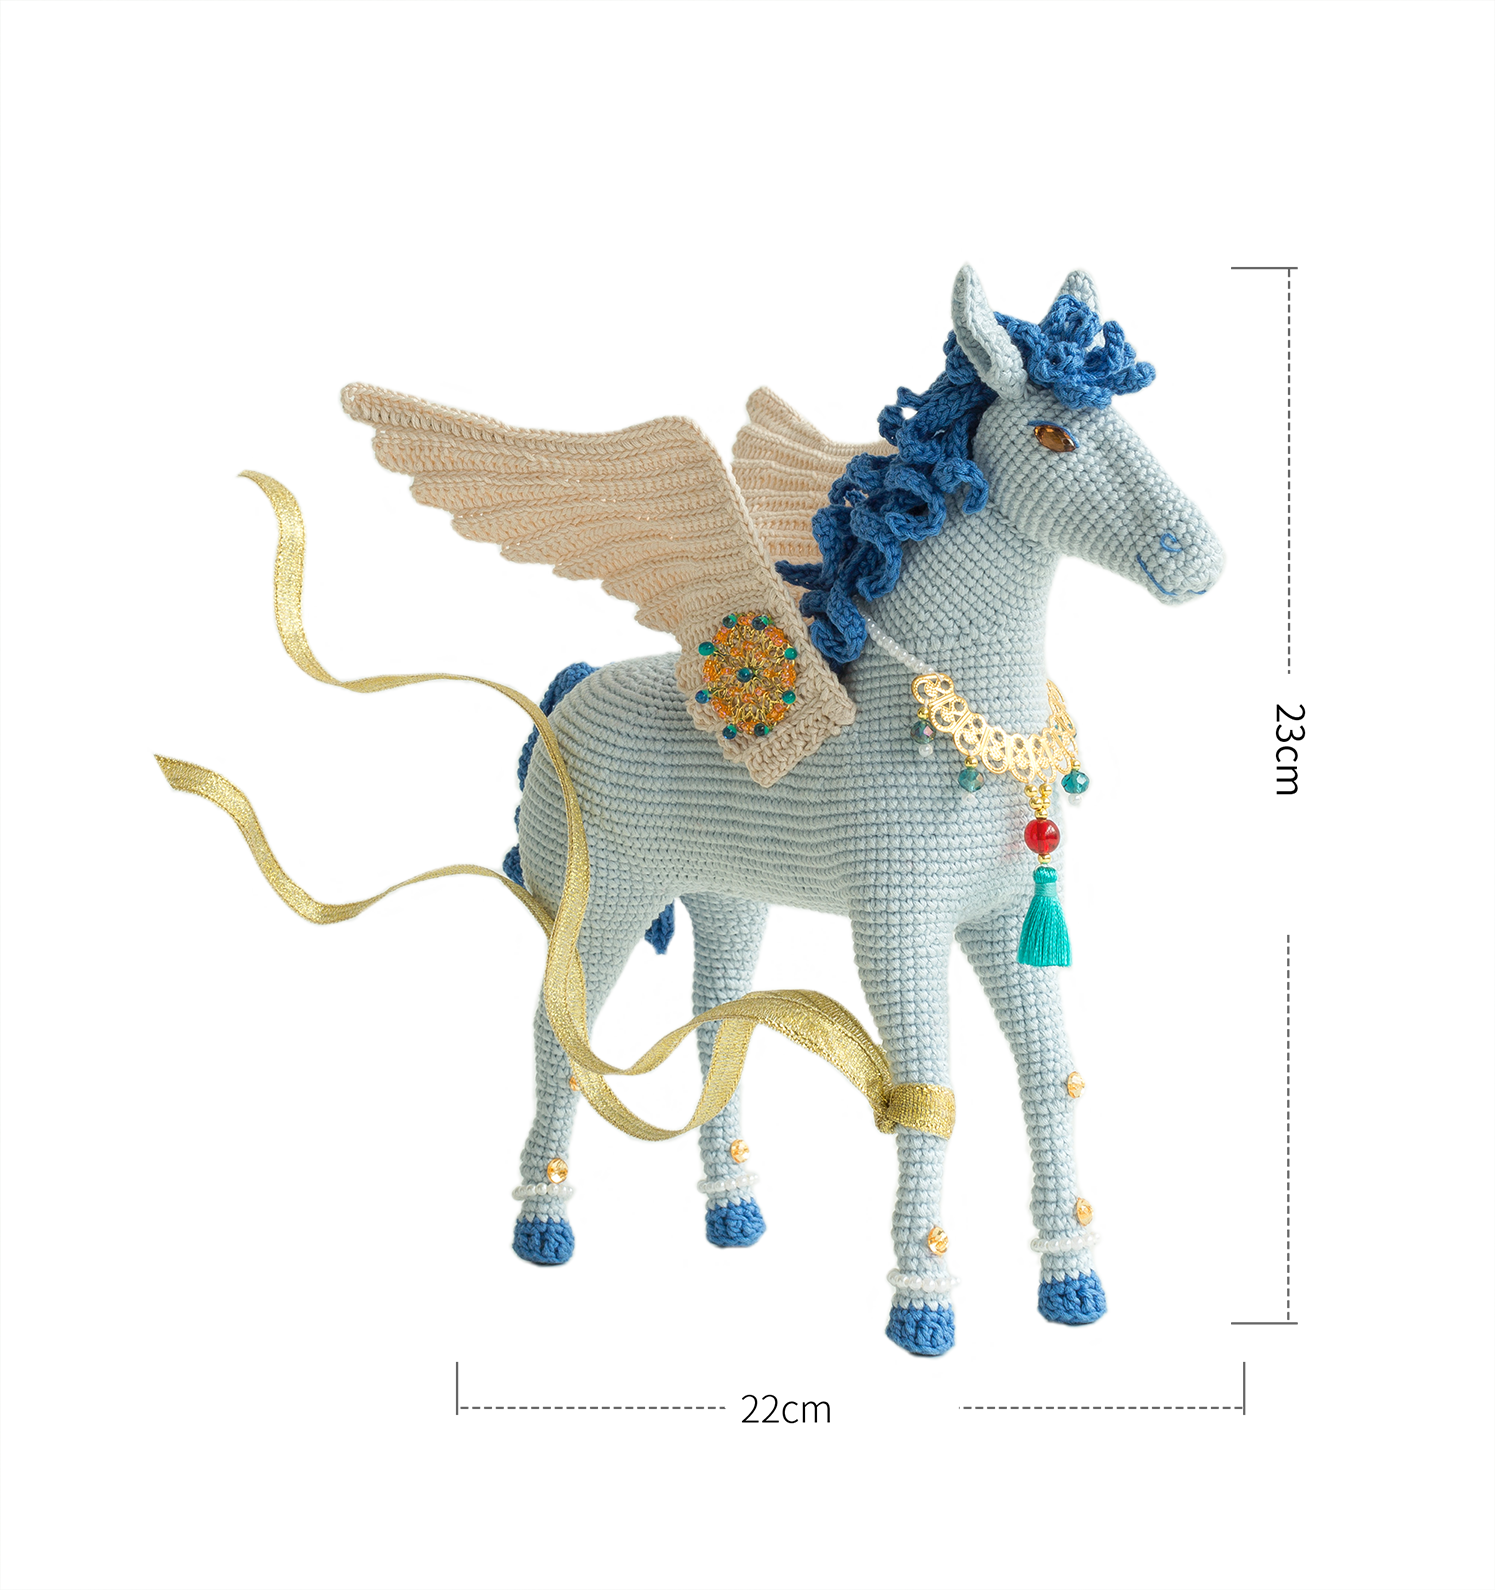
Winged Horse
Project preview
See the finished project
Pattern format
Instructions
Watch and follow
Video tutorial

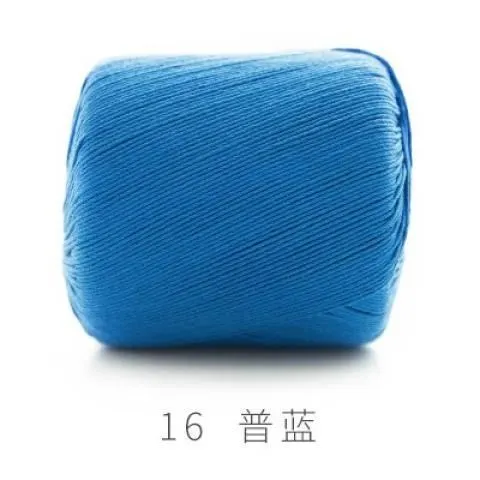
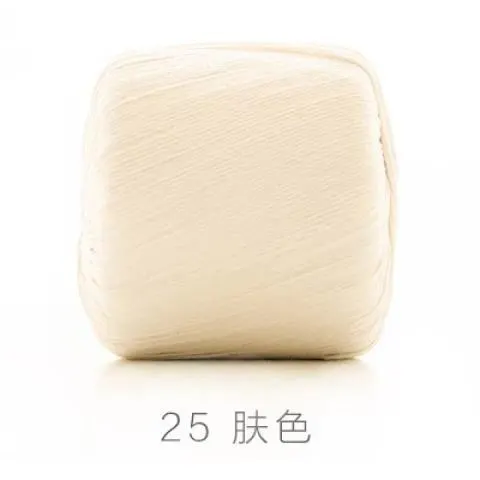
Note: Since small beads cannot be made with consistent hole sizes, if you encounter a bead that the thread cannot pass through, try replacing it with another bead. The kit is supplied with a sufficient amount of beads.
Crochet instructions: When crocheting in rounds, unless otherwise specified, start with 1 chain stitch to begin, and end by joining with a slip stitch. The turning chain for single crochet and the joining slip stitch do not count as 1 stitch.
The handcrafted measurements may have an error of 1 to 2 cm.
Due to variations in individual tension, the size of the sample is for reference only.
Materials: Susan's Family Combed 3# Lace
Tool:1.75 mm Crochet Hook
Note: For overall aesthetics, use tight X stitch single crochet.
ABBREVIATIONS
MRadjustable magic ring
(...)×6crochet item in the parentheses six times
XX stitch single crochet
V = sc2-in-12 single crochets into the same stitch
CHchain
[...]in the same stitch
A = sc2toginvisible single crochet 2 stitches together
turnturn the piece
RRound
Thalf double crochet
Fdouble crochet
Dao2start in 2nd CH from the hook
HRow
Kskip
FA = dc2togdouble crochet 2 stitches together
Sslip stitch
Asingle crochet decrease
Note: 1. This pattern is making in Chinese crochet pattern terms, and the stitch name is written using American terminology. All measurements in charts are in cm.
2. Working in joined round: When crocheting in rounds without further guidance, working in closed rounds, start each round with a set number of beginning chains and close with a slip stitch.


Part 1 Main part A
It includes the head, the neck, the body, the belly, the legs, the ears, the mane, the tail and the wings.
Step 1 Head A1 00' 54'' (Part1)
It starts with magic ring. Crochet in rounds counterclockwise. Stuffing is needed while crocheting. Please refer to the video demonstration for more details.
| Head (14#Ballad Blue) | ||
| Round | Stitch Instructions | Total Stitches |
| R 1 | MR, 6X | 6 |
| R 2 | 6V | 12 |
| R 3 | (X, V)*6 | 18 |
| R 4—R 5 | even 18X | 18 |
| R 6 | V, 16X, V | 20 |
| R 7 | V, 18X, V | 22 |
| R 8 | even 22X | 22 |
| R 9 | V, 20X, V | 24 |
| R 10 | even 24X | 24 |
| R 11 | V, 22X, V | 26 |
| R 12 | even 26X | 26 |
| R 13 | V, 24X, V | 28 |
| R 14 | even 28X | 28 |
| R 15 | X, (X, V)*3, 13X, (X, V)*3, 2X | 34 |
| R 16—R 21 | even 34X | 34 |
| R 22 | 2X, A, 26X, A, 2X | 32 |
| R 23 | 13X, A, 2X, A, 13X | 30 |
| R 24 | even 30X | 30 |
| R 25 | (3X, A)*6 | 24 |
| R 26 | (2X, A)*6 | 18 |
| R 27 | (X, A)*6 | 12 |
| R 28 | 6A | 6 |
| Stuff while crocheting the third round from the end. Leave a yarn tail of about 15 centimeters for closing the opening. | ||
Step 2 Legs A2 16' 54'' (Part1)
Four legs are crocheted in rounds counterclockwise starting with a magic ring. They are divided into front and back legs. Among them, the front and back legs also have left and right distinctions. Here, the left and right are distinguished by the toy's own left and right sides.The crochet technique is similar. Add the shaping wire and stuffing while crocheting. Please refer to the video demonstration for more details.
| Front leg*2 | |||
| Round | Stitch Instructions | Total Stitches | Color |
| Cast on, R 1 | MR, 6X | 6 | 16#French Blue |
| R 2 | 6V | 12 | |
| R 3 | (FLO)3X, 2T, FA, 2T, 3X | 11 | |
| R 4 | even 11X | 11 | |
| Crochet a round of slip stitches on R 2. | |||
| R 5 | even 11X | 11 | 14#Ballad Blue |
| R 6 | A, 7X, A | 9 | |
| R 7 | 4X, A, 3X | 8 | |
| R 8 | V, 6X, V | 10 | |
| R 9 | V, 8X, V | 12 | |
| R 10 | 4X, 2A, 4X | 10 | |
| R 11 | A, 6X, A | 8 | |
| R 12—R 15 | even 8X | 8 | |
| R 16 | V, 6X, V | 10 | |
| R 17 | even 10X | 10 | |
| R 18 | 4X, 2V, 4X | 12 | |
| R 19—R 20 | even 12X | 12 | |
| R 21 | 5X, A, 5X | 11 | |
| R 22 | even 11X | 11 | |
| R 23 | V, 9X, V | 13 | |
| R 24 | even 13X | 13 | |
| R 25 | V, 11X, V | 15 | |
| R 26 | even 15X | 15 | |
| R 27 | V, 13X, V | 17 | |
| R 28 | even 17X | 17 | |
| R 29 | V, 15X, V | 19 | |
| R 30 | even 19X | 19 | |
| R 31 | V, 17X, V | 21 | |
| R 32 | even 21X | 21 | |
| R 33 | 3X, V, 6X, V, 6X, V, 3X | 24 | |
| R 34 | even 24X | 24 | |
| After completing R 20, insert the shaping wire. After completing two legs, leave a yarn tail of about 5 centimeters and cut the yarn. | |||
| Back leg*2 | |||
| Round | Stitch Instructions | Total Stitches | Color |
| Cast on, R 1 | MR, 6X | 6 | 16#French Blue |
| R 2 | 6V | 12 | |
| R 3 | (FLO) 3X, 2T, FA, 2T, 3X | 11 | |
| R 4 | even 11X | 11 | |
| Crochet a round of slip stitches on R 2. | |||
| R 5 | even 11X | 11 | 14#Ballad Blue |
| R 6 | A, 7X, A | 9 | |
| R 7 | 4X, A, 3X | 8 | |
| R 8 | V, 6X, V | 10 | |
| R 9 | V, 8X, V | 12 | |
| R 10 | 4X, 2A, 4X | 10 | |
| R 11 | A, 6X, A | 8 | |
| R 12—R 15 | even 8X | 8 | |
| R 16 | V, 6X, V | 10 | |
| R 17 | even 10X | 10 | |
| R 18 | 5X, V, 4X | 11 | |
| R 19 | V, 9X, V | 13 | |
| R 20 | 6X, A, 5X | 12 | |
| R 21 | V, 10X, V | 14 | |
| R 22 | even 14X | 14 | |
| R 23 | A, 5X, V, 4X, A | 13 | |
| R 24 | 6X, V, 6X | 14 | |
| R 25 | even 14X | 14 | |
| R 26 | 7X, V, 6X | 15 | |
| R 27 | 7X, V, 7X | 16 | |
| R 28 | even 16X | 16 | |
| R 29 | 8X, V, 7X | 17 | |
| R 30 | V, 7X, V, 7X, V | 20 | |
| R 31 | V, 18X, V | 22 | |
| R 32 | V, 10X, V, 9X, V | 25 | |
| R 33 | V, 11X, V, 11X, V | 28 | |
| R 34 | V, 26X, V | 30 | |
| R 35 | (4X, V)*6 | 36 | |
| R 36 | even 36X | 36 | |
| R 37 | (5X, V)*6 | 42 | |
| R 38 | even 42X | 42 | |
| After completing R 20, insert the shaping wire. After completing two legs, leave a yarn tail of about 5 centimeters and cut the yarn. | |||
Step 3 Body A3 29' 10'' (Part1)
After all four legs are crocheted, Next, let's connect them together. Crochet the body in rounds. Please refer to the video demonstration for more details.
| Body (14#Ballad Blue) | ||
| Round | Stitch Instructions | Total Stitches |
| Join the yarn on the 5th stitch from the end of the left back leg , 28X, 25CH, connect the 1st stitch of the left front leg, 16X, 10CH, connect the 10th of the right front leg, 16X, 25CH, connect the 20th of the right back leg, 28X, 5CH, connect the left back leg. | ||
| R 1 | left back leg: 28X, connect the chain stitch: 25X, left front leg: 16X, connect the chain stitch: 10X, right front leg: 16X, connect the chain stitch: 25X, right back leg: 28X, connect the chain stitch: 5X | 153 |
| R 2—R 5 | even 153X | 153 |
| R 6 | 74X, V, 79X | 154 |
| R 7 | 6X, A, 13X, A, 103X, A, 13X, A, 11X | 150 |
| R 8—R 9 | even 150X | 150 |
| R 10 | 72X, V, 77X | 151 |
| R 11 | 5X, A, 13X, A, 102X, A, 13X, A, 10X | 147 |
| R 12 | 49X, A, 40X, A, 54X | 145 |
| R 13 | 15X, A, 35X, A, 32X, A, 35X, A, 20X | 141 |
| R 14 | 2X, A, 19X, A, 20X, A, 21X, V, 20X, A, 20X, A, 19X, A, 7X | 136 |
| R 15 | 9X, A, 34X, A, 37X, A, 34X, A, 14X | 132 |
| R 16 | 4X, A, 10X, A, 28X, A, 31X, A, 28X, A, 10X, A, 9X | 126 |
| R 17 | 16X, A, 85X, A, 21X | 124 |
| R 18 | 120X, A, 2X | 123 |
| R 19 | (A, X)*5, 25X, A, 35X, A, 25X, (X, A)*5, 4X | 111 |
| R 20 | (X, A)*4, 83X, (X, A)*4, 4X | 103 |
| R 21 | (X, A)*3, 82X, (X, A)*3, 3X | 97 |
| R 22 | (X, A)*2, 82X, (X, A)*2, 3X | 93 |
| R 23 | 2A, 83X, 3A | 88 |
| Leave a yarn tail of about 50 centimeters. | ||
Step 4 Belly A4 35' 35'' (Part1)
Next, crochet the belly in rounds below the legs. After finishing, sew the opening together. Please refer to the video demonstration for more details.
| Belly (14#Ballad Blue) | ||
| Round | Stitch Instructions | Total Stitches |
| R 1 | 2X, A, 12X, A, 23X, A, 6X, A, 8X, A, 6X, A, 23X, A, 12X, A, X | 101 |
| R 2 | 3A, 39X, 6A, 38X, 3A | 89 |
| R 3 | 2A, 37X, 4A, 36X, 2A | 81 |
| R 4 | A, 36X, 2A, 37X, A | 77 |
| Leave a yarn tail of about 50 centimeters. | ||
Step 5 Neck A5 42' 25'' (Part1)
First, stuff and sew the back half of the body together. Then continue crocheting the neck upwards along the opening. Stuff while crocheting. Please refer to the video demonstration for more details.
| Neck (14#Ballad Blue) | ||
| Row/Round | Stitch Instructions | Total Stitches |
| Crochet in the right side. After finishing each row, handle the yarn tails. | ||
| R 1 | the 2nd stitch on the right side of the sewing position, CH, 6X | 6 |
| R 2 | the 3rd stitch on the right side, CH, 3X, A, 3X | 7 |
| R 3 | the 4th stitch on the right side, CH, 9X | 9 |
| R 4 | the 5th stitch on the right side, CH, 11X | 11 |
| R 5 | the 6th stitch on the right side, CH, 13X | 13 |
| R 6 | the 7th stitch on the right side, CH, 15X | 15 |
| R 7 | the 8th stitch on the right side, CH, 17X | 17 |
| R 8 | the 9th stitch on the right side, CH, 19X | 19 |
| R 9 | the 11th stitch on the right side, CH, 23X | 23 |
| R 10 | the 13th stitch on the right side, CH, 2X, A, 19X, A, 2X | 25 |
| R 11 | the 14th stitch on the right side, CH, 27X | 27 |
| R 12 | the 15th stitch on the right side, CH, 13X, A, 14X | 28 |
| R 13 | the 16th stitch on the right side, CH, 30X | 30 |
| R 14 | the 17th stitch on the right side, CH, 32X | 32 |
| R 15 | the 19th stitch on the right side, CH, A, 32X, A | 34 |
| R 16 | the 21th stitch on the right side, CH, X, A, 32X, A, X | 36 |
| Crochet in spirals (do not make a beginning chain at the start, and do not make a slip stitch at the end). | ||
| R 17 | 2X, A, 19X, A, 18X | 41 |
| R 18 | 5X, A, 31X, A, X | 39 |
| R 19 | even 39X | 39 |
| R 20 | 2X, A, 17X, A, 16X | 37 |
| R 21 | even 37X | 37 |
| R 22 | X, A, 9X, A, 12X, A, 9X | 34 |
| R 23 | even 34X | 34 |
| R 24 | 3X, A, 26X, A, X | 32 |
| Leave a yarn tail of about 50 centimeters. | ||
Step 6 Ears A6 57' 28'' (Part1)
The method for crocheting the two ears on the left and right sides is identical. Both use the magic ring technique to crochet in rounds for one round. Then work back and forth. When crocheting the edging, include a thin wire. Please refer to the video demonstration for more details.
| Ear*2 (14#Ballad Blue) | ||
| Round/Row | Stitch Instructions | Total Stitches |
| Cast on, R 1 | MR, 6X | 6 |
| R 2 | CH, 6X | 6 |
| R 3—R 6 | CH, Turn, even 6X | 6 |
| R 7 | CH, Turn, A, 2X, A | 4 |
| R 8 | CH, Turn, even 4X | 4 |
| R 9 | CH, Turn, 2A | 2 |
| R 10 | CH, Turn, even 2X | 2 |
| R 11 | CH, Turn, A | 1 |
| edging | Add the thin wire, even 22X | 22 |
| Leave a yarn tail of about 30 centimeters. | ||
Step 7 Mane A7 66' 55'' (Part1)
The mane starts with a foundation chain. Crochet along the chain stitches. Please refer to the video demonstration for more details.
| Mane (16#French Blue) | |
| Numbers | Stitch Instructions |
| Cast on | 27CH, Dao 2, 26S |
| 1—3 | 8CH, Dao 2, 2S, 5X, S |
| 4—6 | 9CH, Dao 2, 2S, 6X, S |
| 7—8 | 11CH, Dao 2, 2S, 8X, S |
| 9—10 | 13CH, Dao 2, 2S, 10X, S |
| 11—12 | 15CH, Dao 2, 2S, 12X, S |
| 13—14 | 17CH, Dao 2, 2S, 14X, S |
| 15—16 | 19CH, Dao 2, 2S, 16X, S |
| 17—18 | 21CH, Dao 2, 2S, 18X, S |
| 19—22 | 21CH, Dao 2, 2S, 18X, K1, S |
| 23 | S, 21CH, Dao 2, 2S, 18X, K1, S |
| 24—26 | 21CH, Dao 2, 2S, 18X, K1, S |
| 27—28 | 21CH, Dao 2, 2S, 18X, S |
| 29—30 | 19CH, Dao 2, 2S, 16X, S |
| 31—32 | 17CH, Dao 2, 2S, 14X, S |
| 33—34 | 15CH, Dao 2, 2S, 12X, S |
| 35—36 | 13CH, Dao 2, 2S, 10X, S |
| 37—38 | 11CH, Dao 2, 2S, 8X, S |
| 39—41 | 9CH, Dao 2, 2S, 6X, S |
| 42—44 | 8CH, Dao 2, 2S, 5X, S |
| Leave a yarn tail of about 50 centimeters. | |
Step 8 Tail A8 73' 54'' (Part1)
The tail starts with an adjustable magic ring. Crochet in rounds counterclockwise. Please refer to the video demonstration for more details.
| Tail (16#French Blue) | |||
| Round | Stitch Instructions | Total Stitches | |
| R 1 | MR, 6X | 6 | |
| R 2 | even 6X | 6 | |
| R 3 | 1 | 26CH, Dao 2, 2S, 23X, the same stitch: S | / |
| 2 | 31CH, Dao 2, 2S, 28X, next stitch: S | ||
| 3~12 | Repeat the crocheting method of 1~2. | ||
| Leave a yarn tail of about 30 centimeters. | |||
Step 9 Wings A9 00' 26'' (Part2)
The wings are divided into the right wing and the left wing. Both start with a chain stitch. Then work back and forth along the starting chain to crochet the feathers. The last feather of the left and right wings is crocheted differently. You'll need to add a shaping wire. Please refer to the video demonstration for more details.
| Wing*2 (25#Sheer Pink) | |
| Feathers | Stitch Instructions |
| strand 1 | 12CH, Dao 4, 4F, 5T |
| strand 2 | CH, Turn, BLO, 9S, 5CH, Dao 4, FLO, 4F, 7T |
| strand 3 | CH, Turn, BLO, 11S, 5CH, Dao 4, FLO, 4F, 9T |
| strand 4 | CH, Turn, BLO, 13S, 5CH, Dao 4, FLO, 4F, 11T |
| strand 5 | CH, Turn, BLO, 15S, 5CH, Dao 4, FLO, 4F, 13T |
| strand 6 | CH, Turn, K1, BLO, 16S, 8CH, Dao 4, FLO, 7F, 8T, 6X |
| strand 7 | CH, Turn, K1, BLO, 20S, 6CH, Dao 4, FLO, 7F, 8T, 8X |
| strand 8 | CH, Turn, K1, BLO, 22S, 6CH, Dao 4, FLO, 7F, 8T, 10X |
| strand 9 | CH, Turn, K1, BLO, 24S, 6CH, Dao 4, FLO, 7F, 8T, 12X |
| strand 10 | CH, Turn, K1, BLO, 26S, 6CH, Dao 4, FLO, 7F, 8T, 14X |
| strand 11 | CH, Turn, K1, BLO, 28S, 6CH, Dao 4, FLO, 7F, 8T, 16X |
| strand 12 | CH, Turn, K1, BLO, 30S, 6CH, Dao 4, FLO, 7F, 8T, 18X |
| strand 13 of the left wing | CH, Turn, K1, BLO, 32S, 6CH, Dao 4, insert the shaping wire, FLO, 7F, 8T, 19X, V, 21X |
| strand 13 of the right wing | CH, Turn, K1, BLO, 32S, 3CH, join the yarn on the wrong side, insert the shaping wire, CH, 21X, BLO, V, 19X, 8T, 7F, 3CH, S |
| The amount of red stitches is for reference only and can be adjusted according to the actual situation. Leave a yarn tail of about 30 centimeters for the left wing. Leave a yarn tail of about 30 centimeters at the last row of the right wing. | |
Step 10 Assembly A10 18' 26'' (Part2)
We'll assemble all parts together. Start by securing the head. Next, attach the two ears. Then, sew the mane and the tail.Please refer to the video demonstration for more details.
Part 2 Decorations
They consist of facial features B1, necklaces B2,wing decorations B3, and leg embellishments B4. Facial features include face shaping, eyes and the mouth-nose area. After completing the wing decorations, assemble the wings with the body. The leg decorations include pearl strings, flat-back crystals, and ribbons. Please refer to the video demonstration for more details.
Made by the community