Clothes
Charming Cardigan
Project preview
See the finished project
Pattern format
Instructions
Watch and follow
Video tutorial
| Style | Yarn | Color |
|---|---|---|
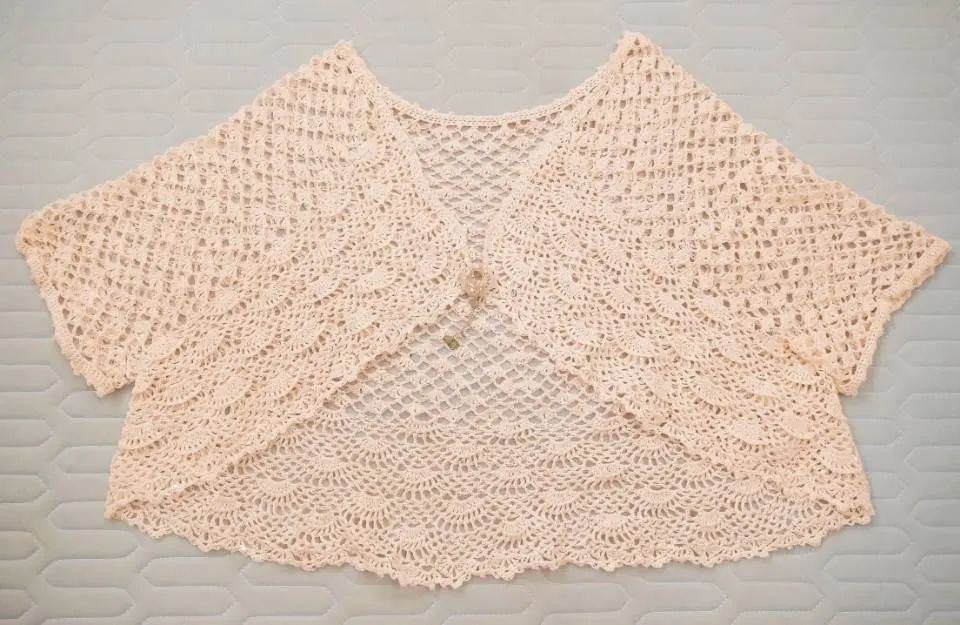
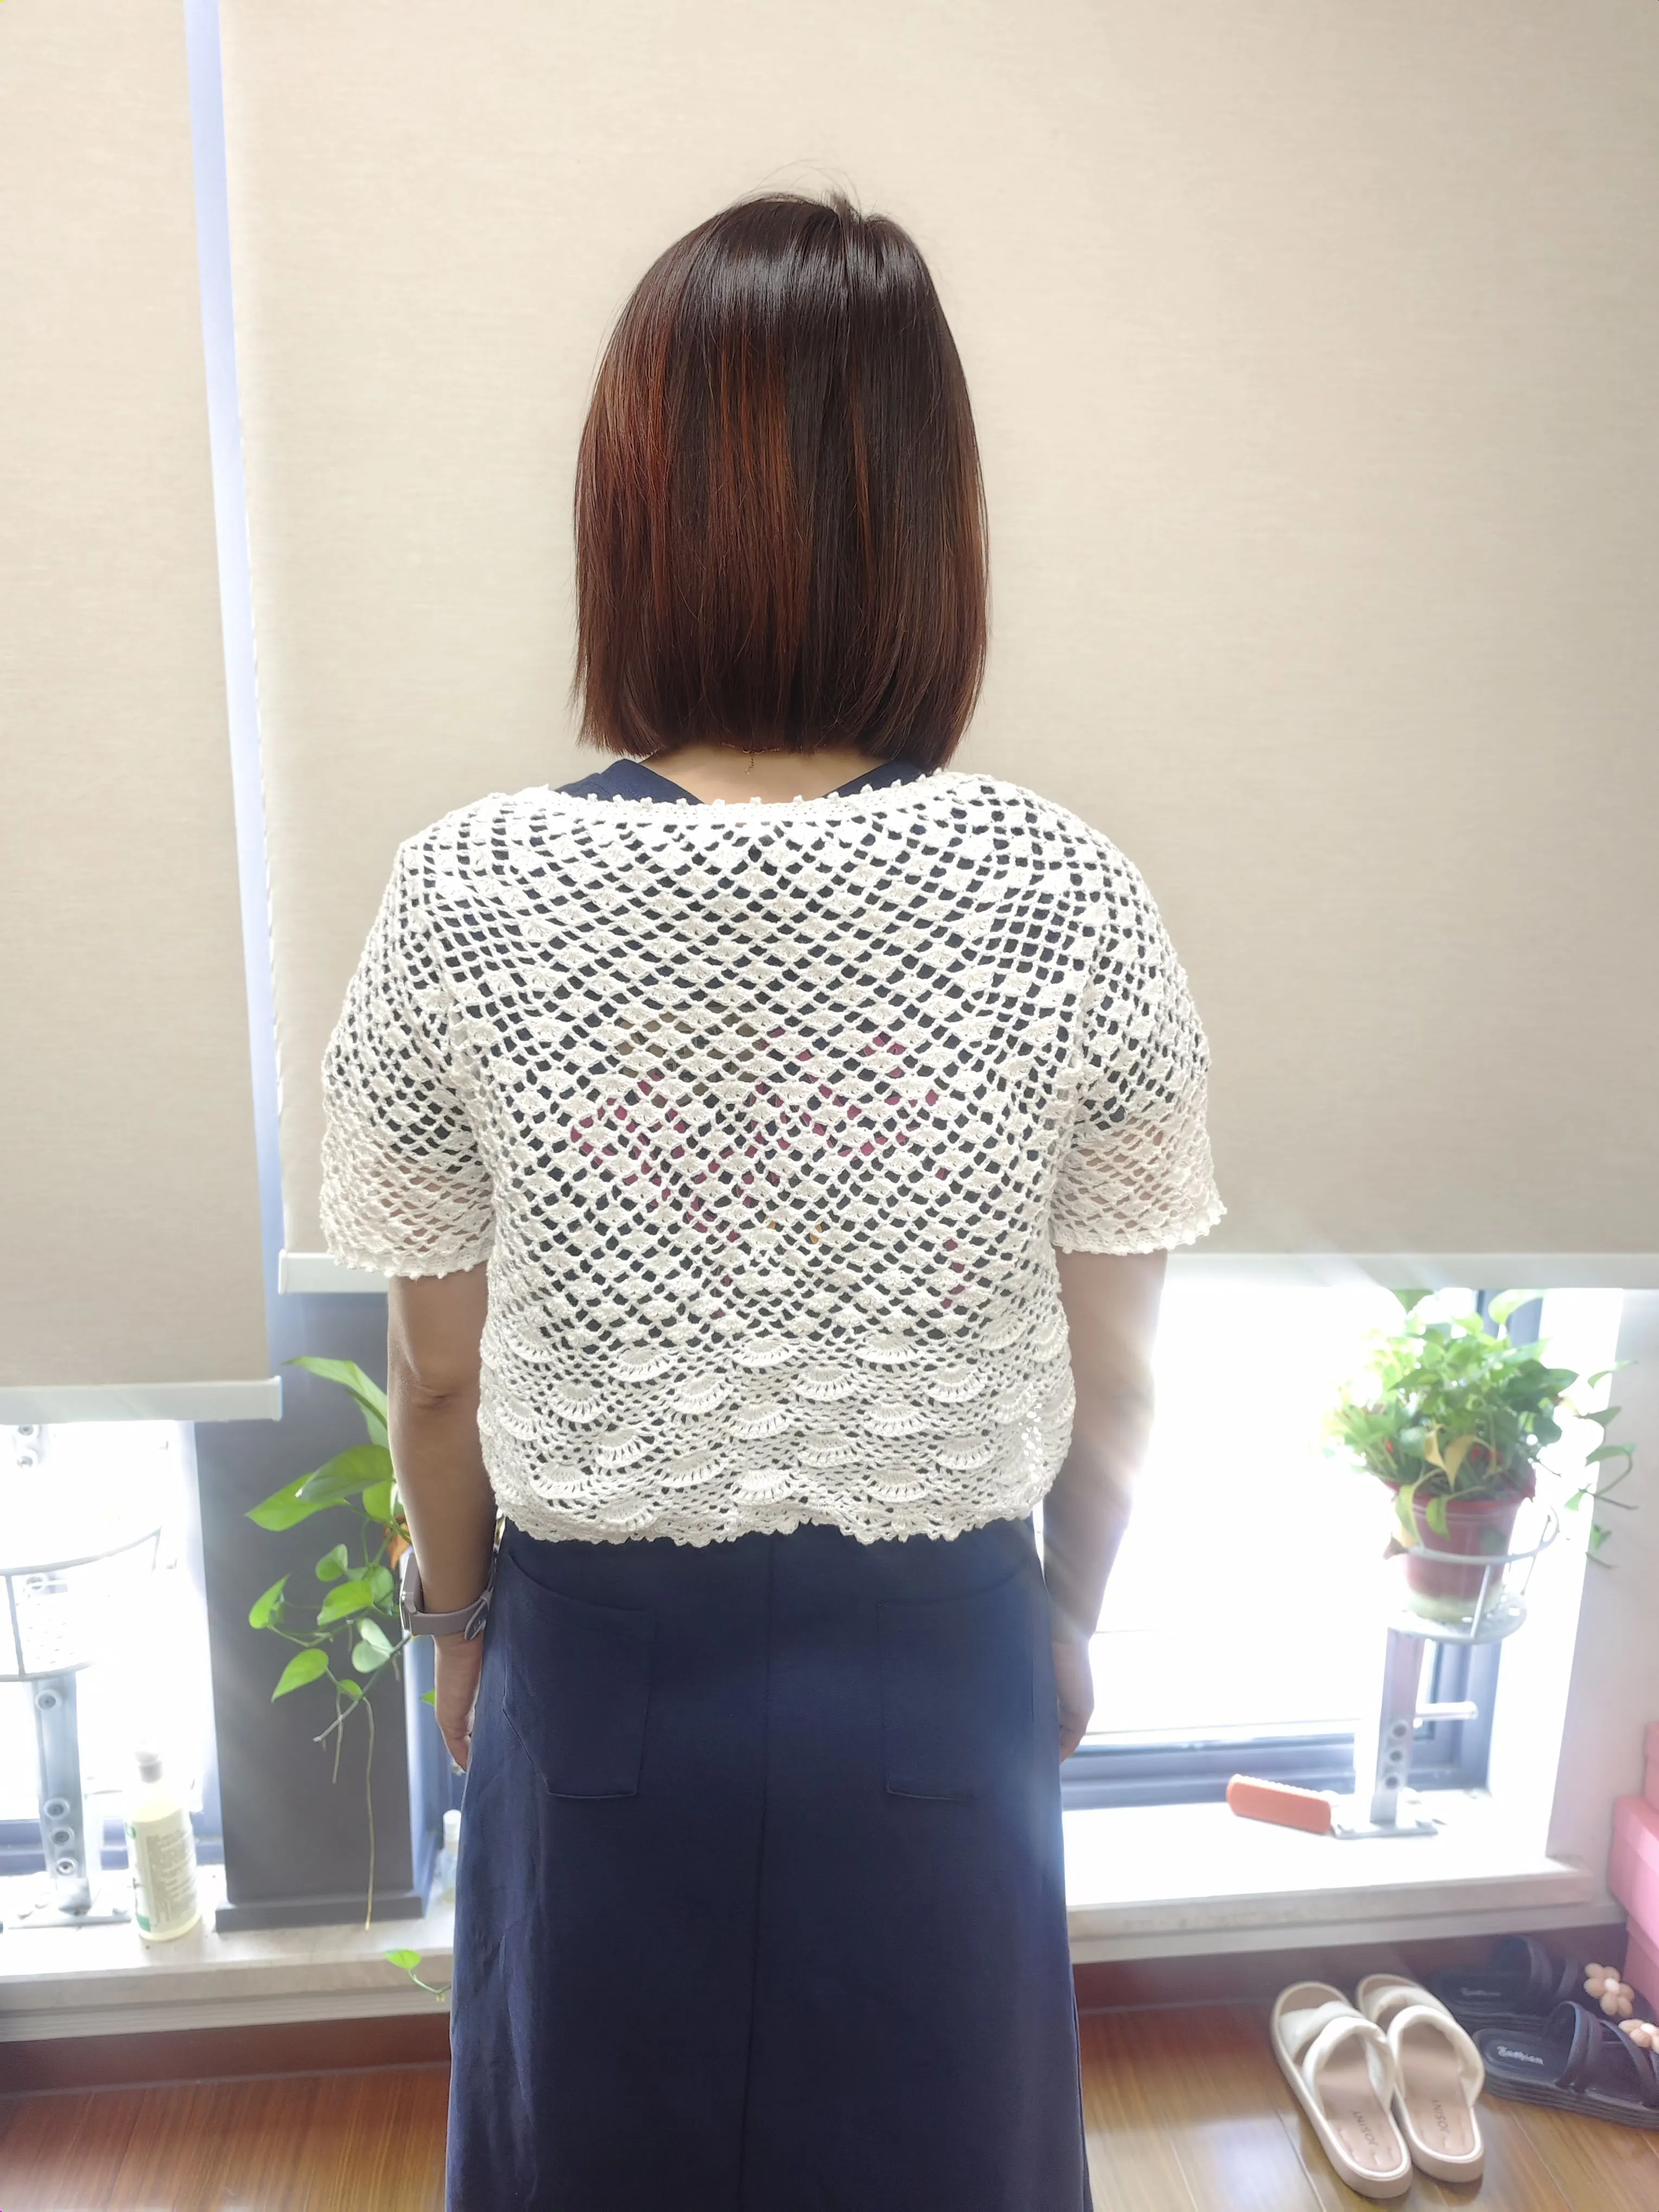
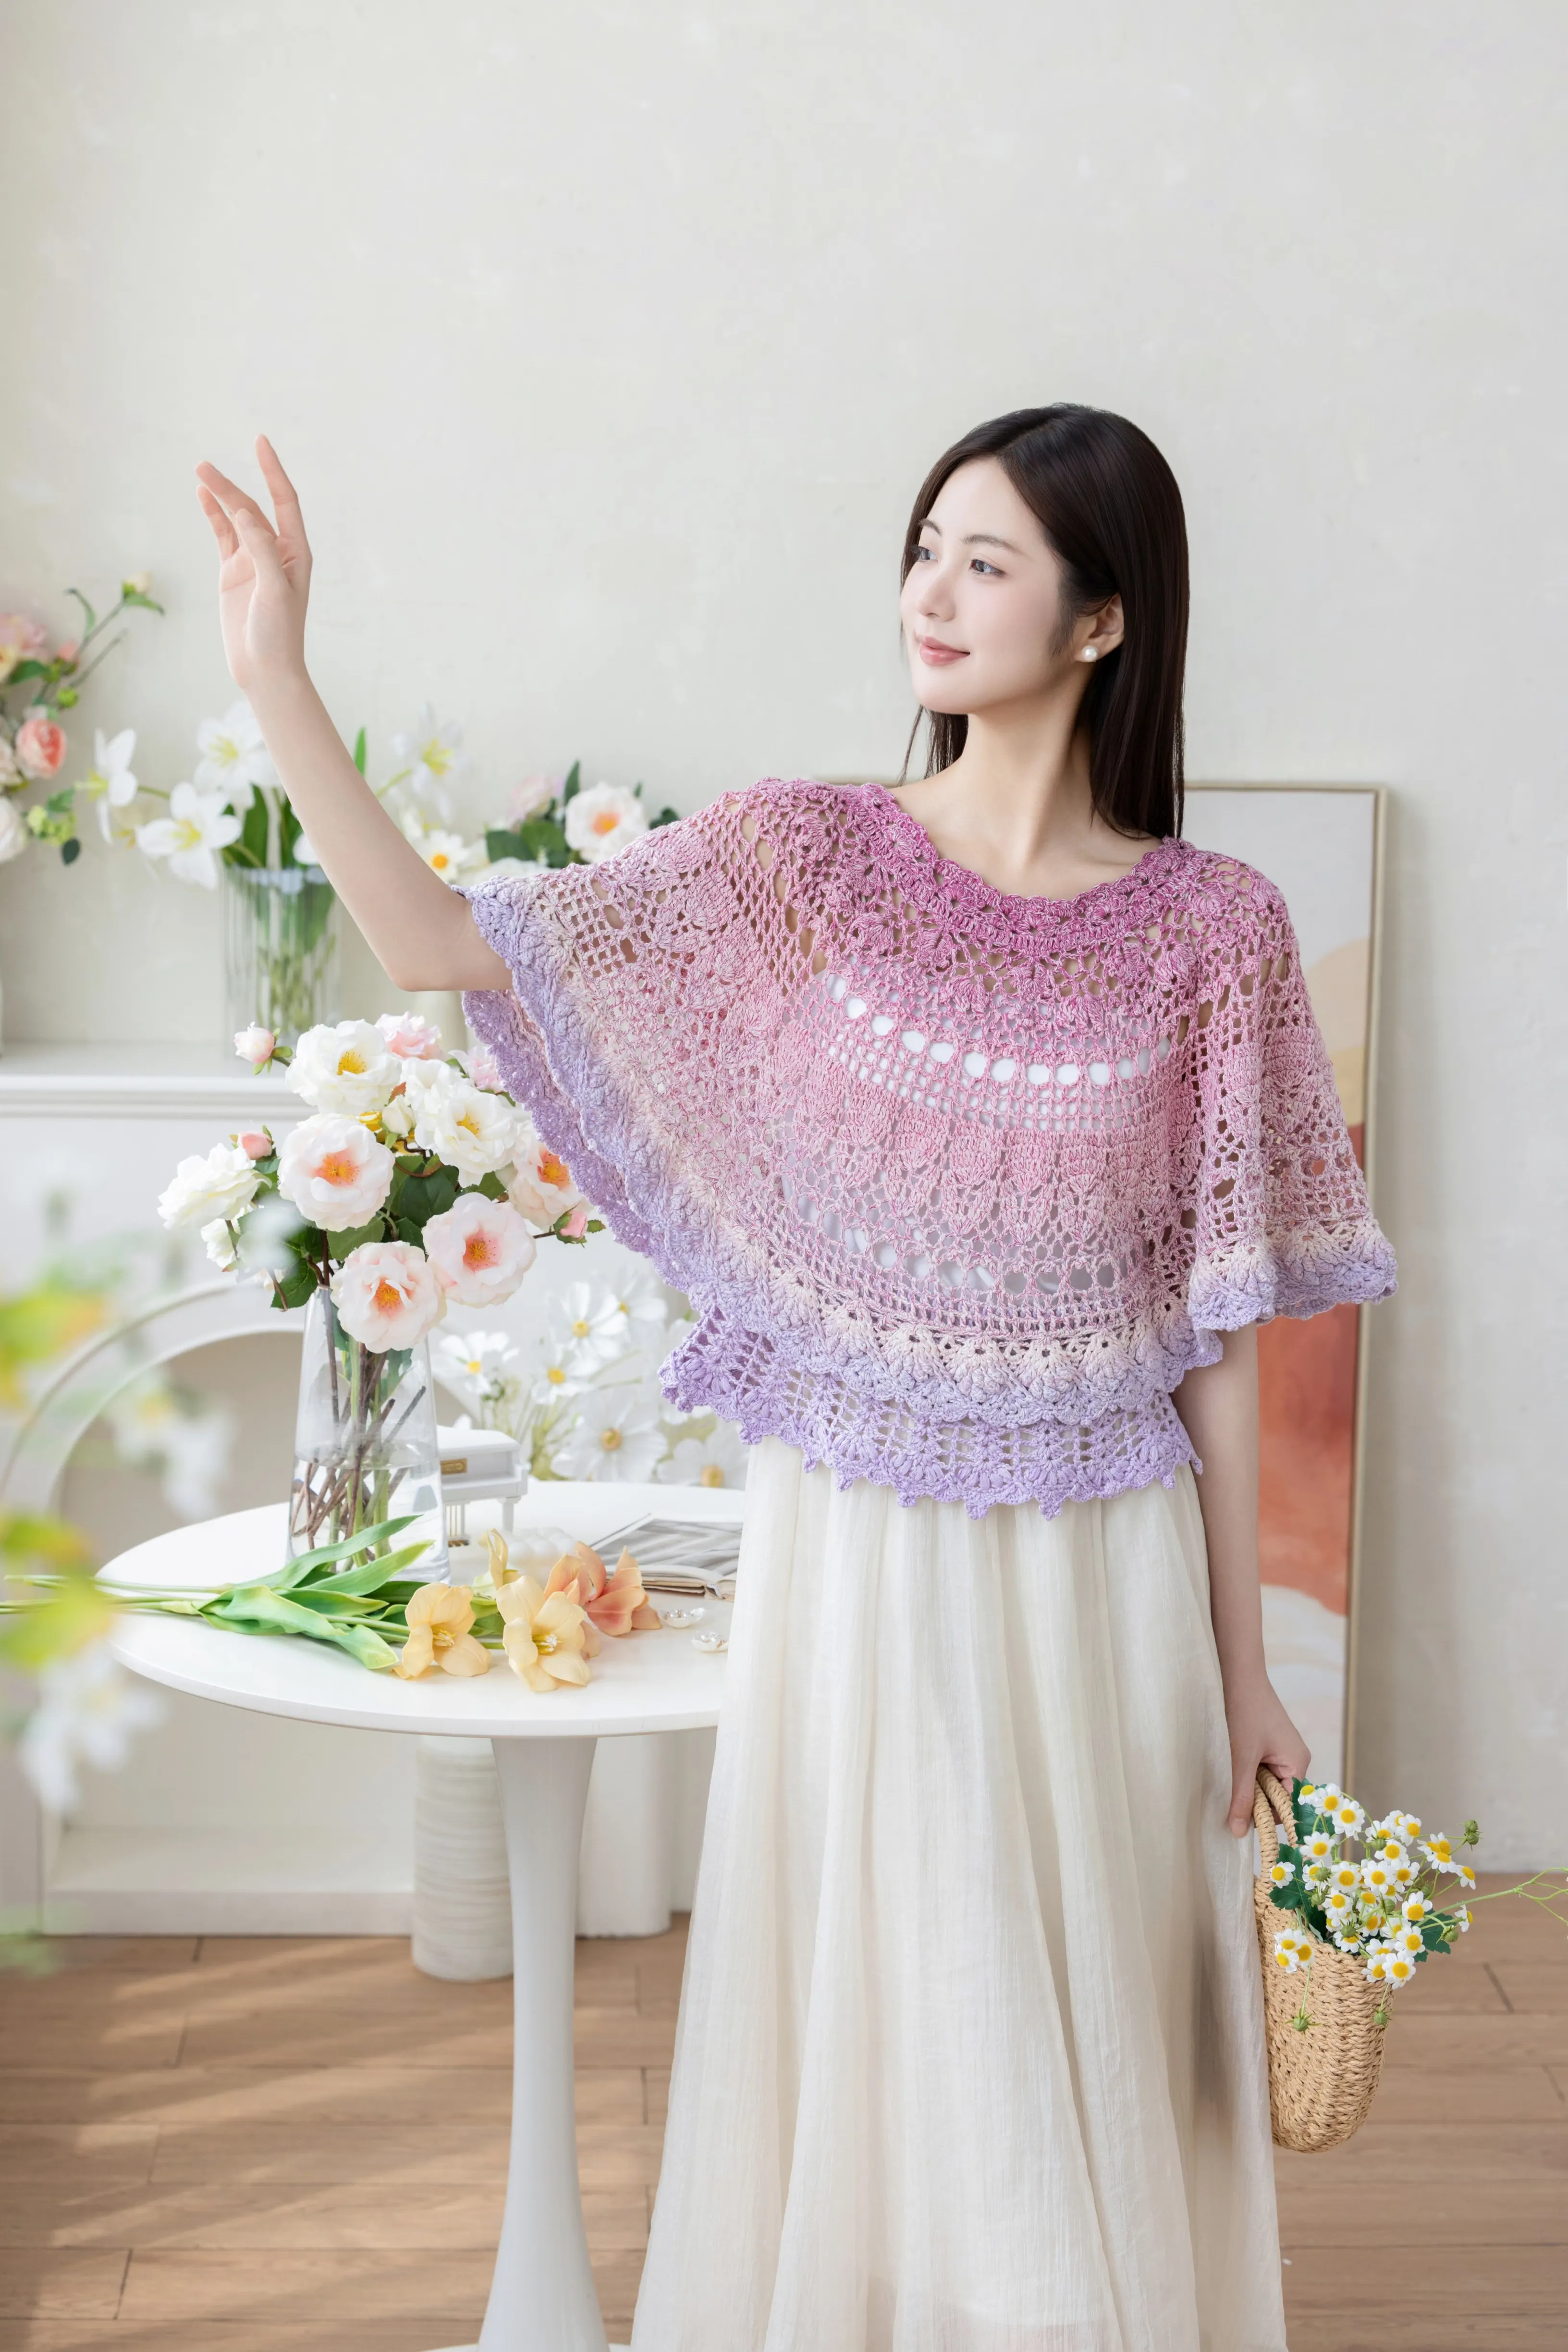
| Bleached Sand - Short sleeves - Small size | Combed 3# Lace |  03#Bleached Sand x 6 03#Bleached Sand x 6 48#Aurora Red x 1 48#Aurora Red x 1 |
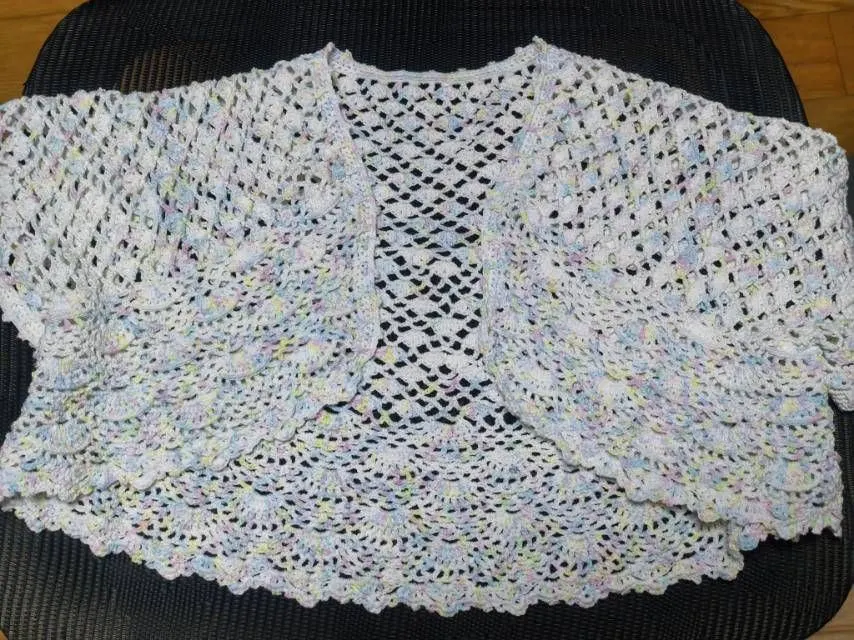
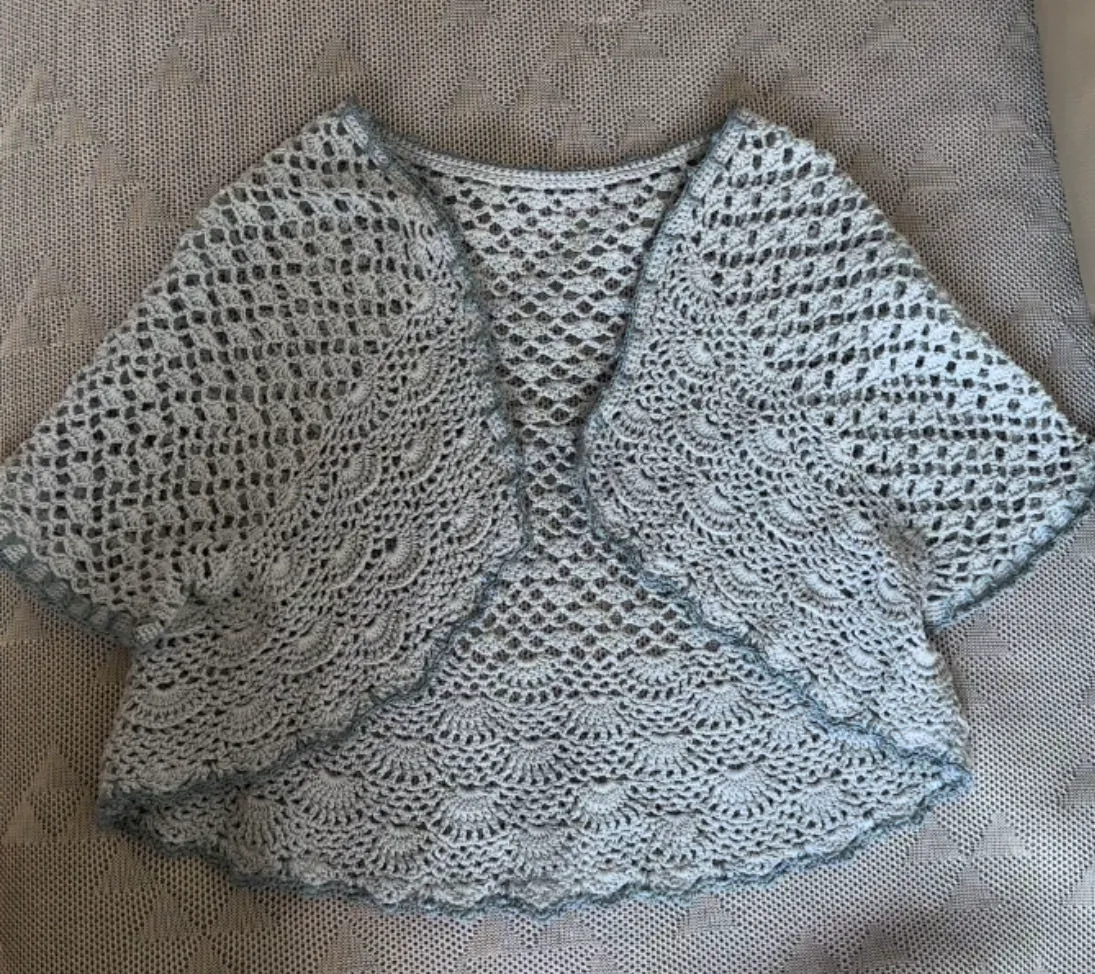
| Ballad Blue - Short sleeves - Small size | Combed 3# Lace |  14#Ballad Blue x 6 14#Ballad Blue x 6 43#Blue Moon x 1 43#Blue Moon x 1 |
| Ballad Blue - Long sleeves - Small size | Combed 3# Lace | 14#Ballad Blue x 943#Blue Moon x 1 |
| Bleached Sand - Long sleeves - Small size | Combed 3# Lace | 03#Bleached Sand x 948#Aurora Red x 1 |
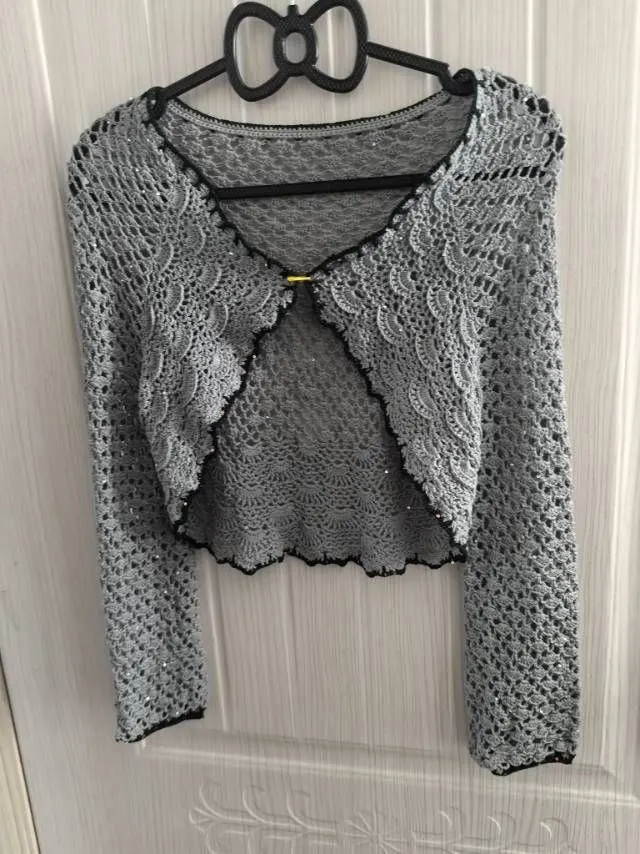
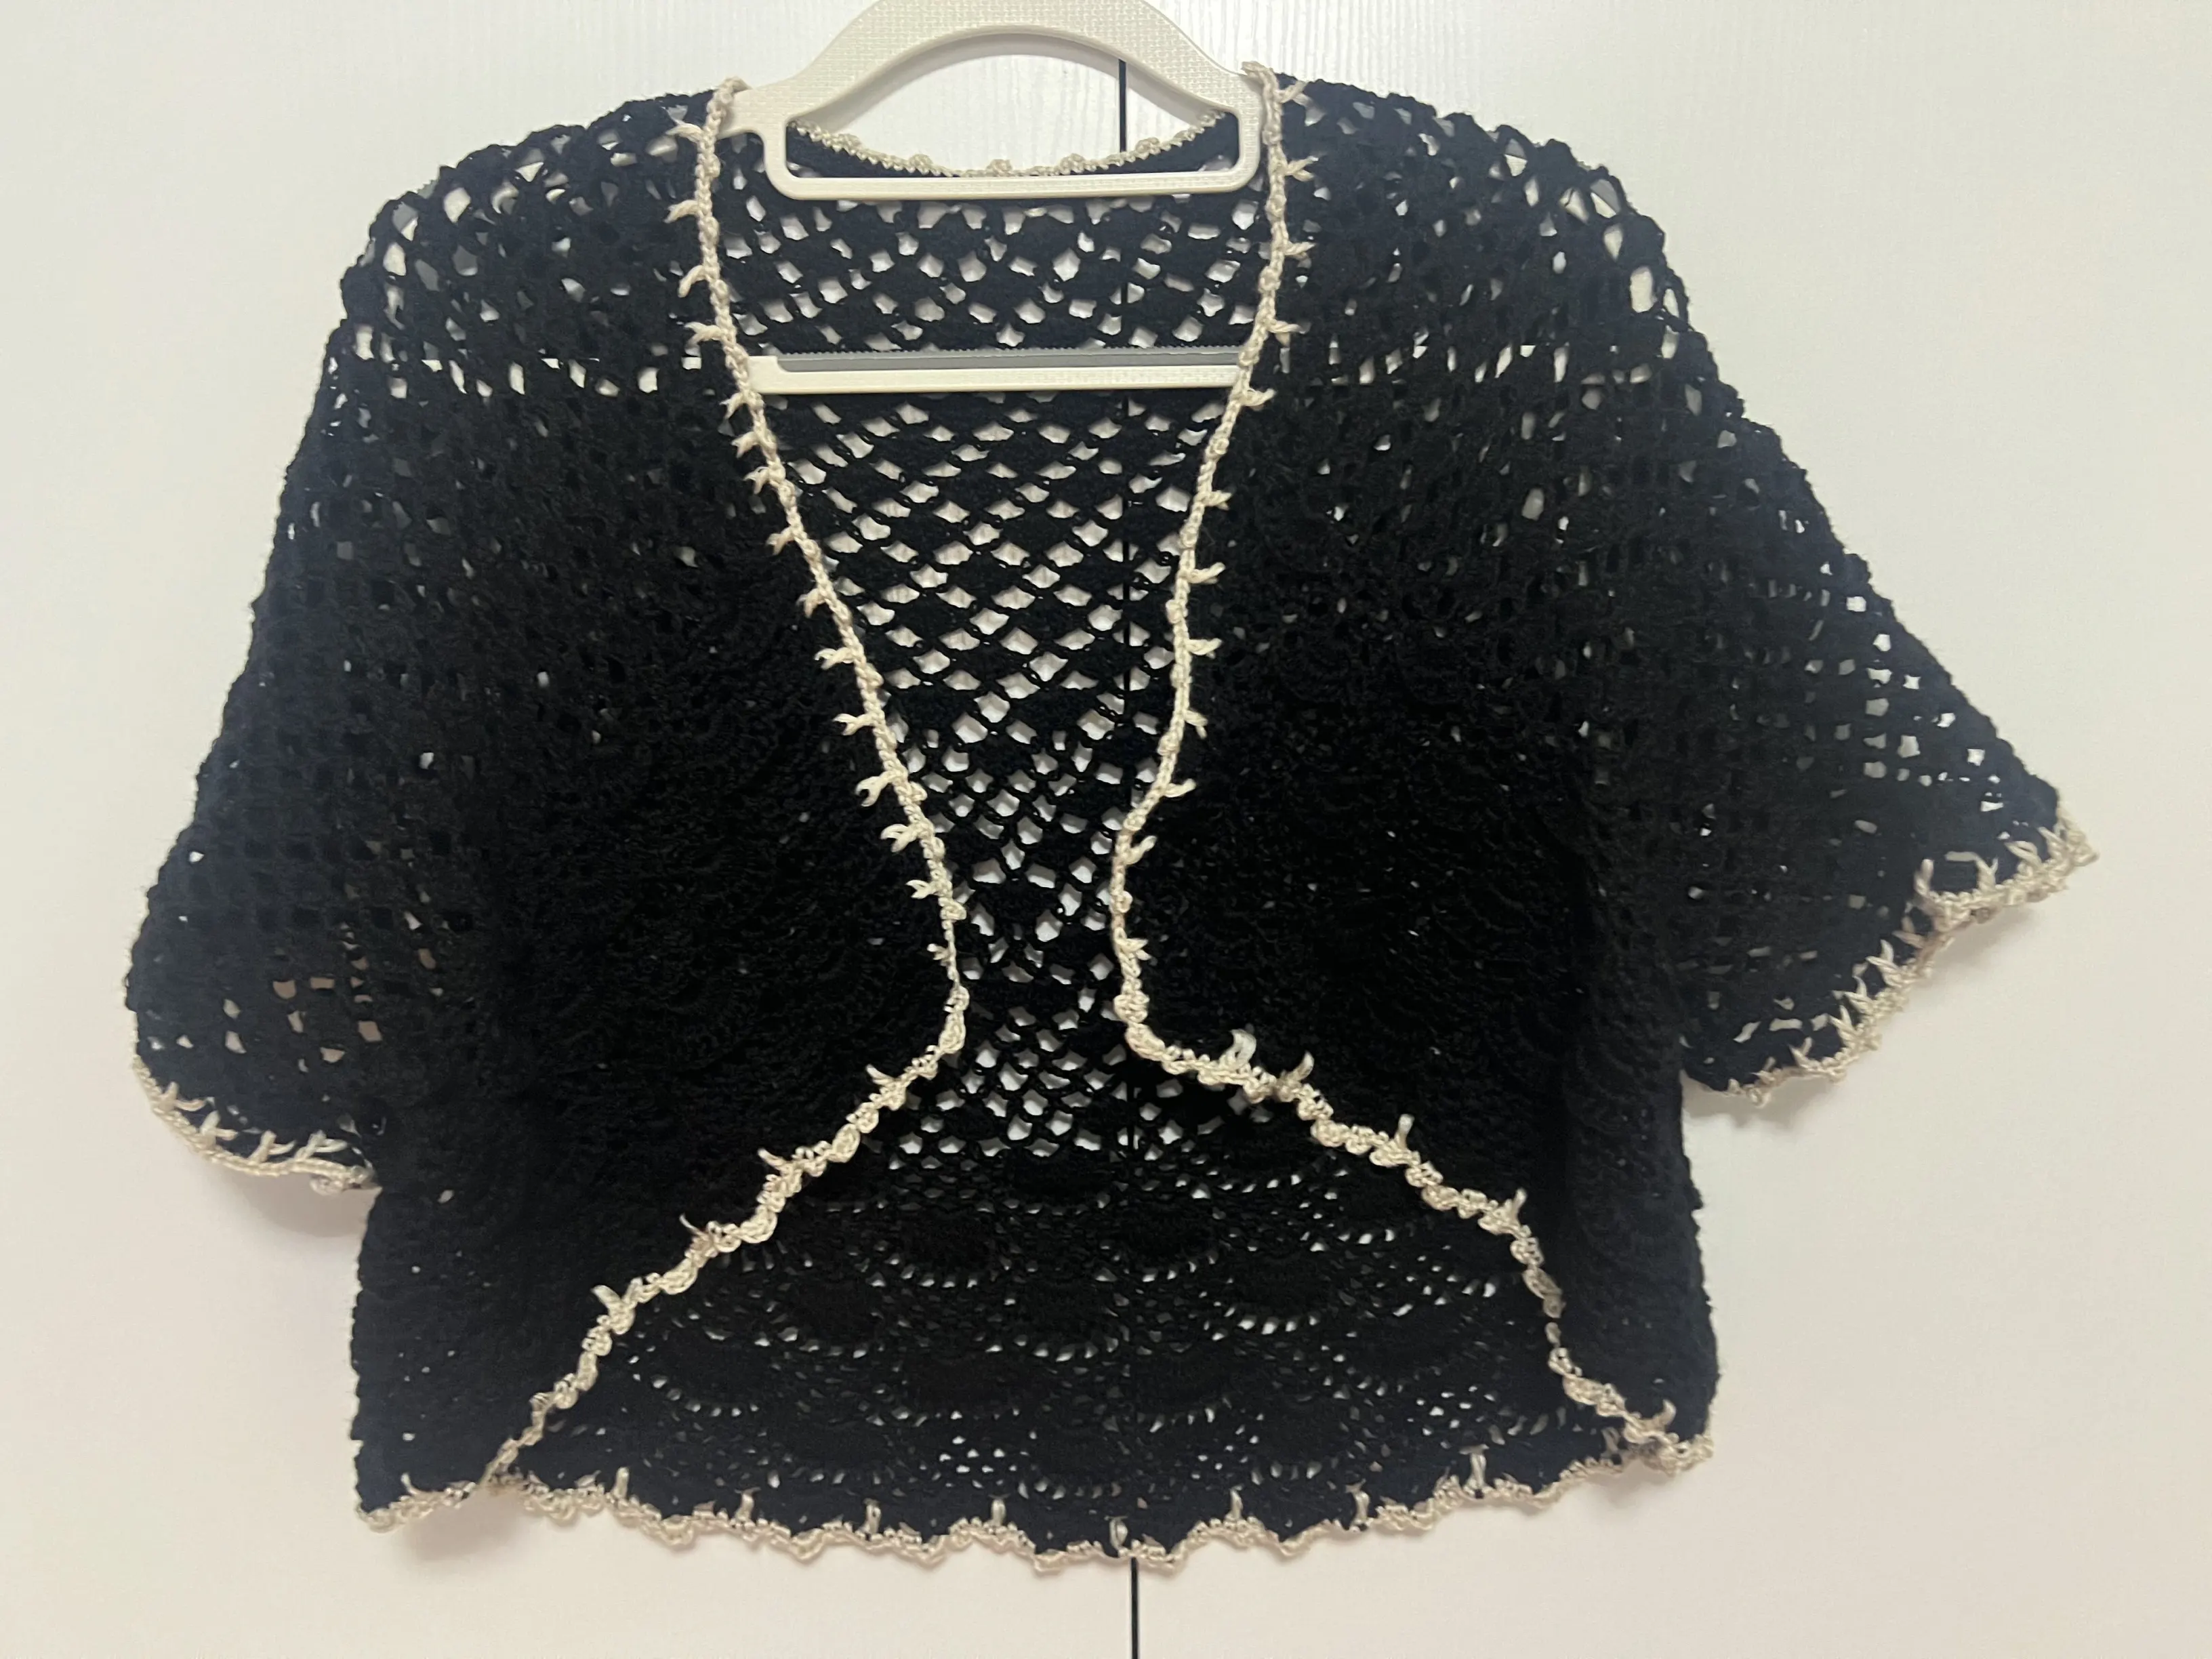
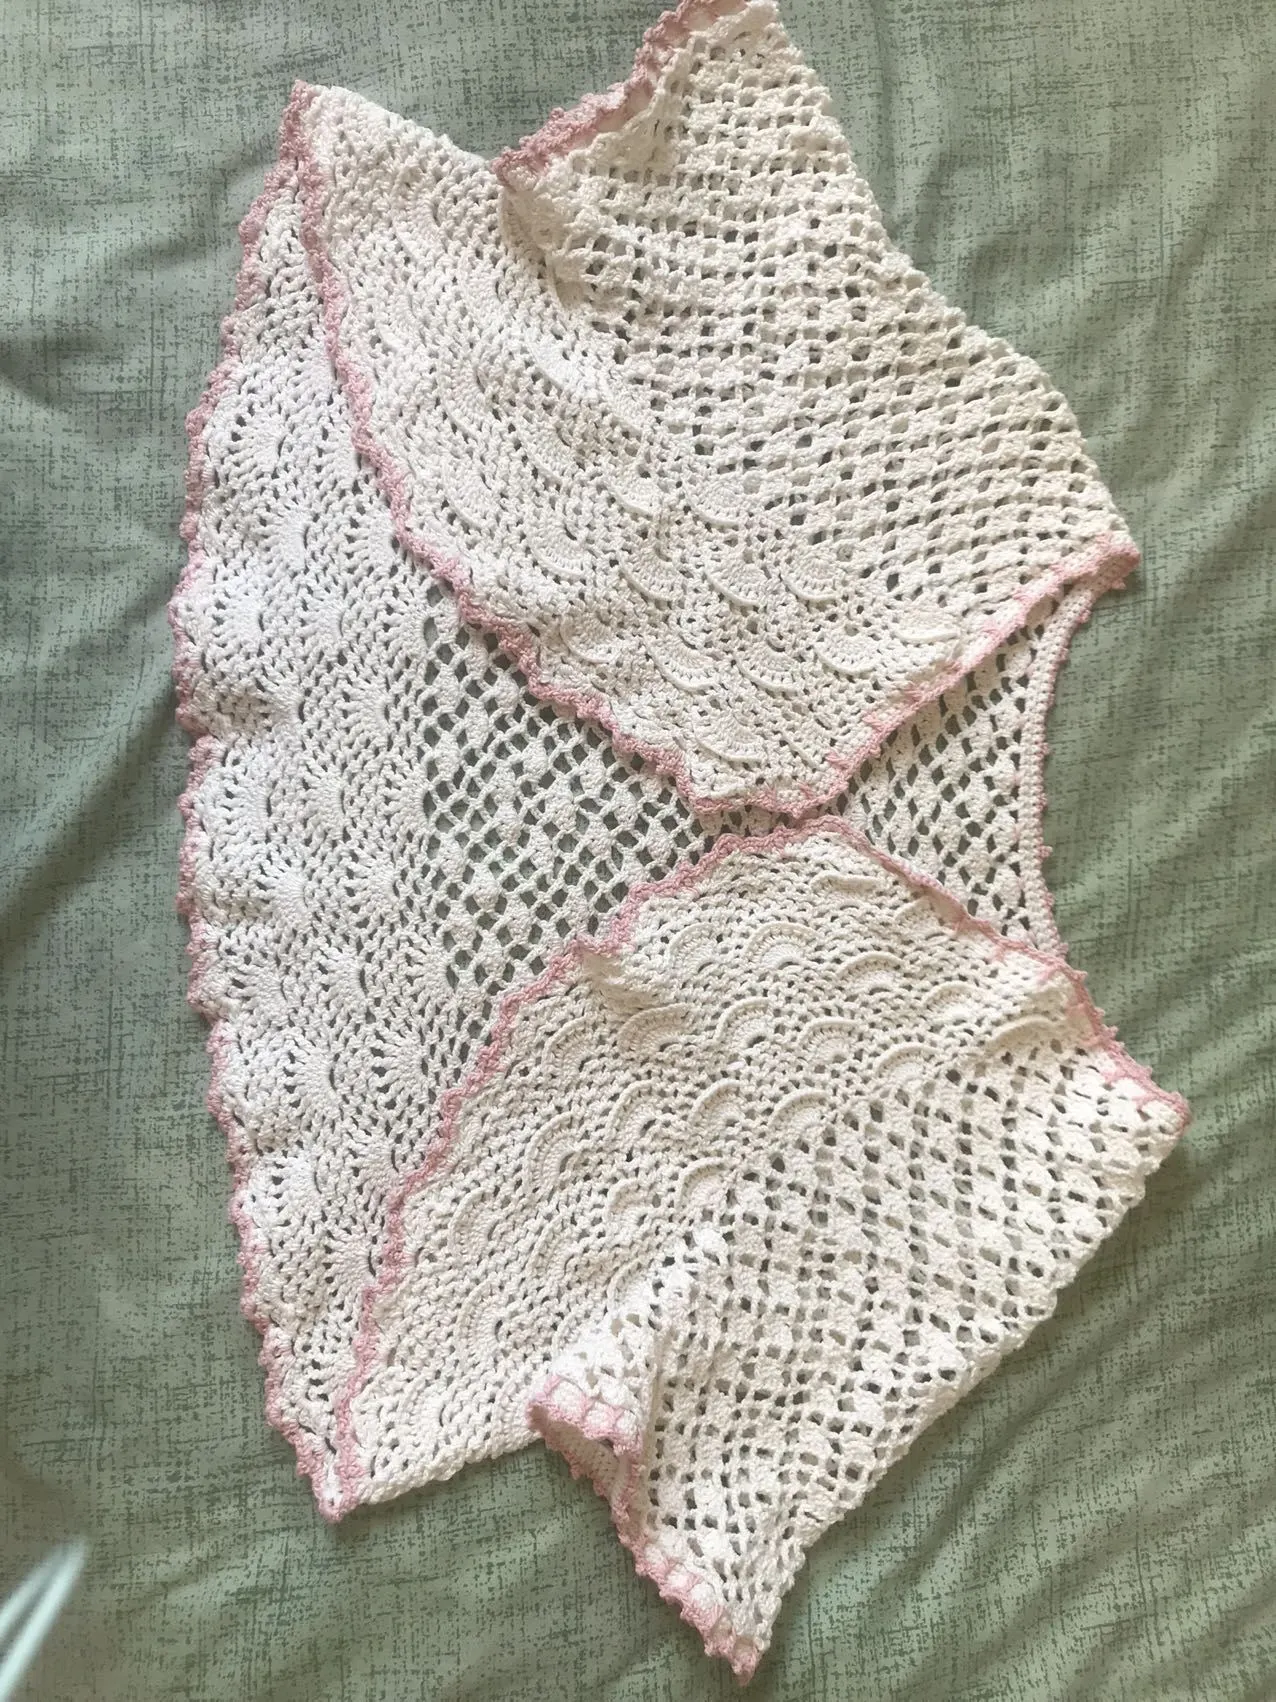
Bleached Sand - Short sleeves - Small size
Ballad Blue - Short sleeves - Small size
Ballad Blue - Long sleeves - Small size
Bleached Sand - Long sleeves - Small size
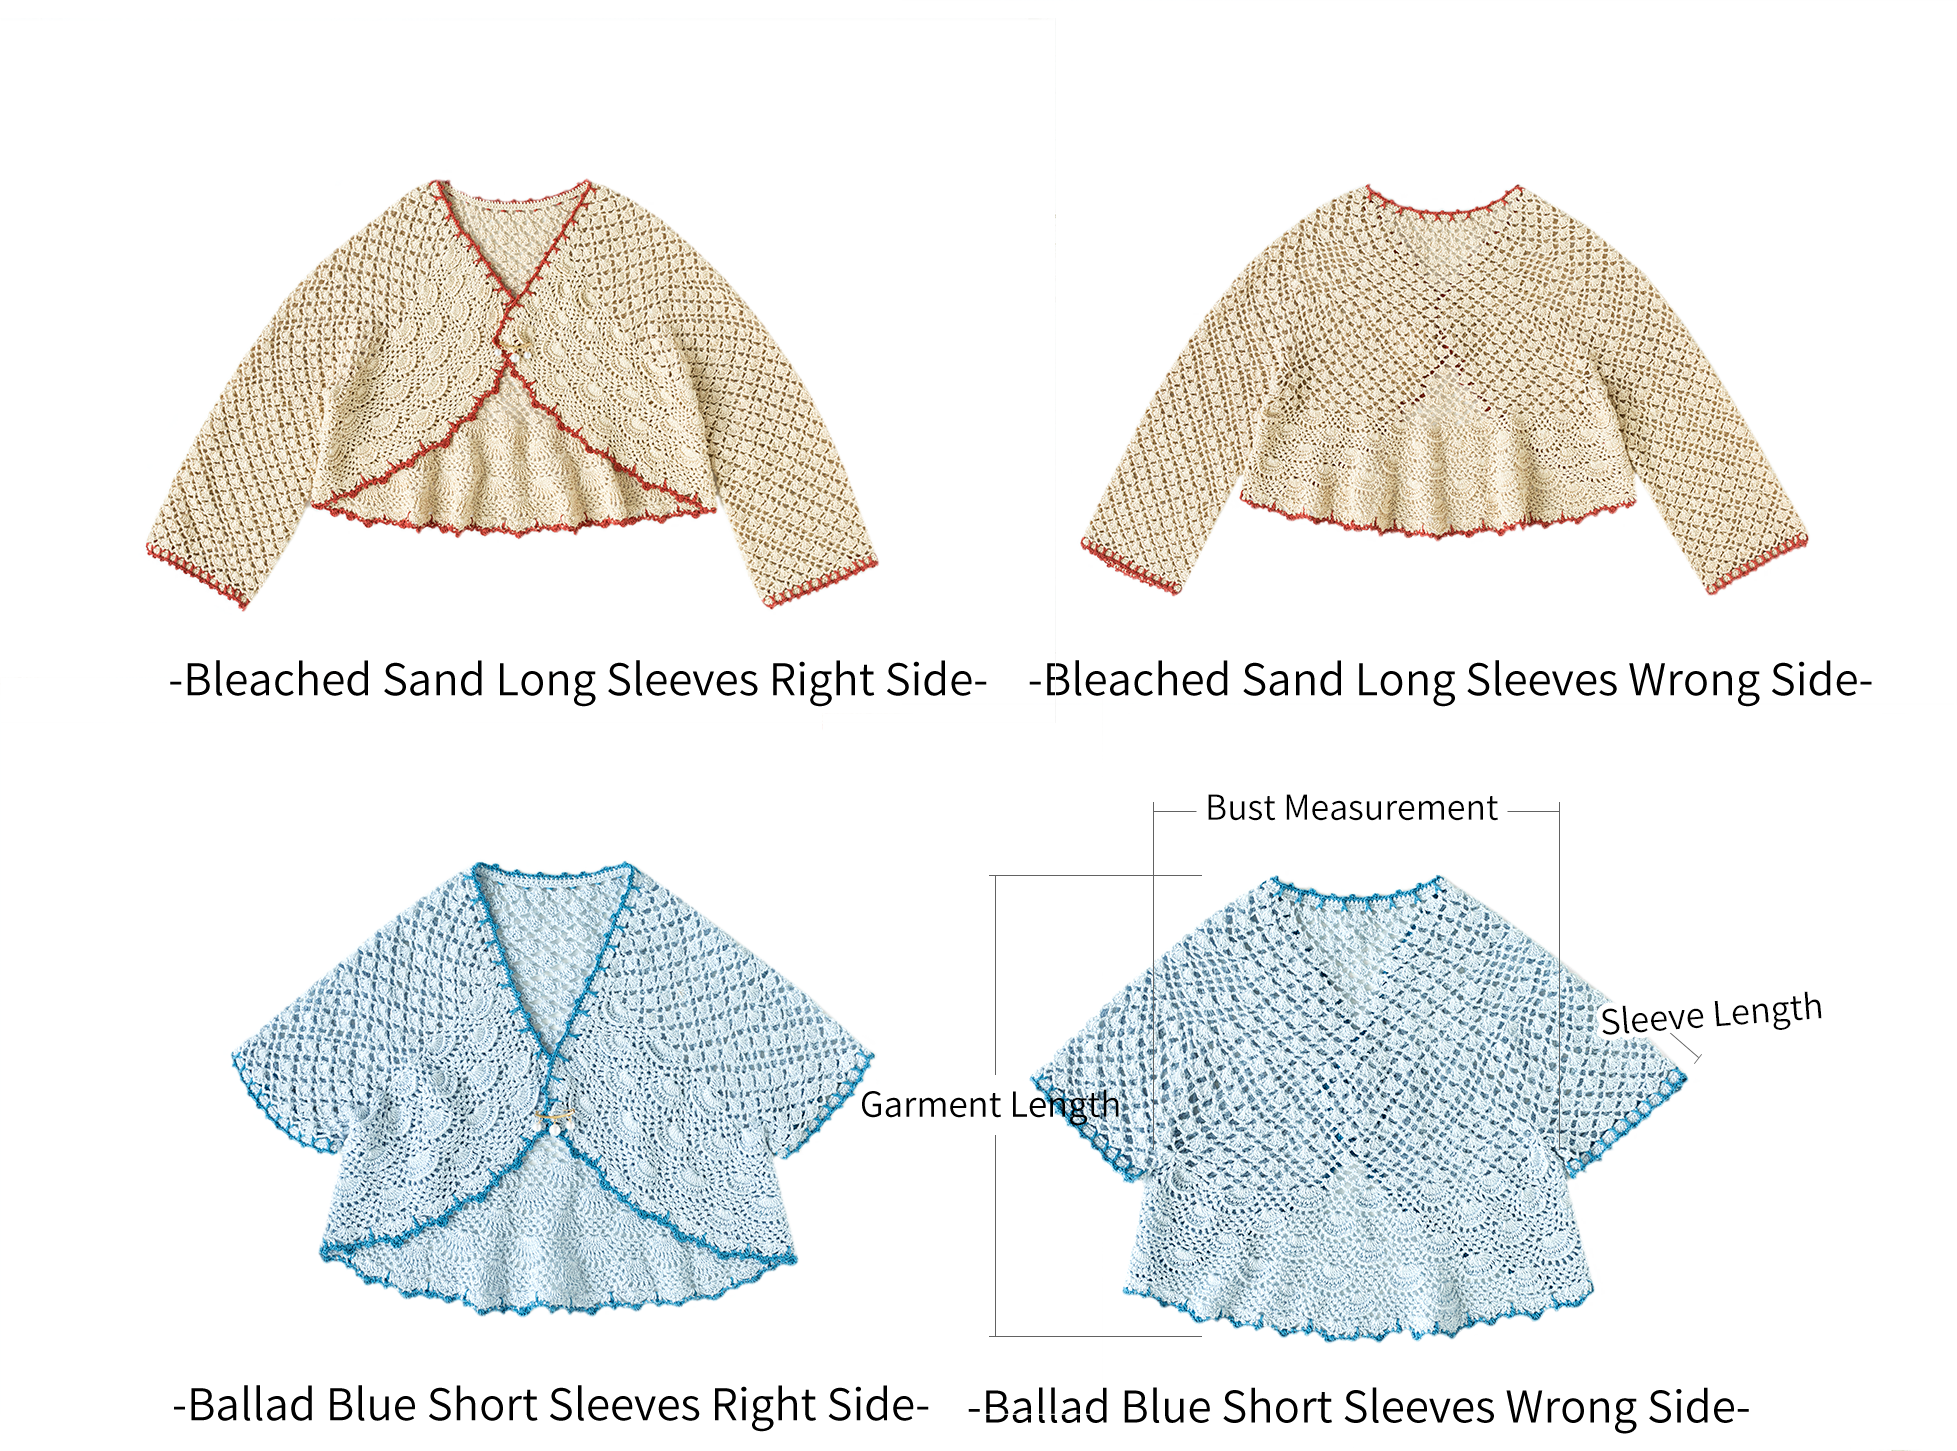
| Garment dimension chart | |||
| Unit: cm | Bust Measurement | Sleeve Length | Garment Length |
| Small Size | 42 | Long Sleeve30, Short Sleeve 5 | 45 |
For the last round of crocheting the edging of the sleeves and the overall border, use:
New Wheat style - 48#Aurora Red
Ballad Blue style - 43#Blue Moon
For the rest of the yarn, use:
New Wheat style - 03#Bleached Sand
Ballad Blue style - 14#Ballad Blue
The handcrafted measurements may have an error of 1 to 2 cm.
Due to variations in individual tension, the size of the sample is for reference only.
Materials: Combed 3# Lace
Tools:2.00 mm crochet hook
Chart Key







Note: 1. This pattern is making in Chinese crochet pattern terms, and the stitch name is written using American terminology. All measurements in charts are in cm.


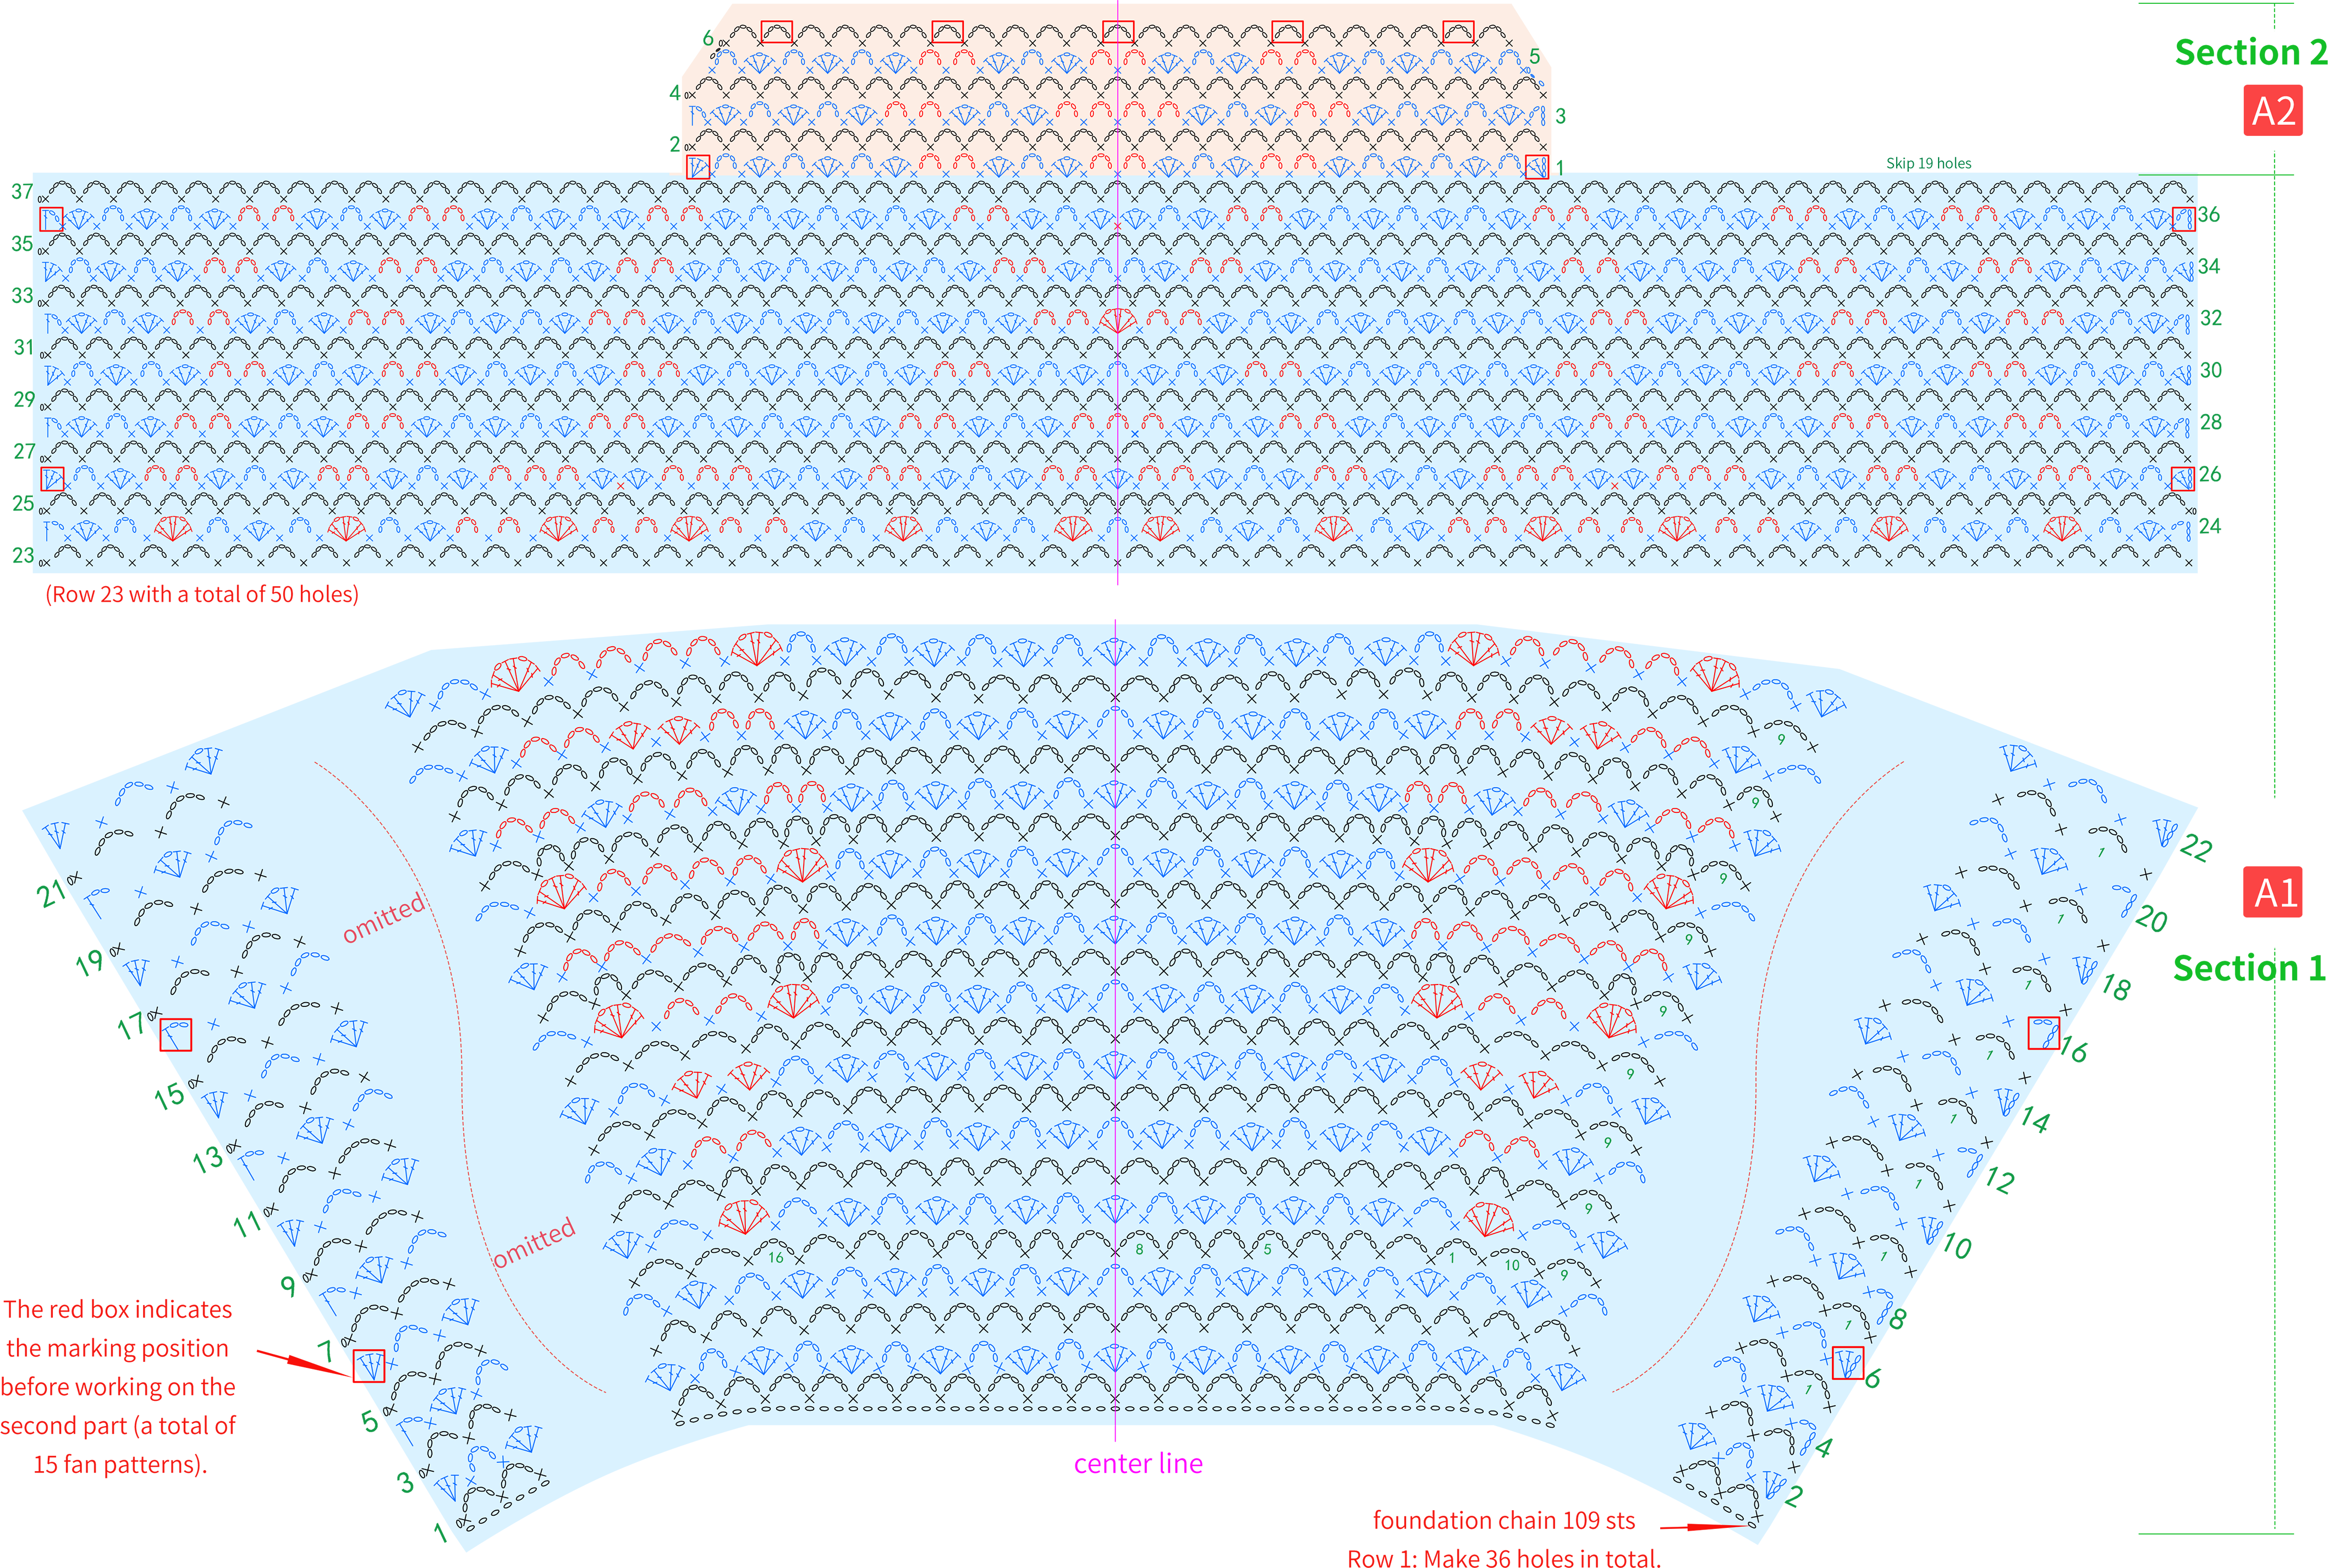
Part 1 Main Part, Section 1A 00' 50''
The first part of the main section is divided into Section 1 and Section 2. Section 1 starts with a foundation chain, and you crochet the corresponding stitch pattern upwards along the braid of the starting chain. Some row numbers require increasing stitches. Section 2 involves reserving the sleeve part and crocheting in the middle segment. Please refer to the video demonstration for more details.
Part 2 SleeveB 39' 49''
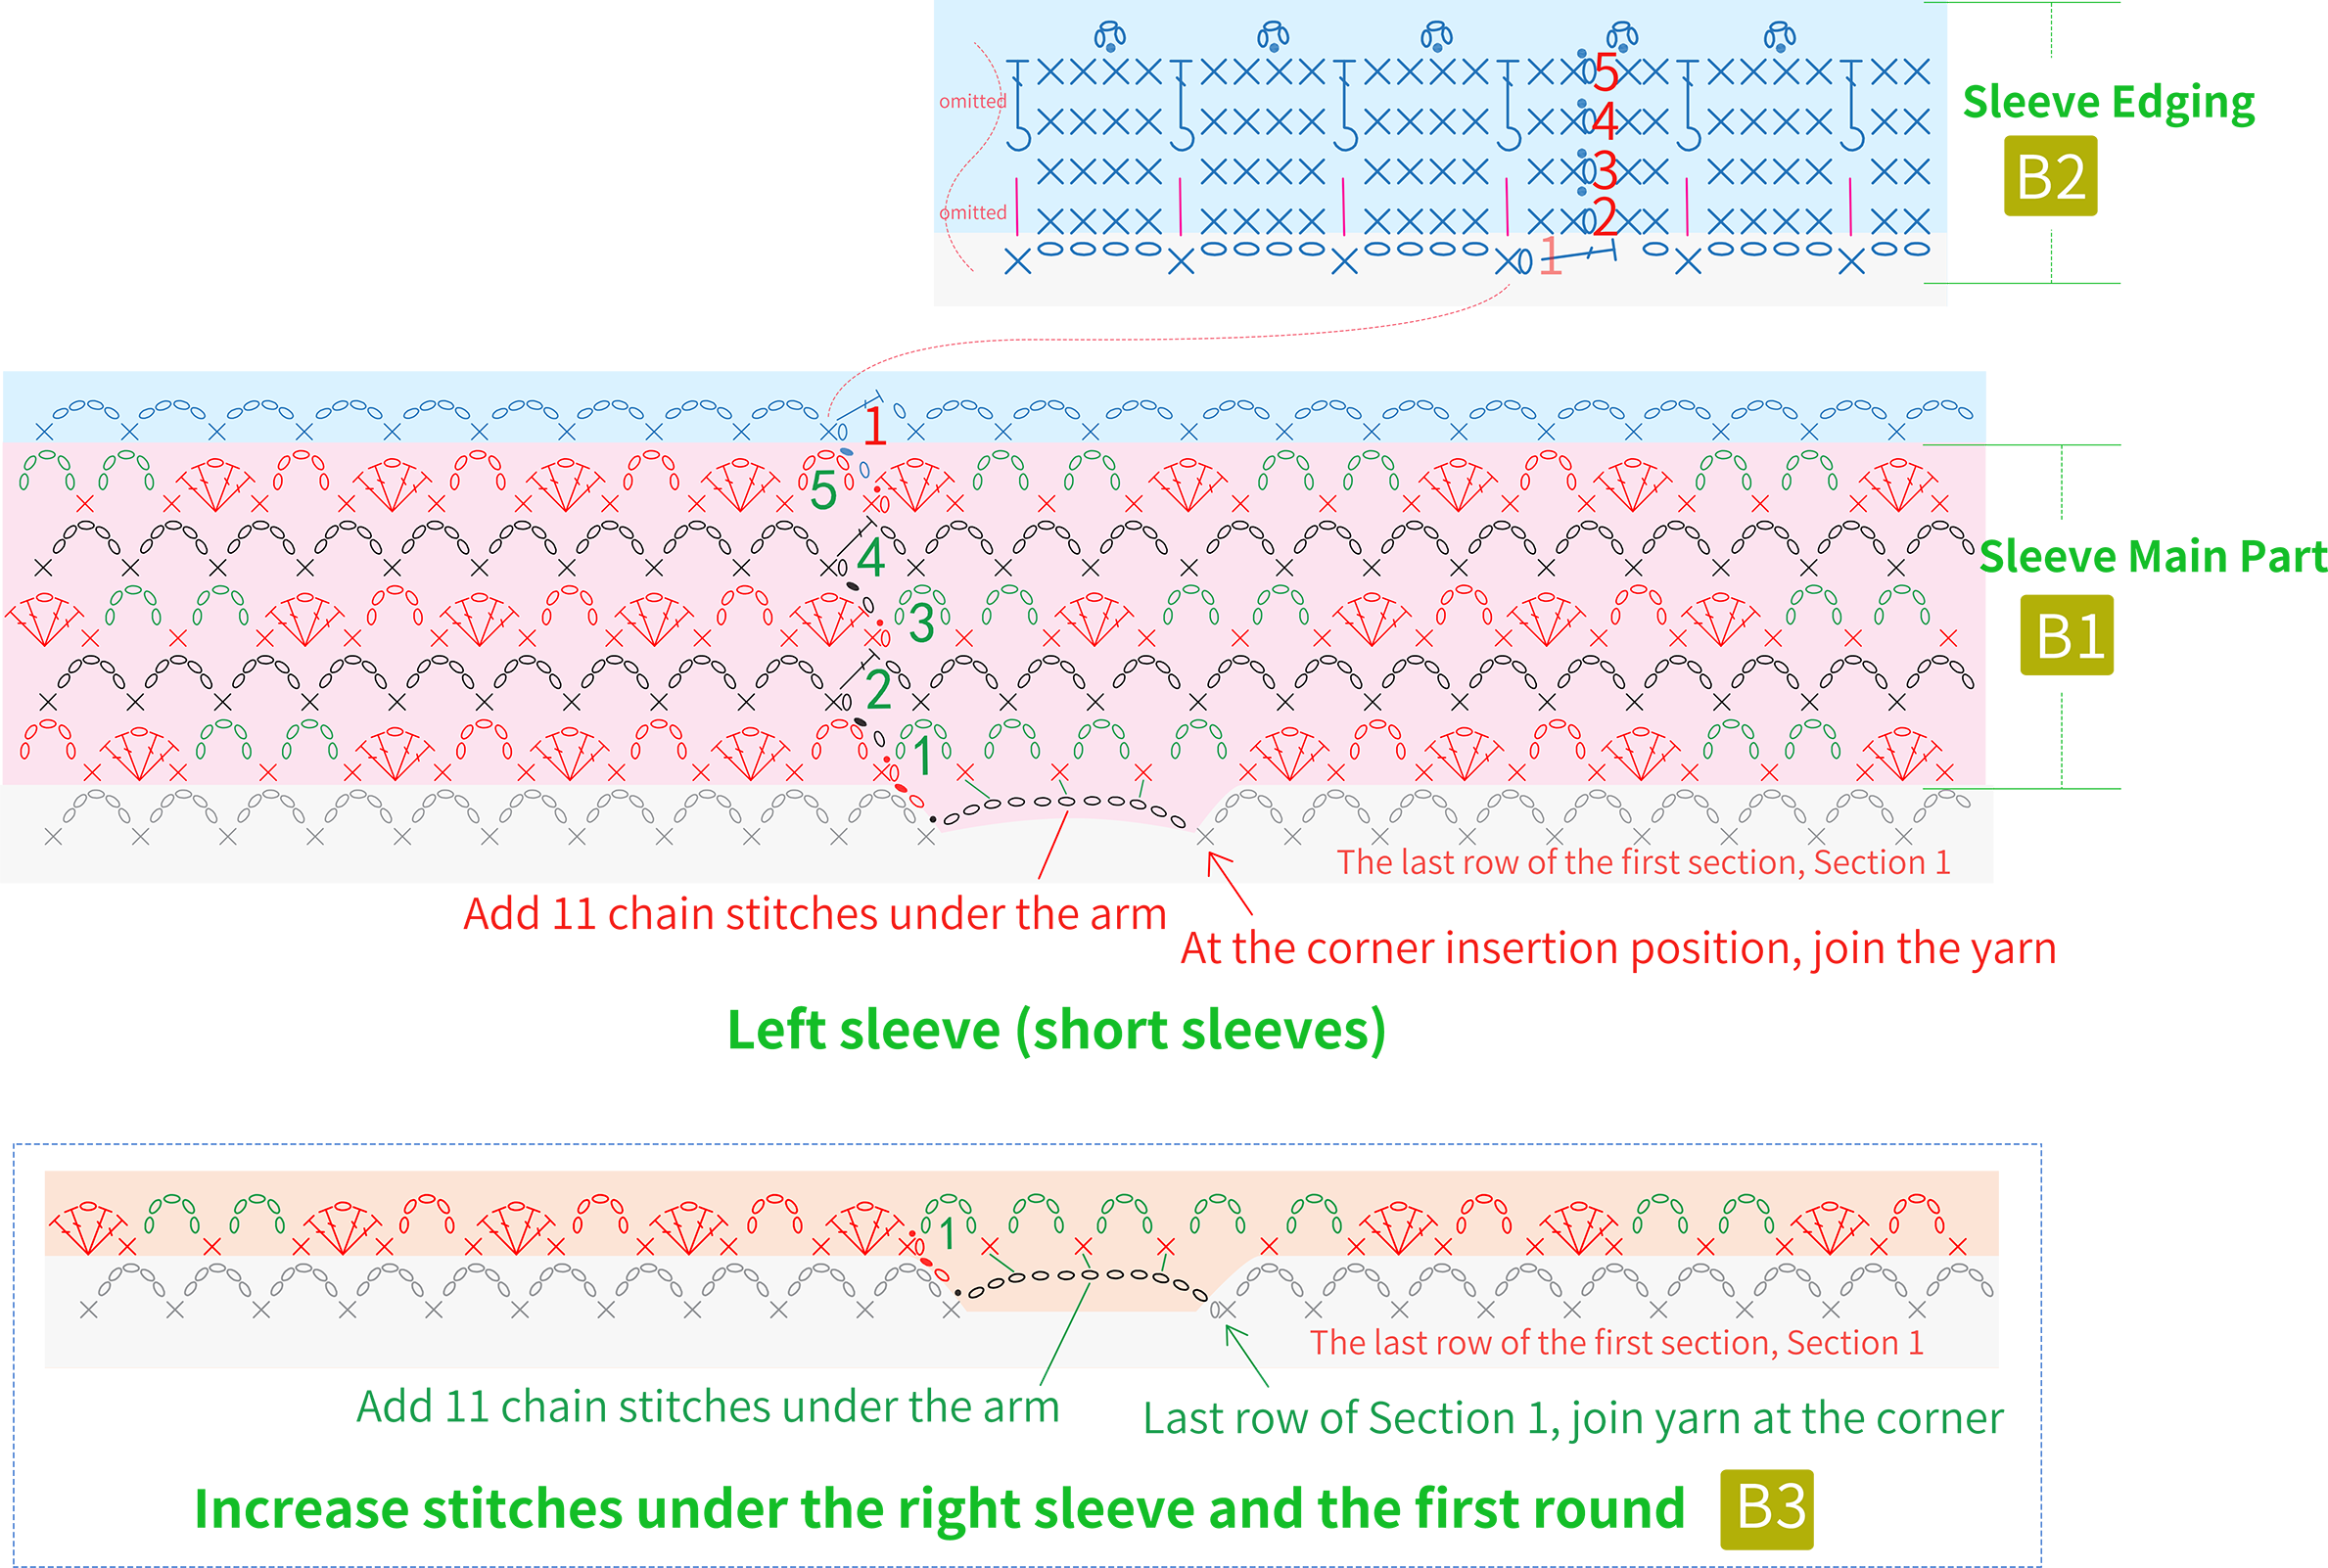
The sleeve is divided into the main part and the edging, both of which are crocheted in rounds. Regardless of the size, you can choose to crochet long sleeves or short sleeves, and the crochet pattern will be identical. Please refer to the video demonstration for more details.
| Rounds for the sleeve main part | ||
| Style | Short Sleeve | Long Sleeve |
| Small Size | 5 | 47 |
Note:
1. The left and right mentioned here refer to the actual left and right when wearing. The placement of patterns and spaces in the chart is for reference only. The exact stitch positions should be based on the pattern locations from previous rows.
2. To maintain aesthetics, try to place the starting position of each round roughly at the underarm area.
3. Starting from Round 2, the main part of the sleeve is worked even (no increase or decrease). Work the pattern rounds according to the pattern situation below. The chart is for reference only.
4. For the remaining rounds of the long sleeves or the remaining rounds of the main part of the right sleeve, continue crocheting according to the texture normally.
Part 3 Main Part, Section 2C 63' 10''
The second section is crocheted by picking up stitches along the edge of the last row of Section 1 and the edge of Section 2. First, mark position C1, then crochetC2. Please refer to the video demonstration for more details.
Note: The number of fan patterns in the first row (15) can also be adjusted according to needs.
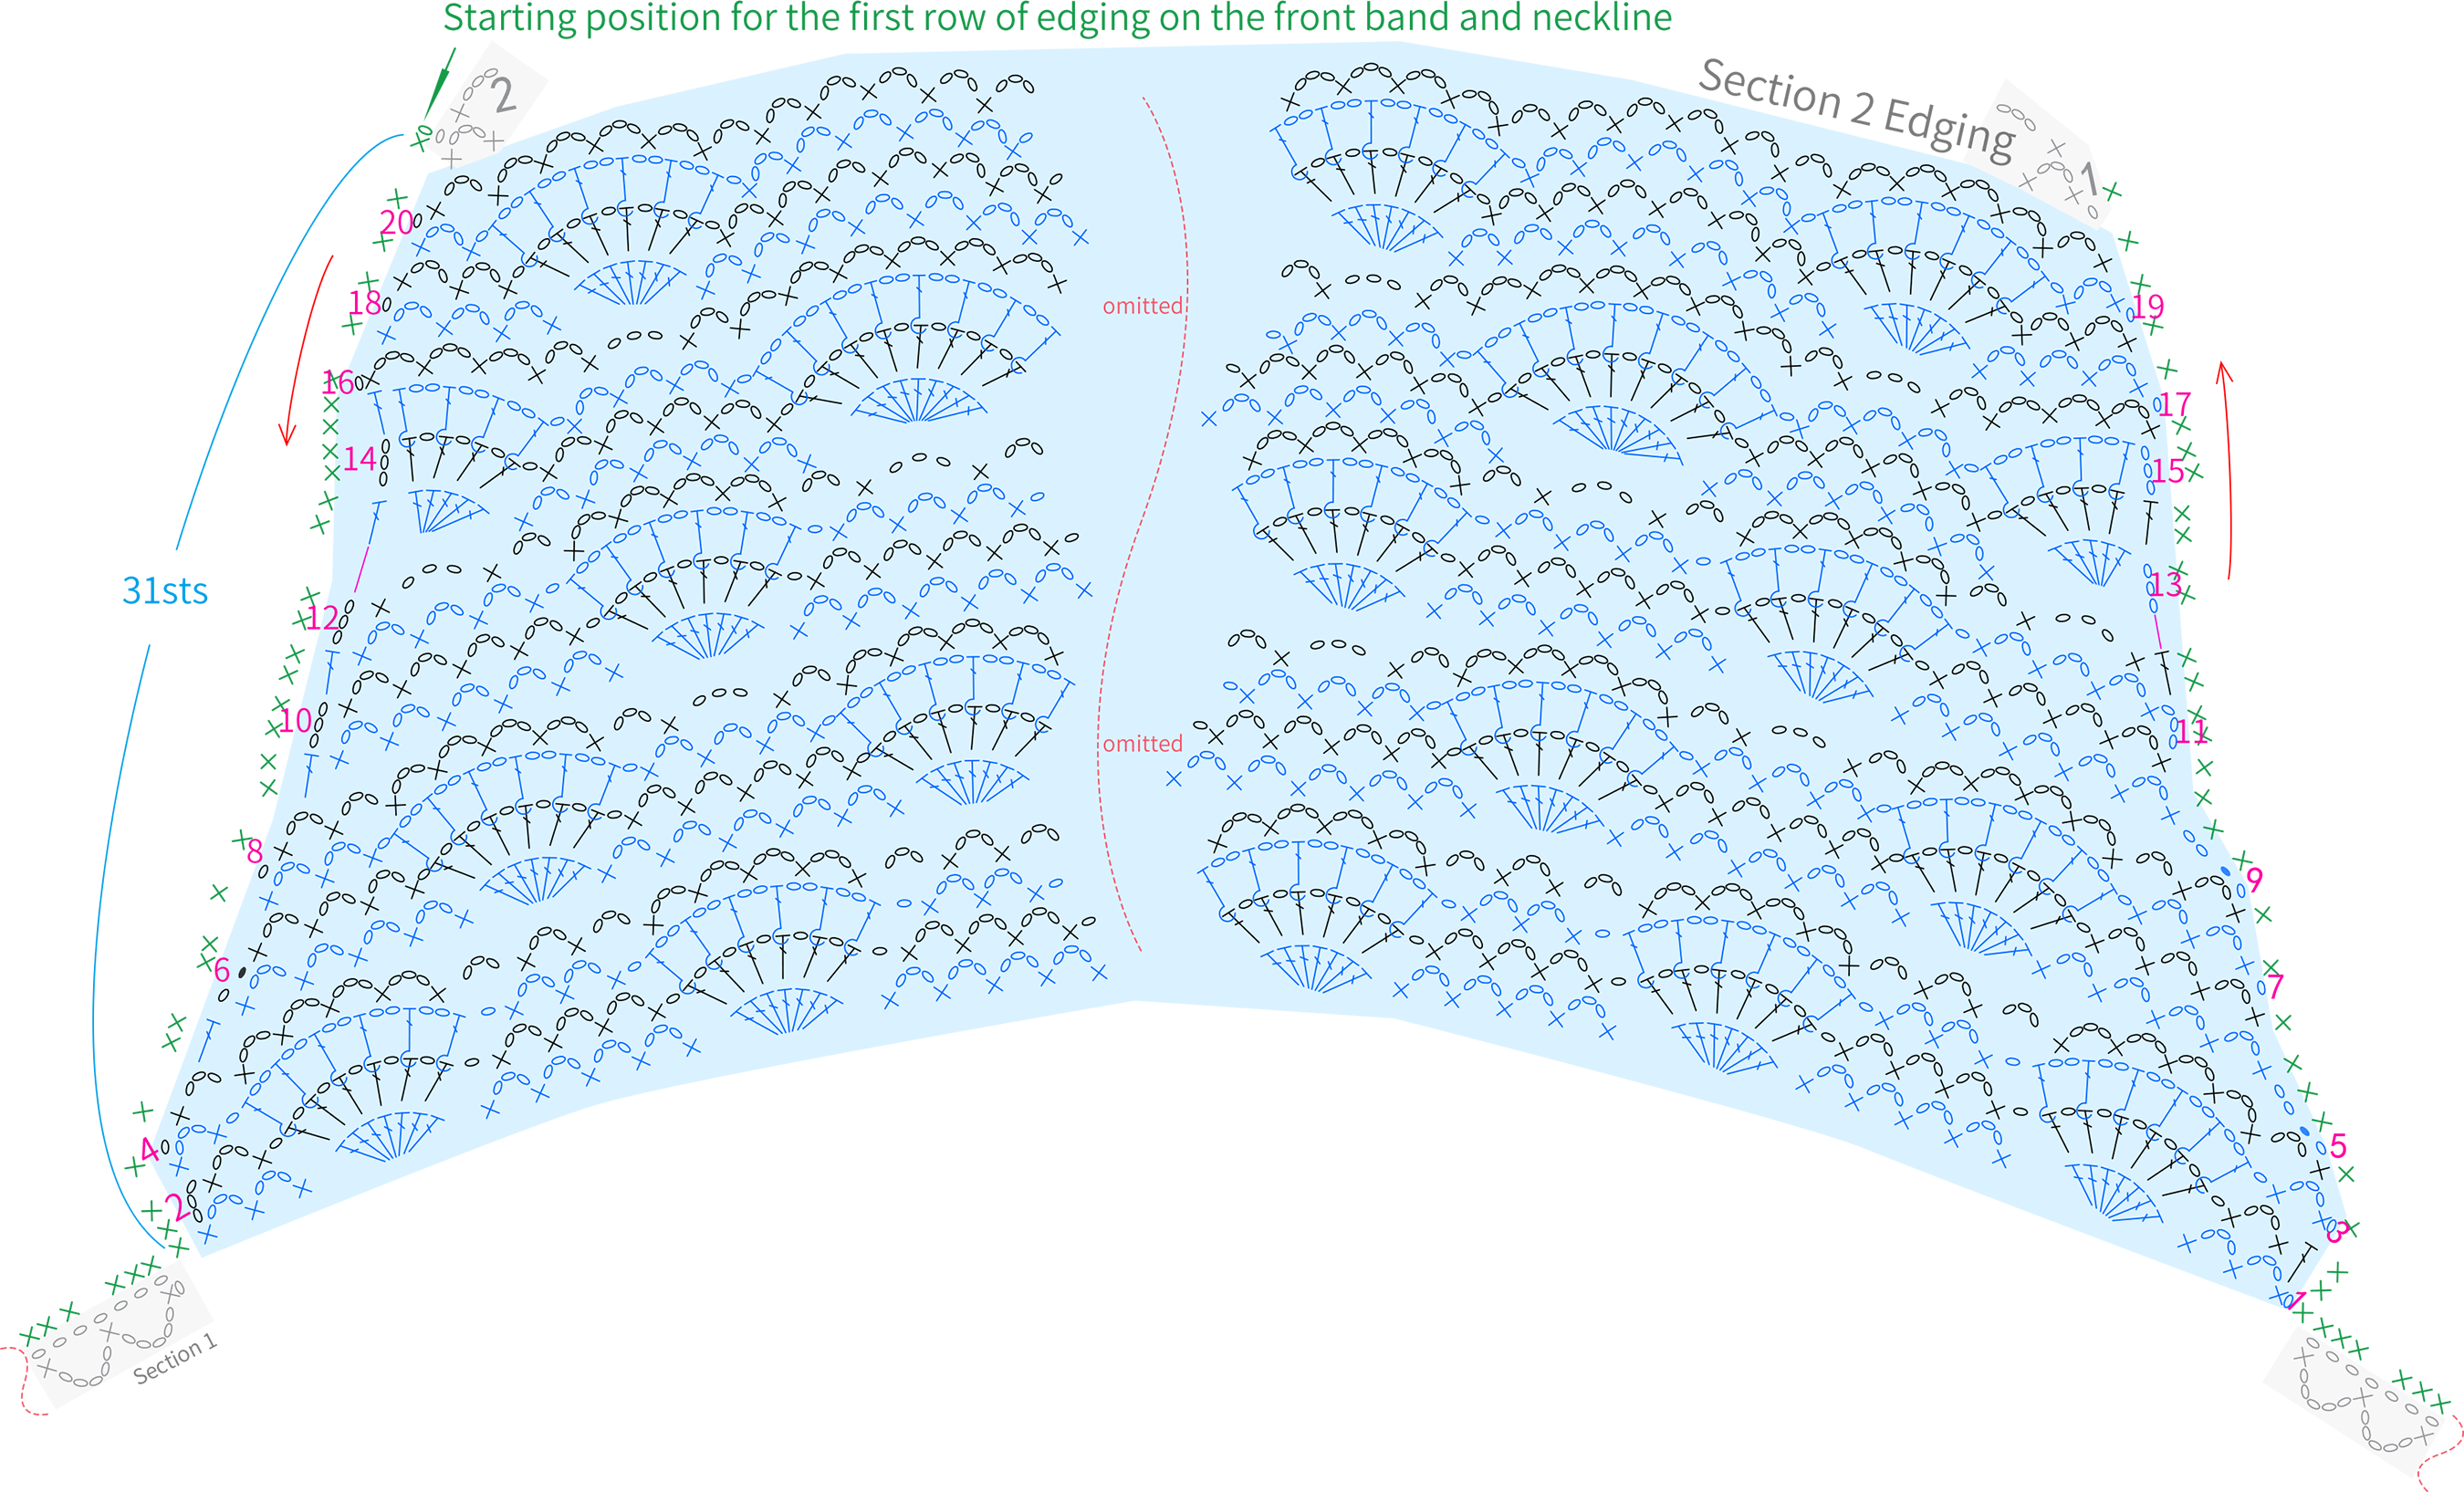
Part 4 EdgingD 82' 44''
After completing the second section, you'll need to crochet borderD1below the second section and border D2 at the front band neckline position, separately. Finally, crochet a round of D3 along the entire edge of the main part. Please refer to the video demonstration for more details.
Note:
1. For the first row of the edging in the second section, if the edge is too tight while crocheting, you can appropriately reduce the number of spaces for the cluster stitches.
2. For the first row of the edging on the front band and neckline, crochet approximately 31 stitches evenly on each side (refer to the chart in the second part). At the position where the beginning chain of the first part is, crochet 2 stitches into each space. On the edges with single crochets and the decorative stitch patterns, crochet 1 stitch into each single crochet respectively. You may also adjust the stitch count as needed. For more details, please refer to the video tutorial.

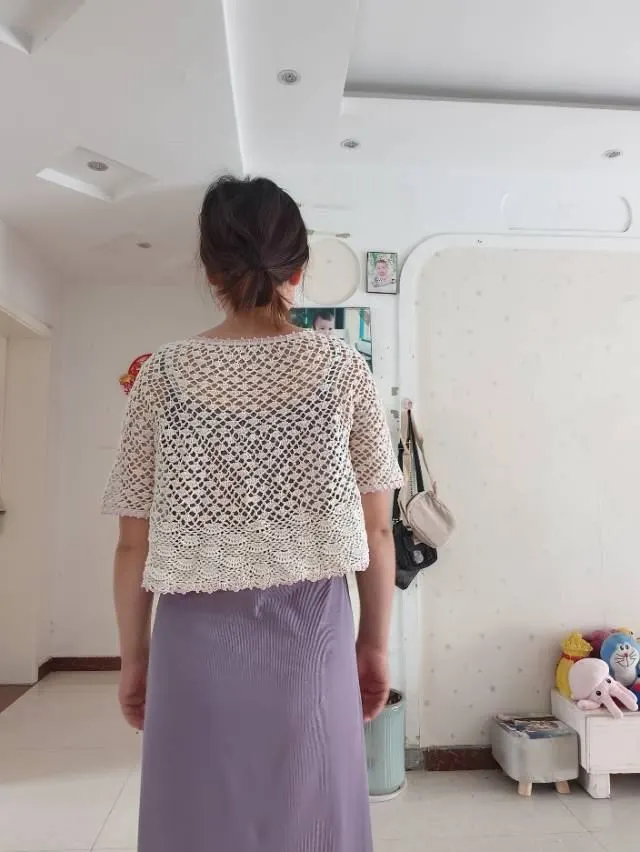
Made by the community