Home / Lamp
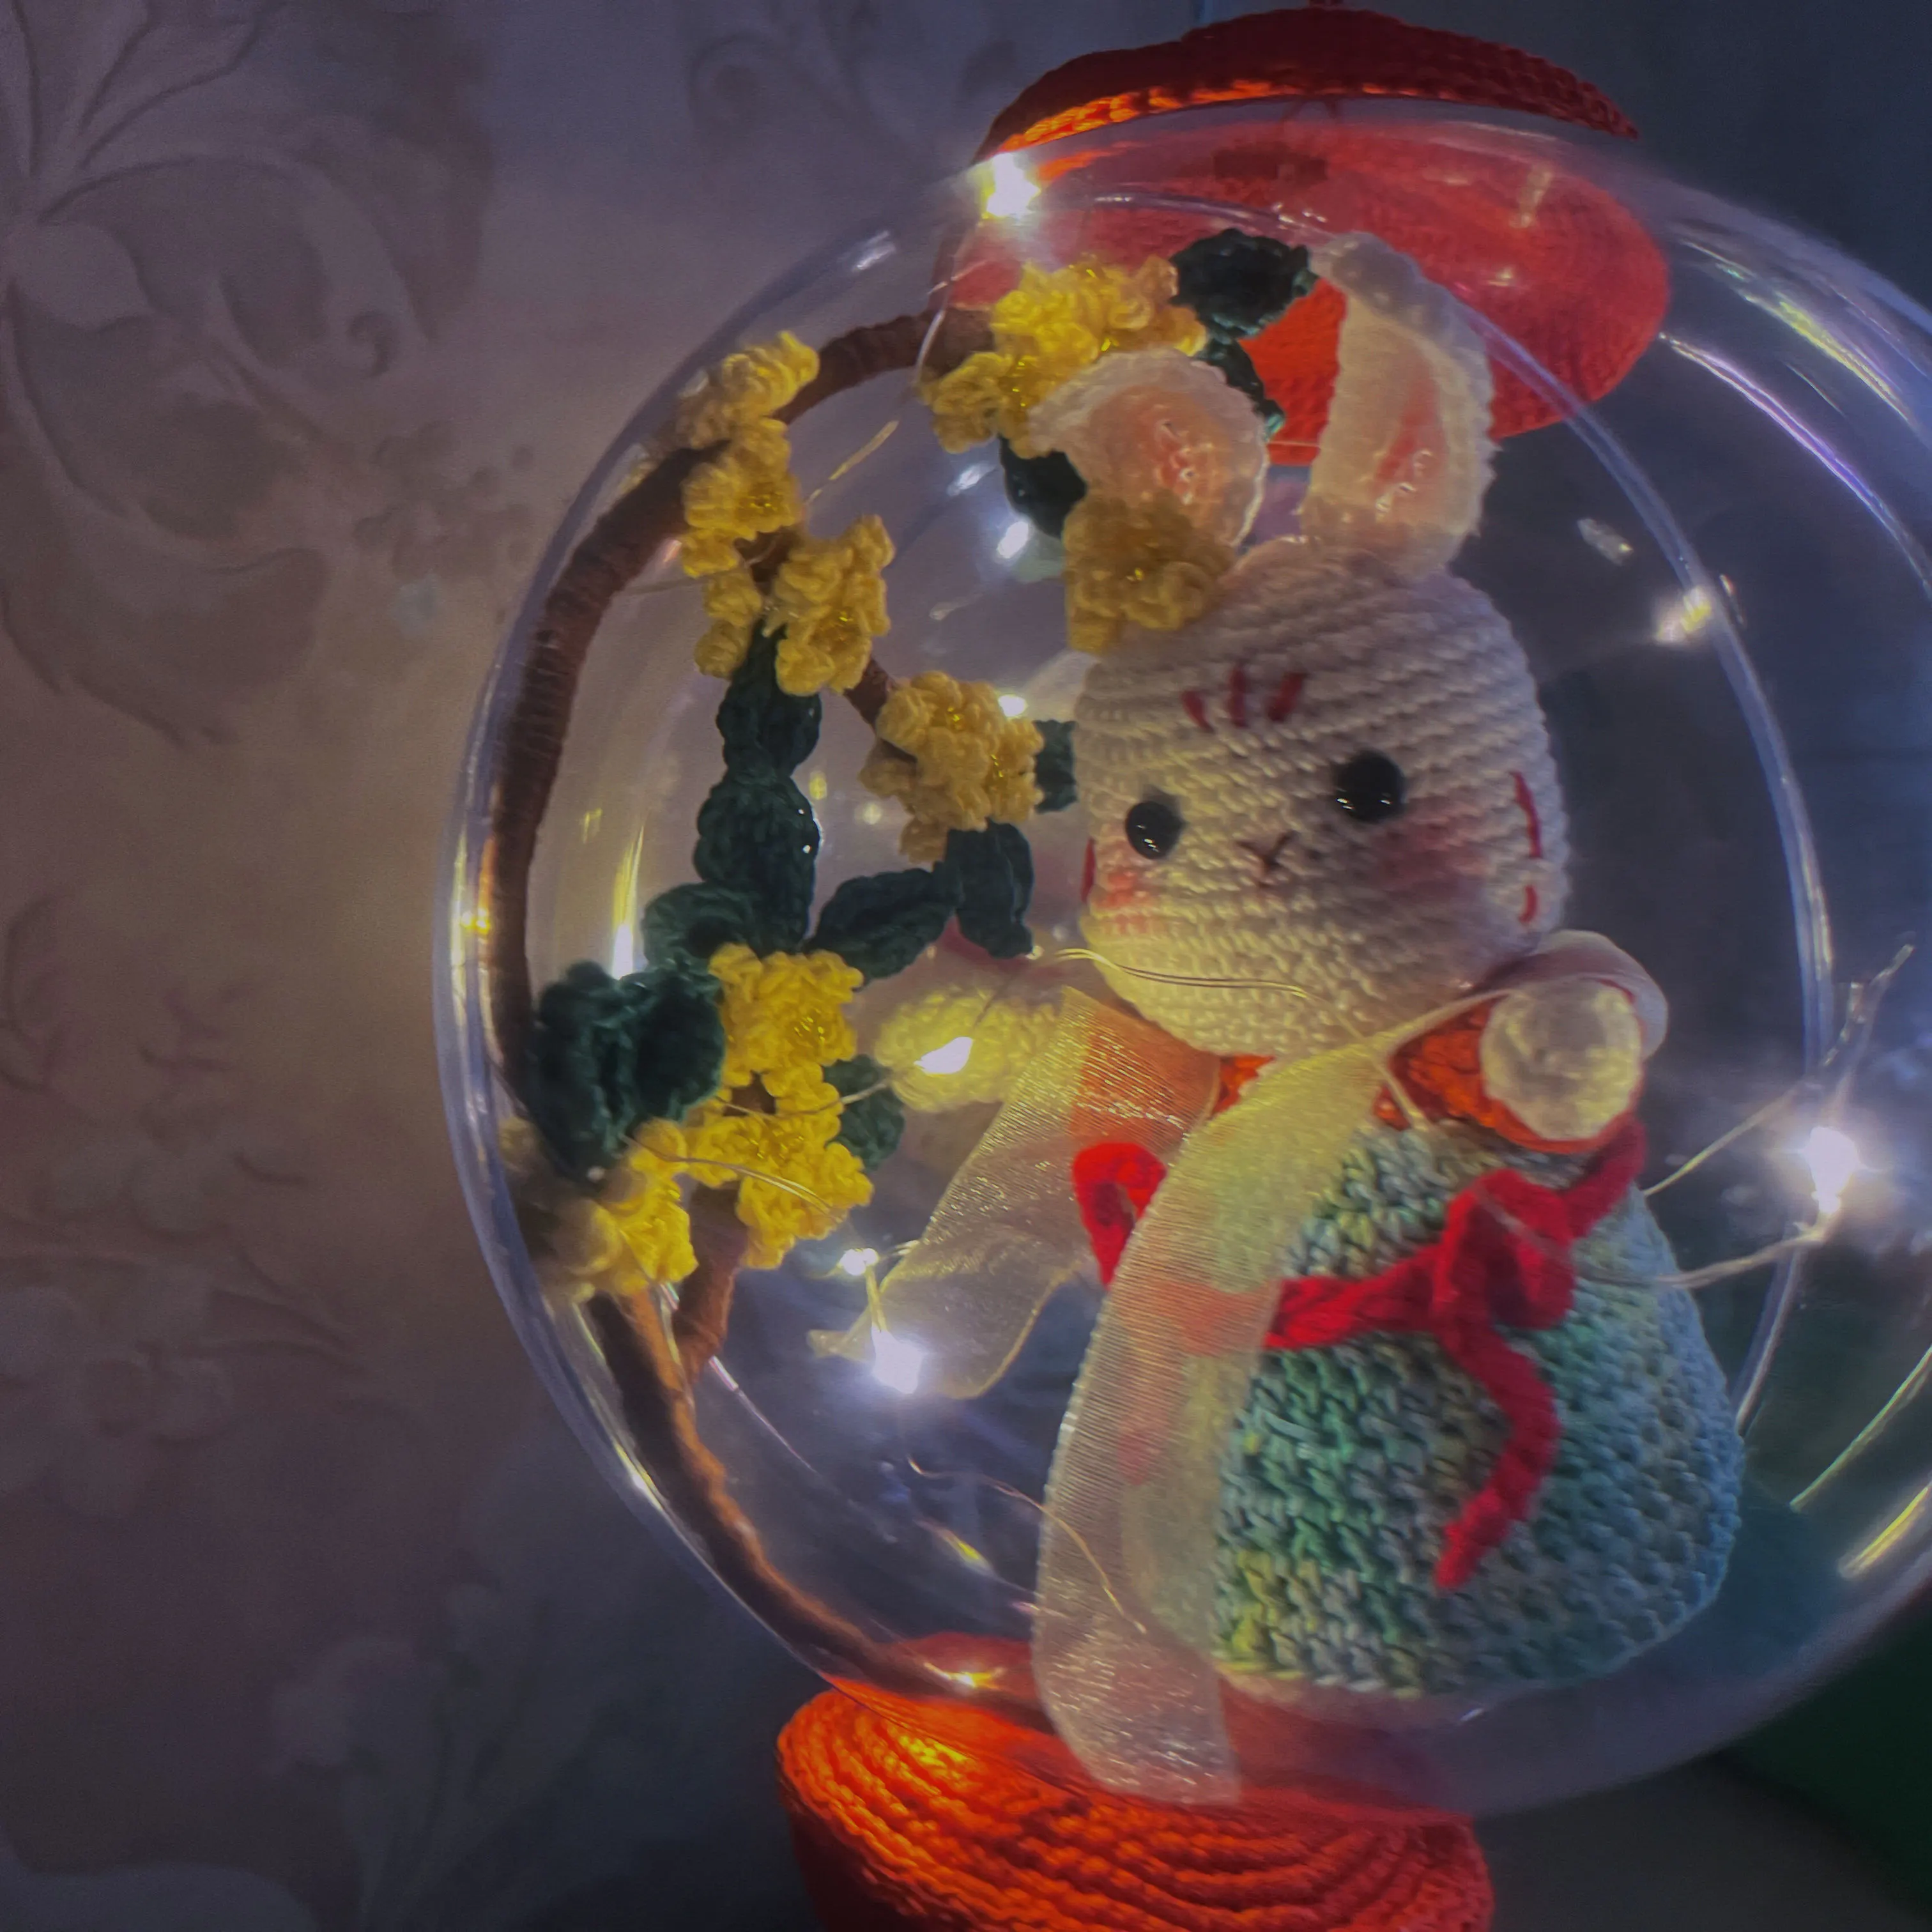
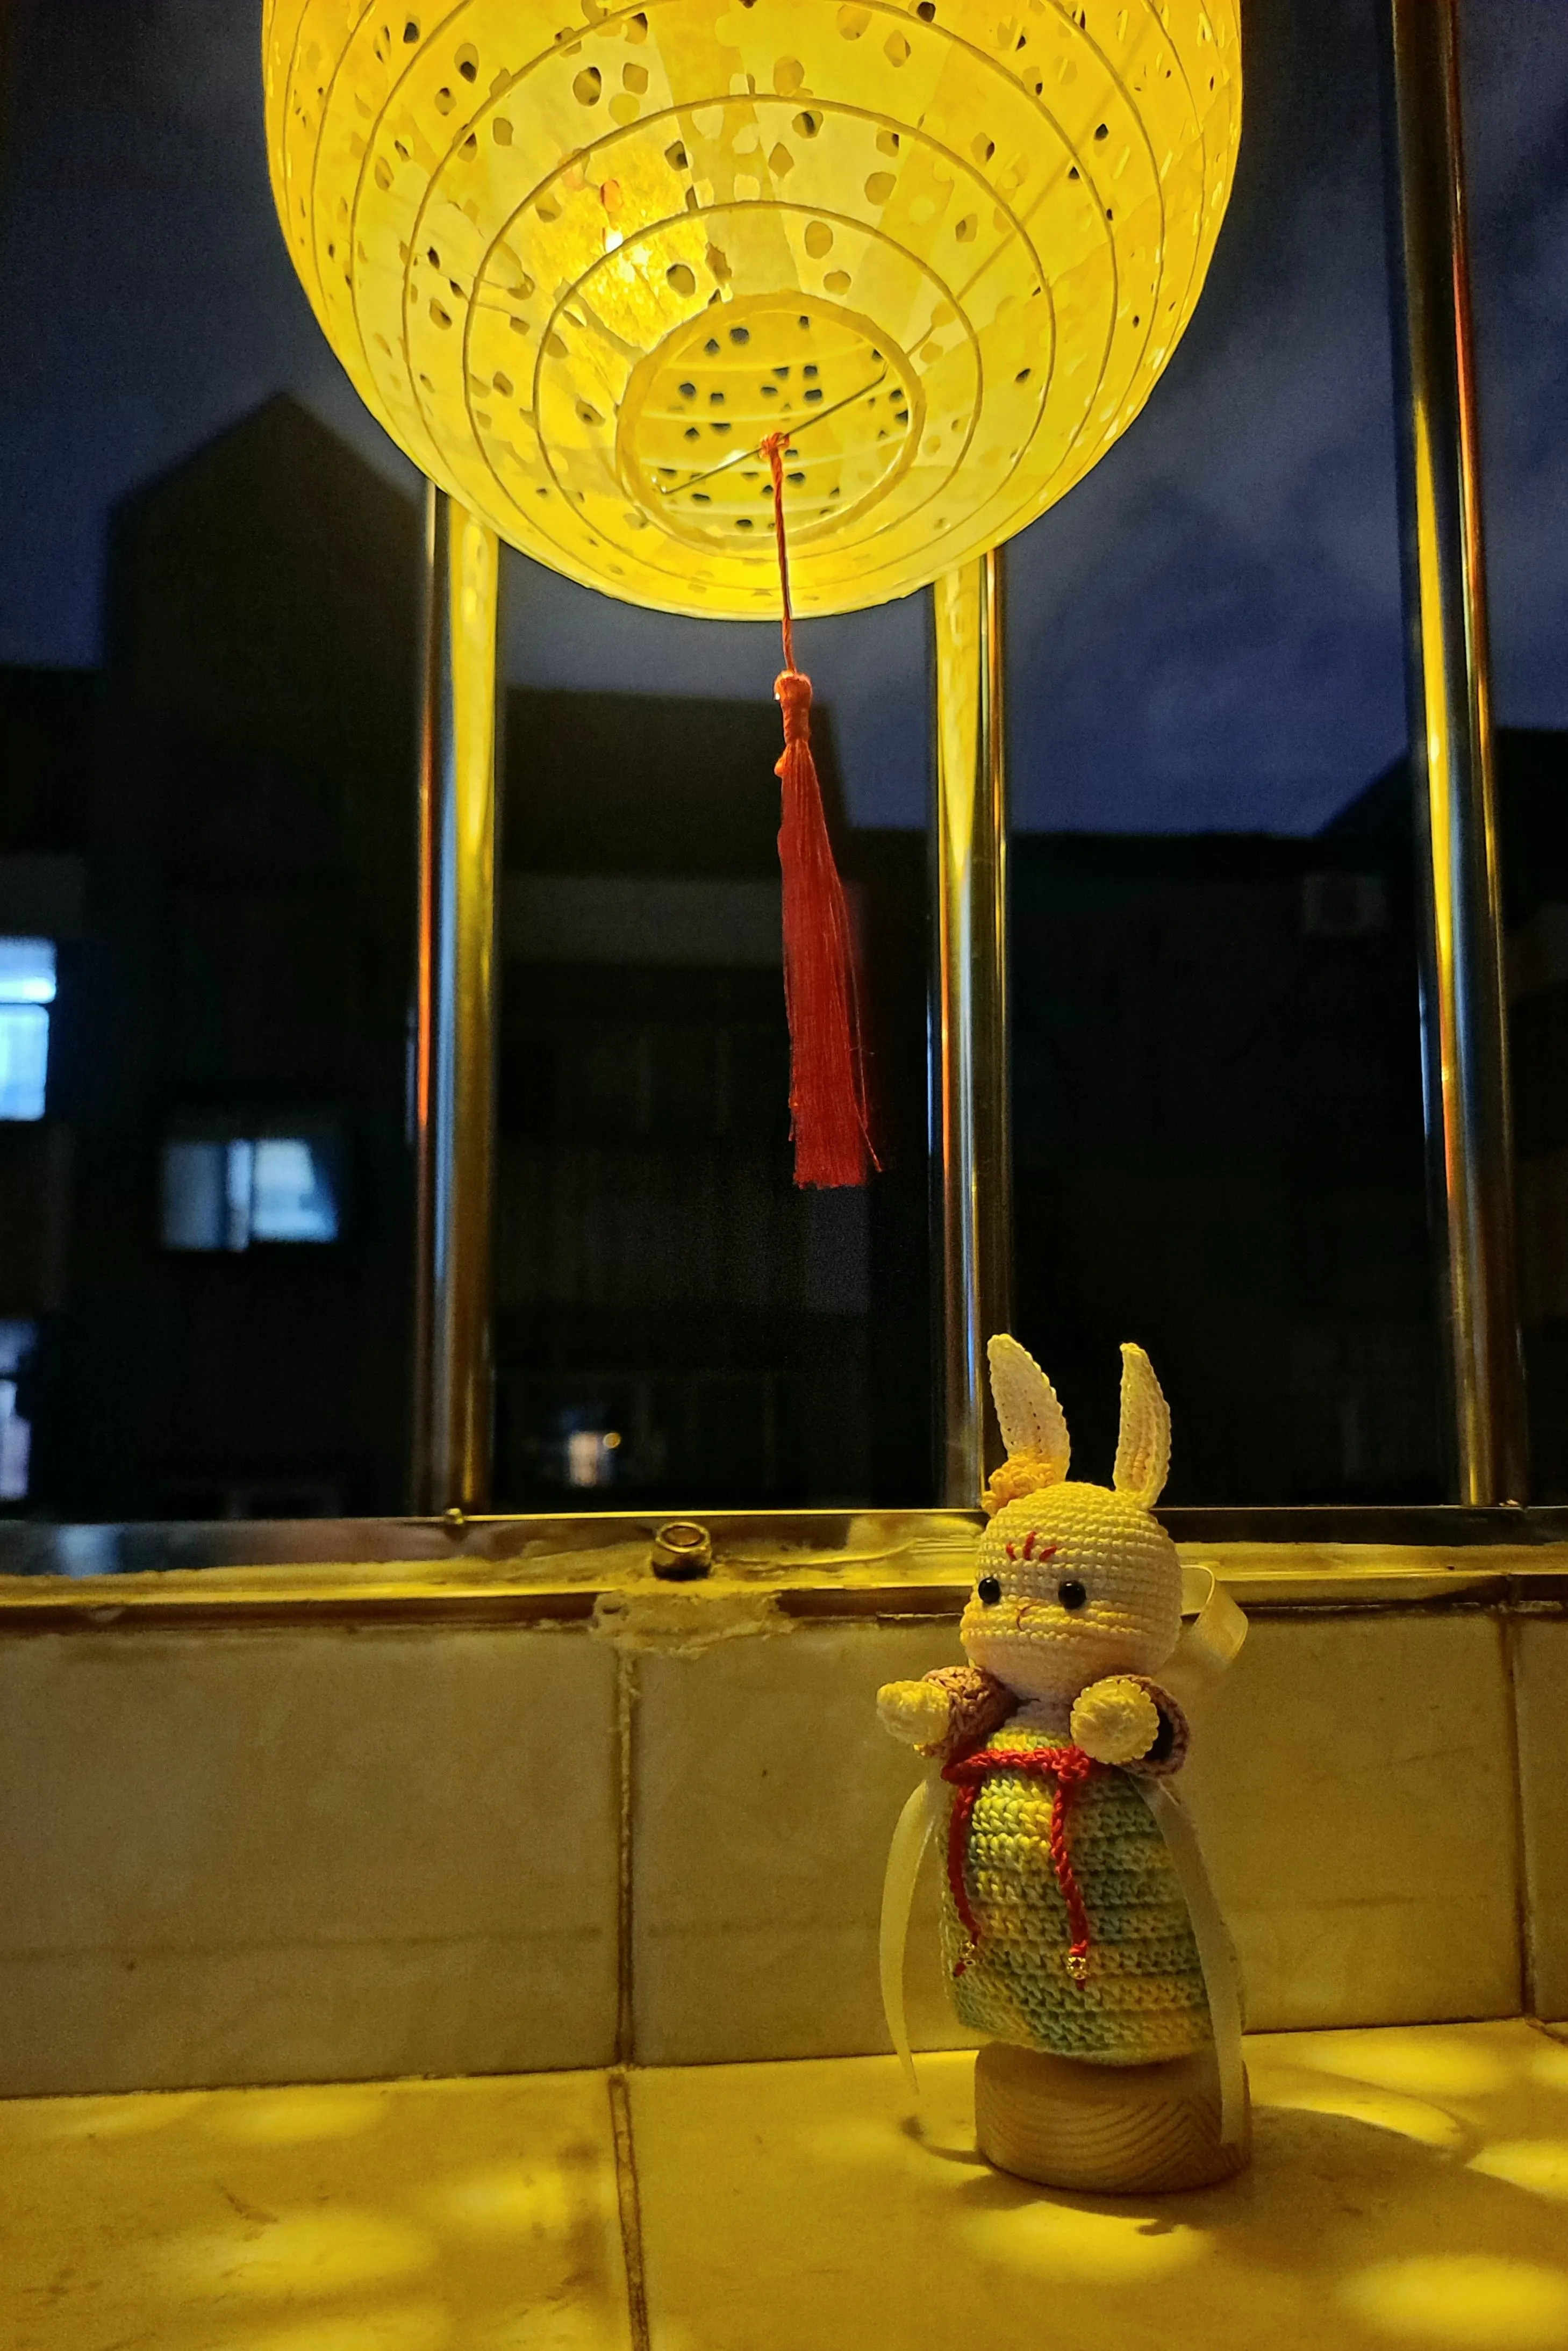
Jade Rabbit Lantern
Project preview
See the finished project
Pattern format
Instructions
| Style | Yarn | Color |
|---|---|---|
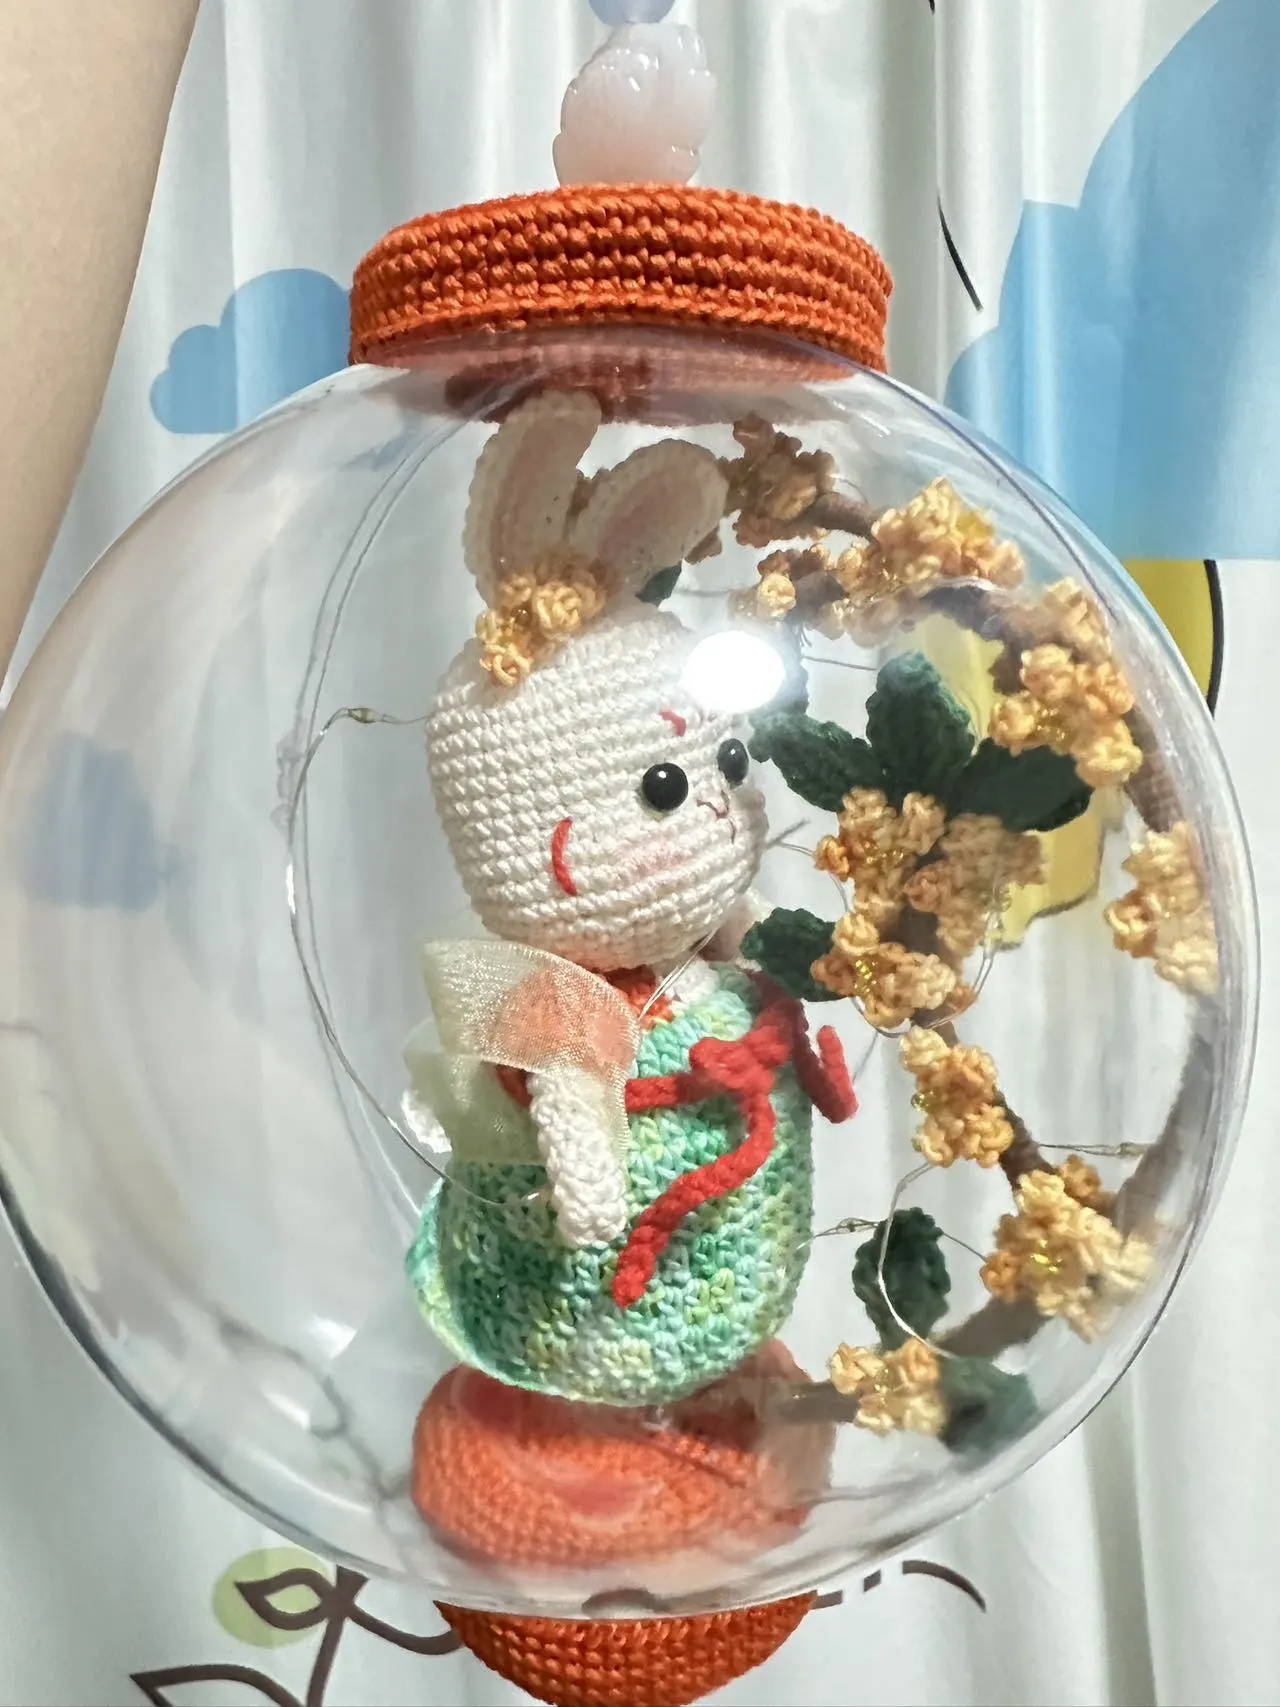
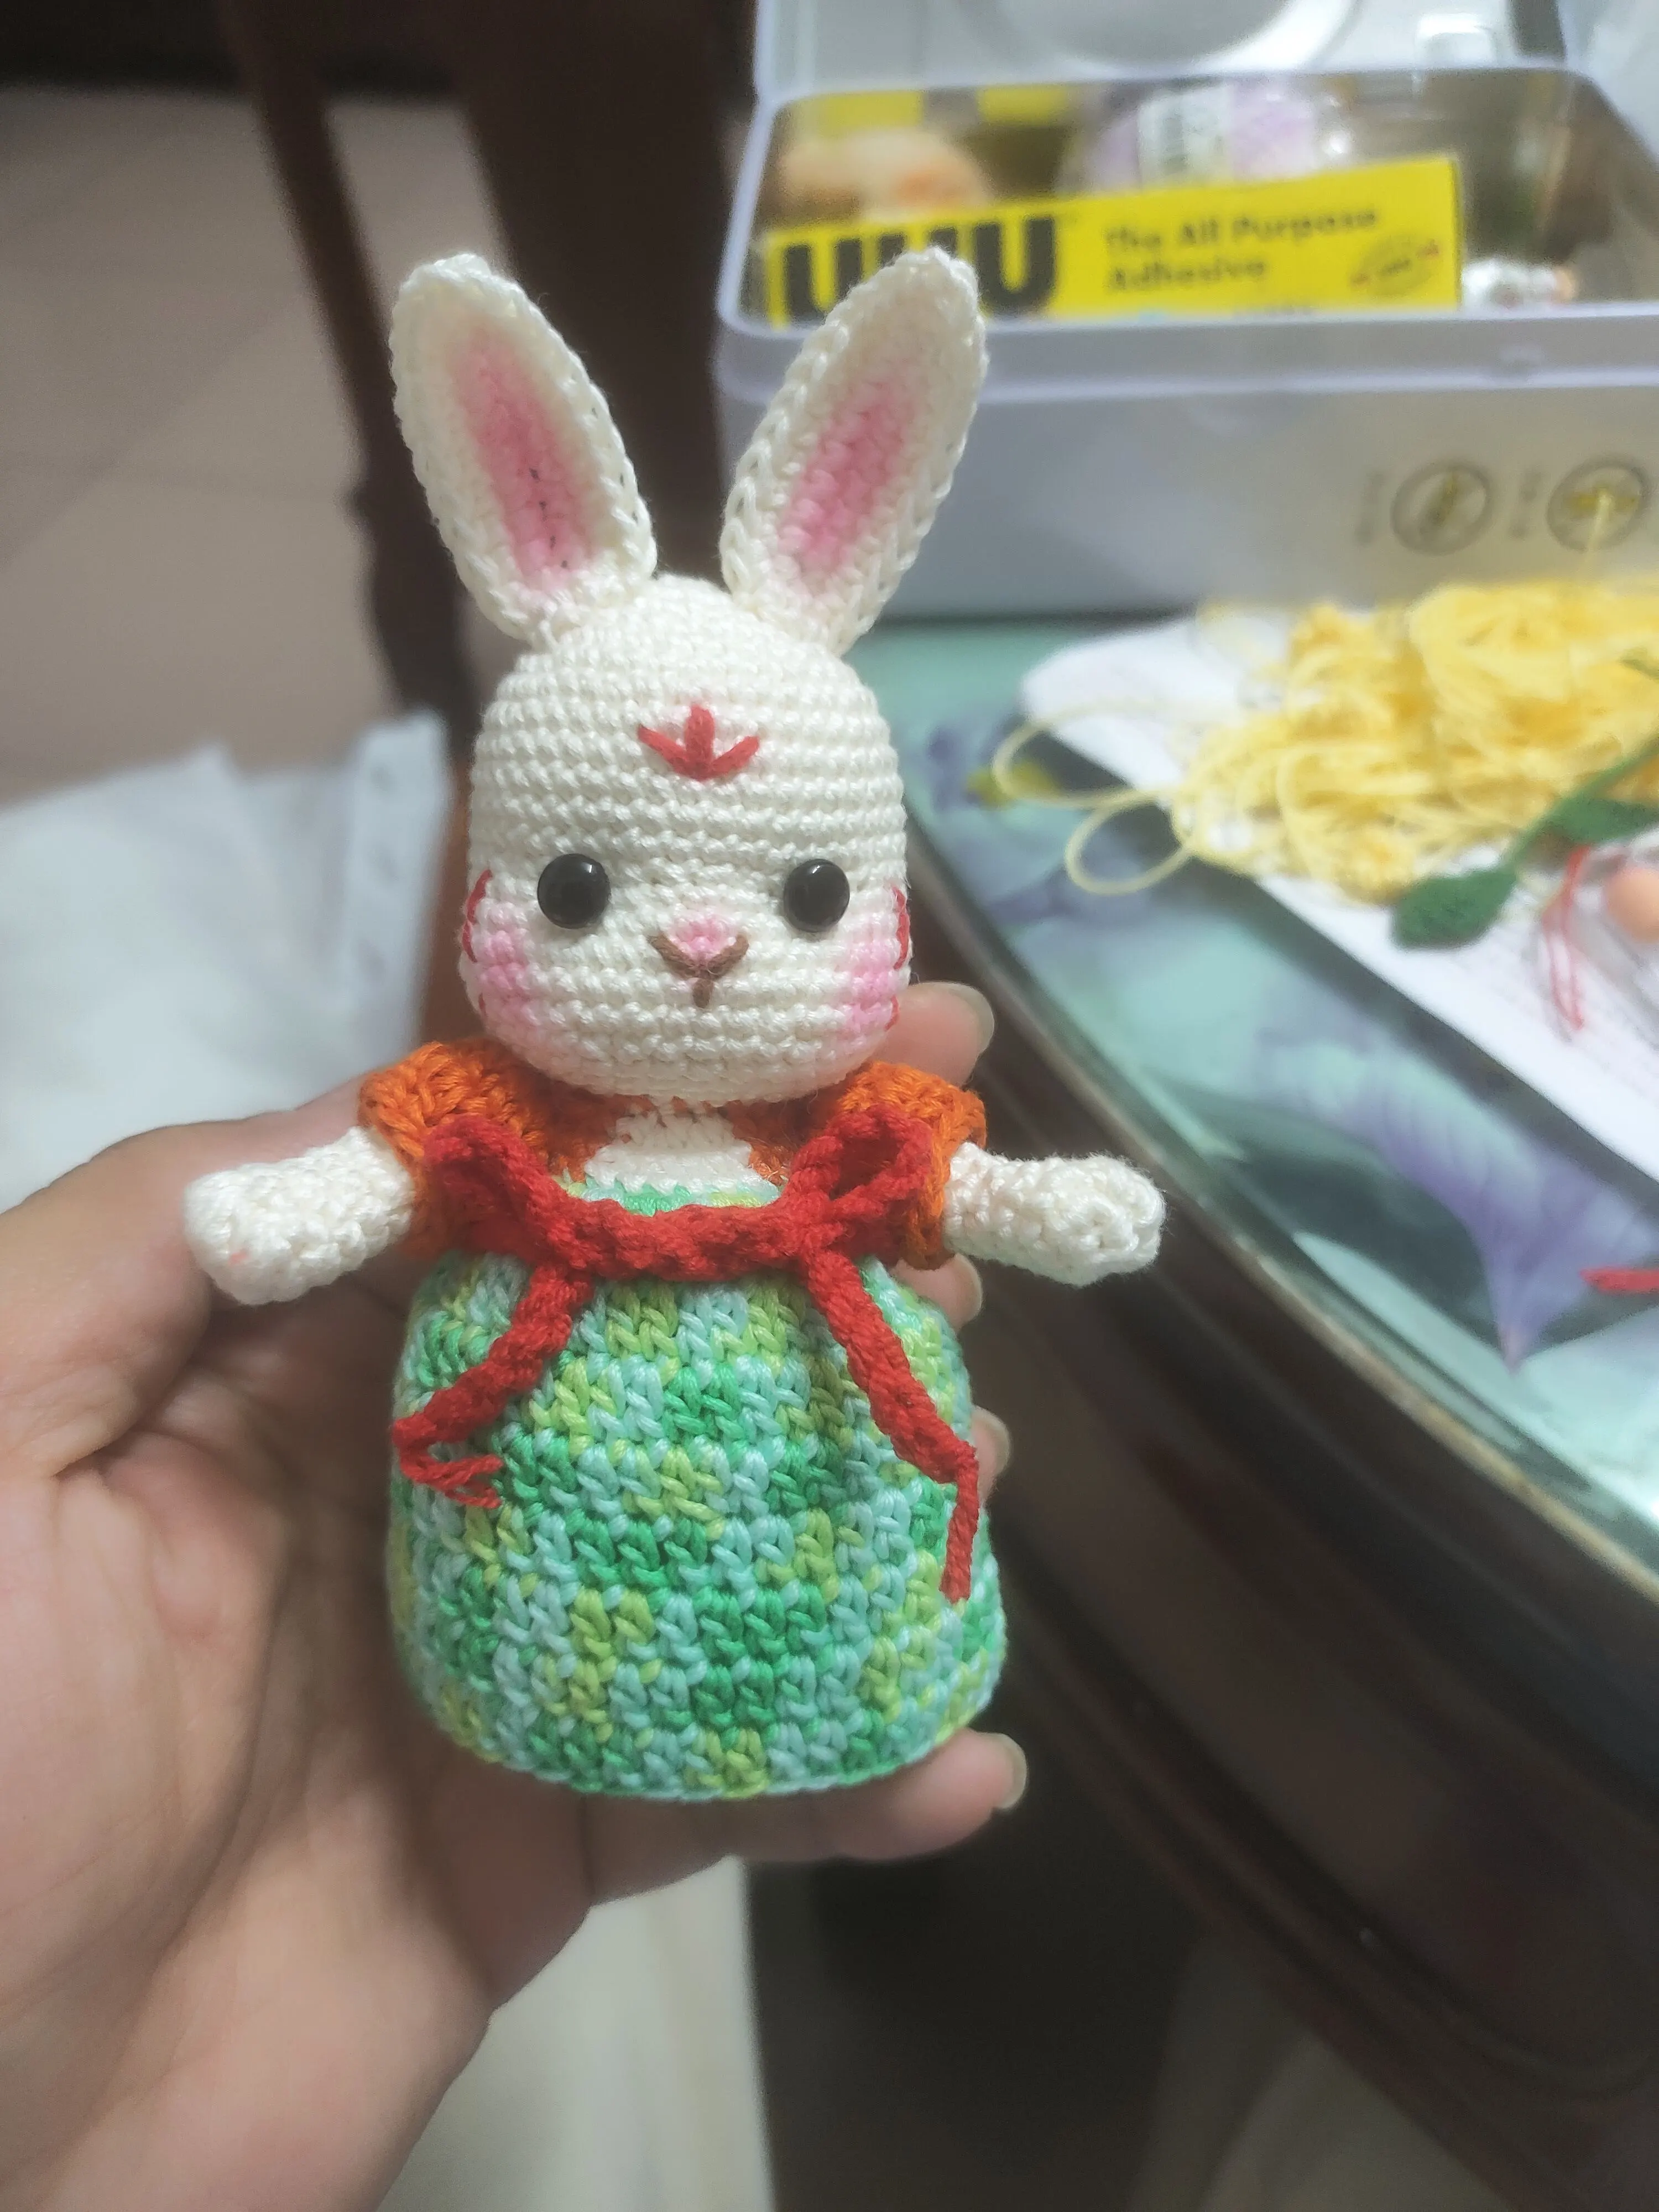
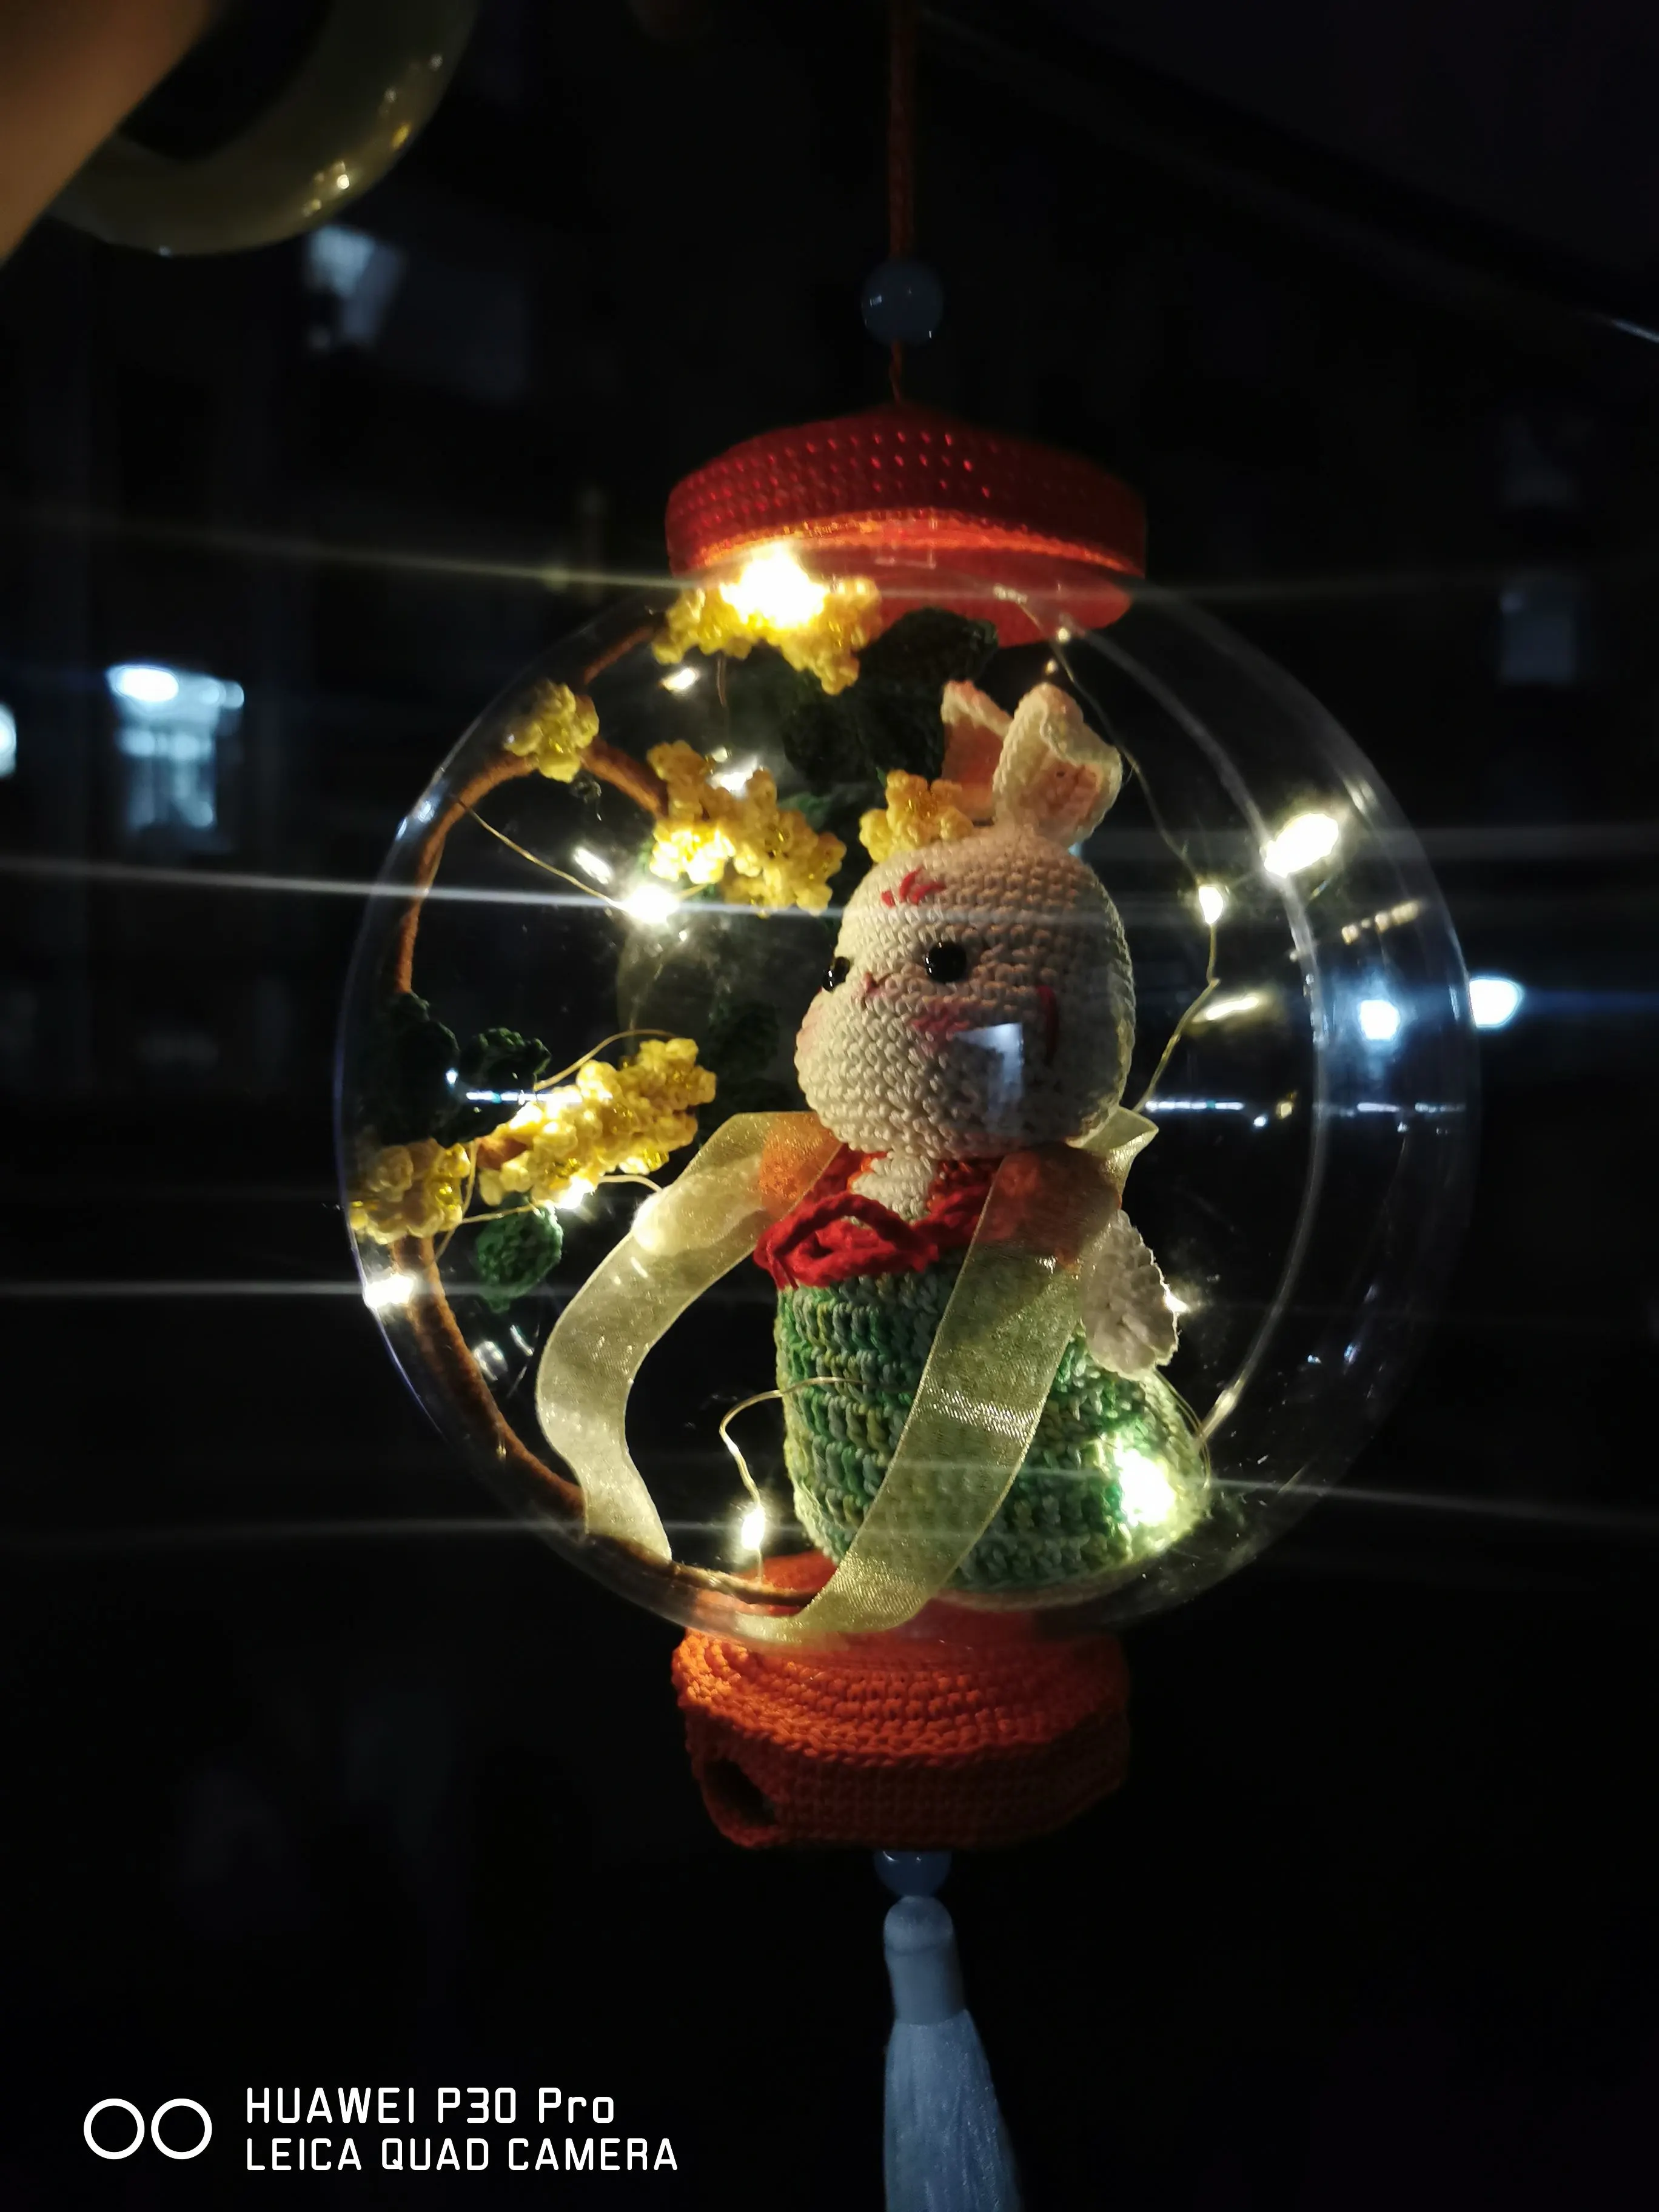
| Jade Rabbit Lantern- Osmanthus Rabbit | Fancy Dyed Lace | 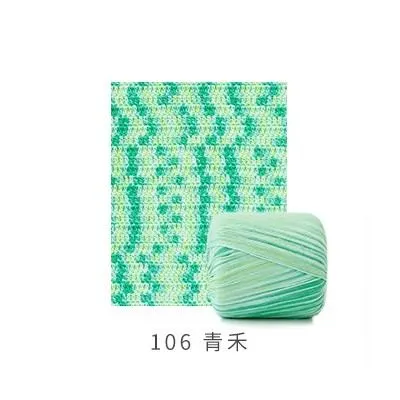 106#Sprout |
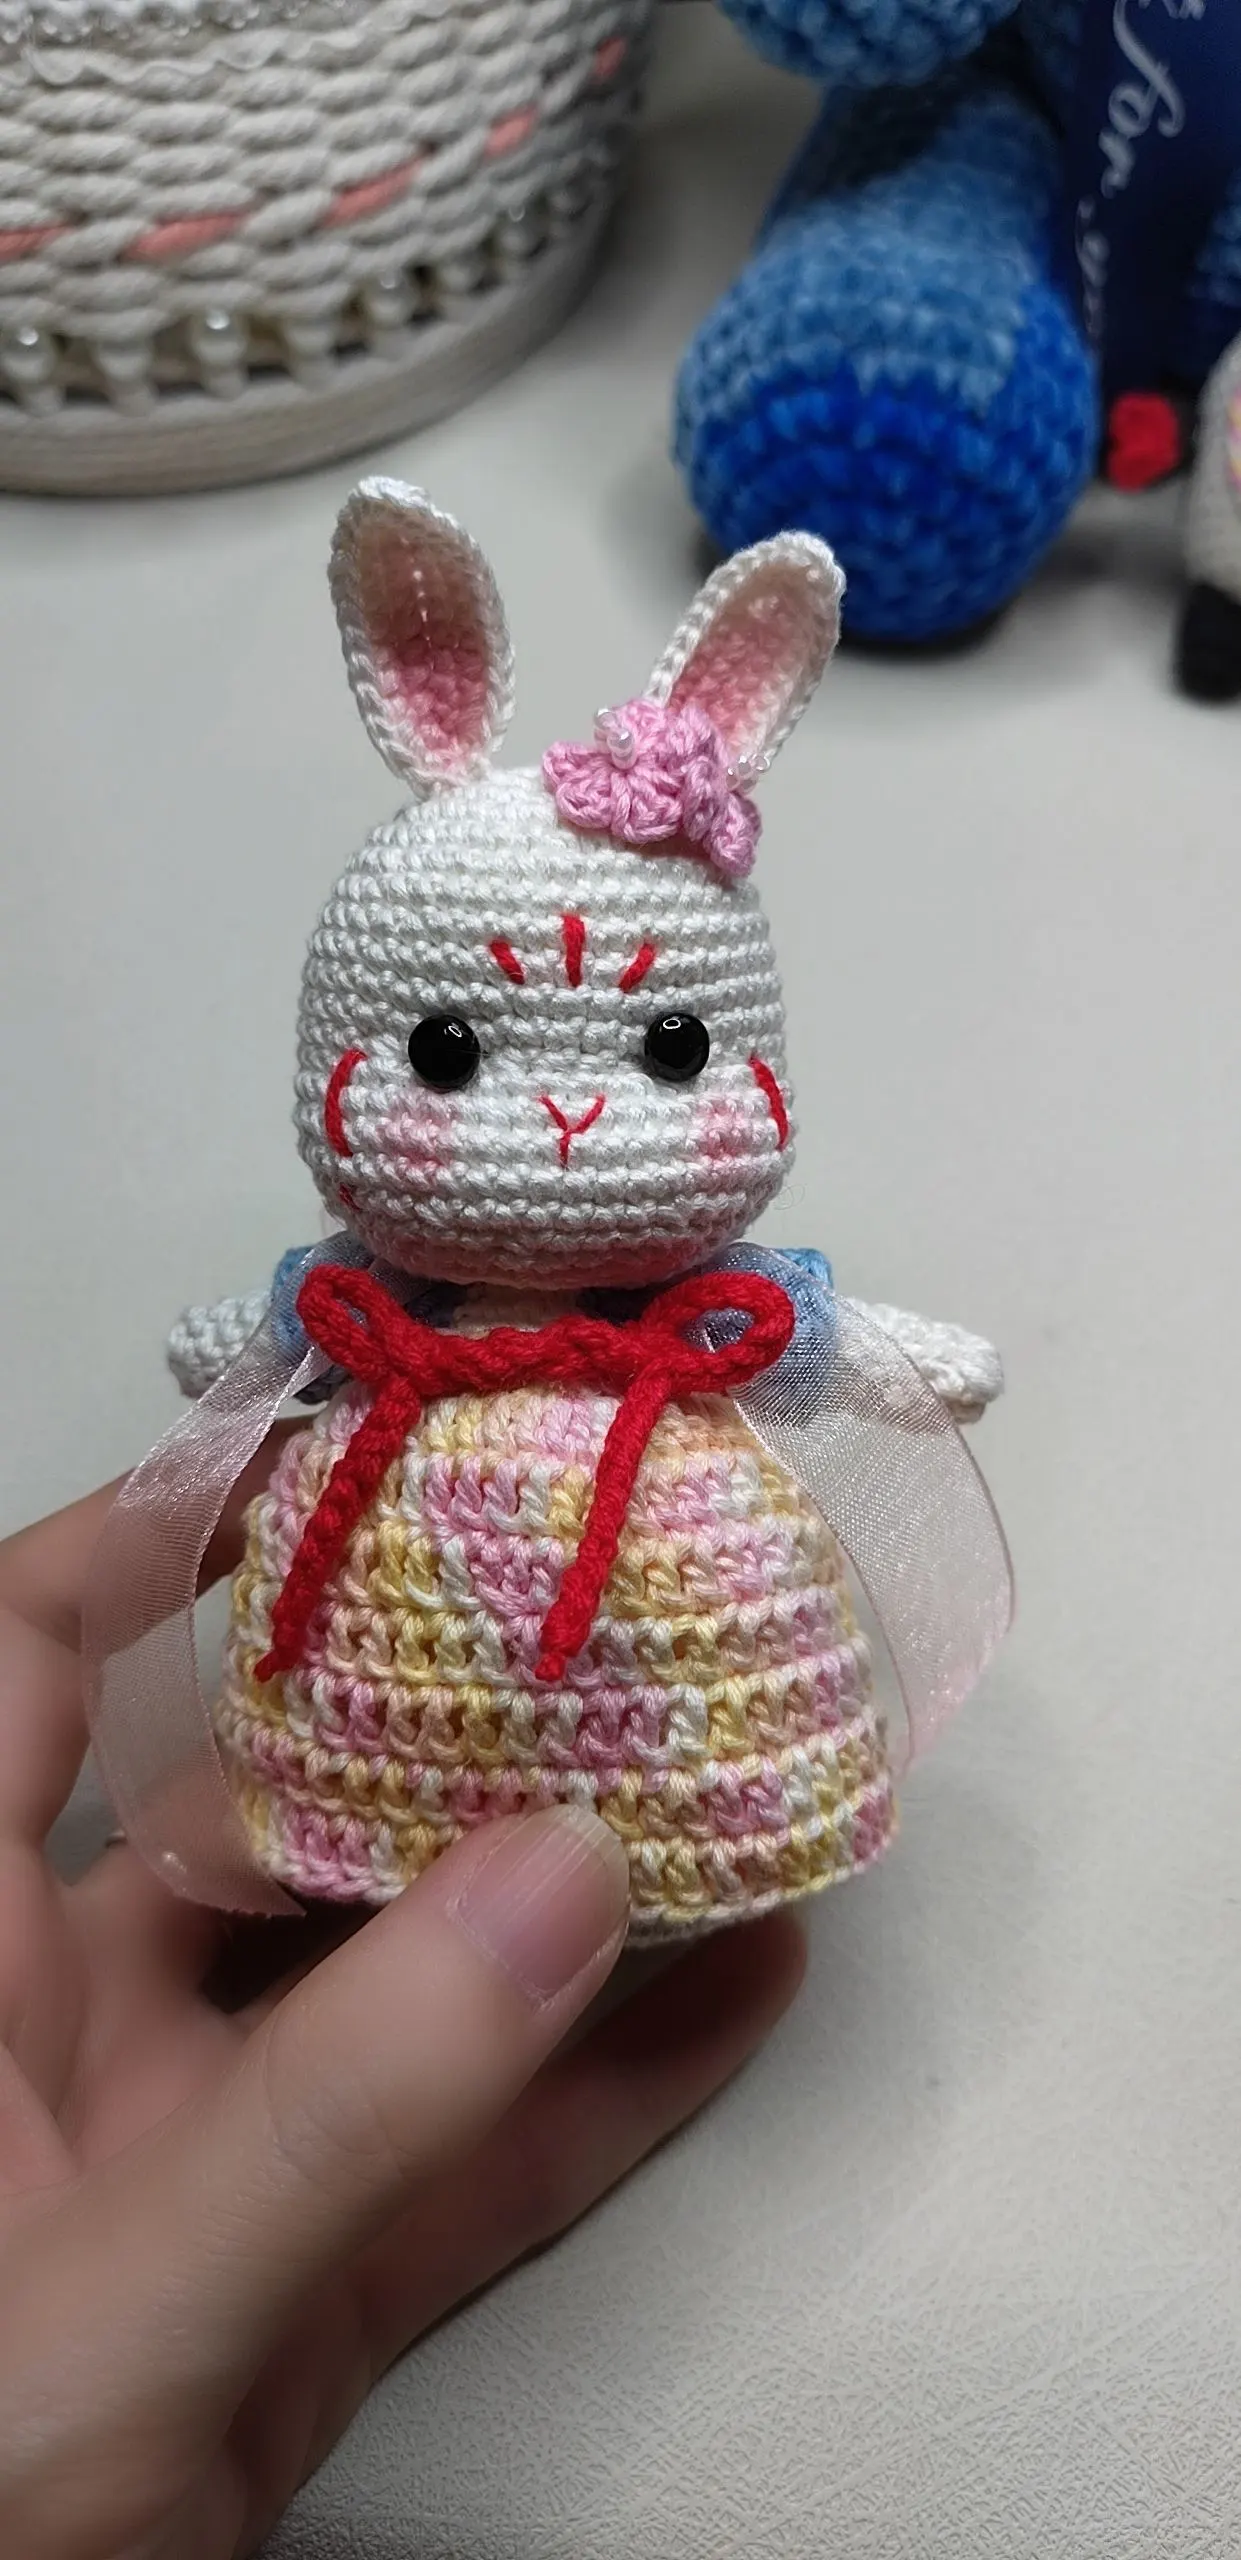
| Jade Rabbit Lantern- Peach Blossom Rabbit | Fancy Dyed Lace | 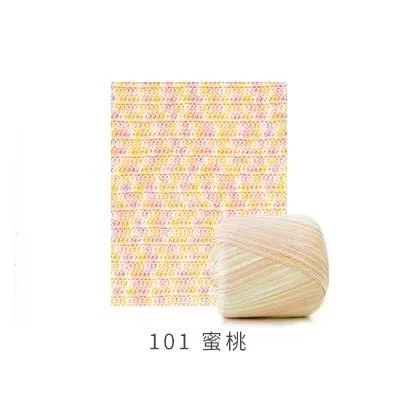 101#Peach Soda |
This lantern flower design comes in two styles: Osmanthus Rabbit and Peach Blossom Rabbit. The crocheting method is similar for both, with only the color schemes and flowers differing. Each consists of two parts: the toy and accessories. First, complete the crocheting of the toy, then make and attach each accessory.
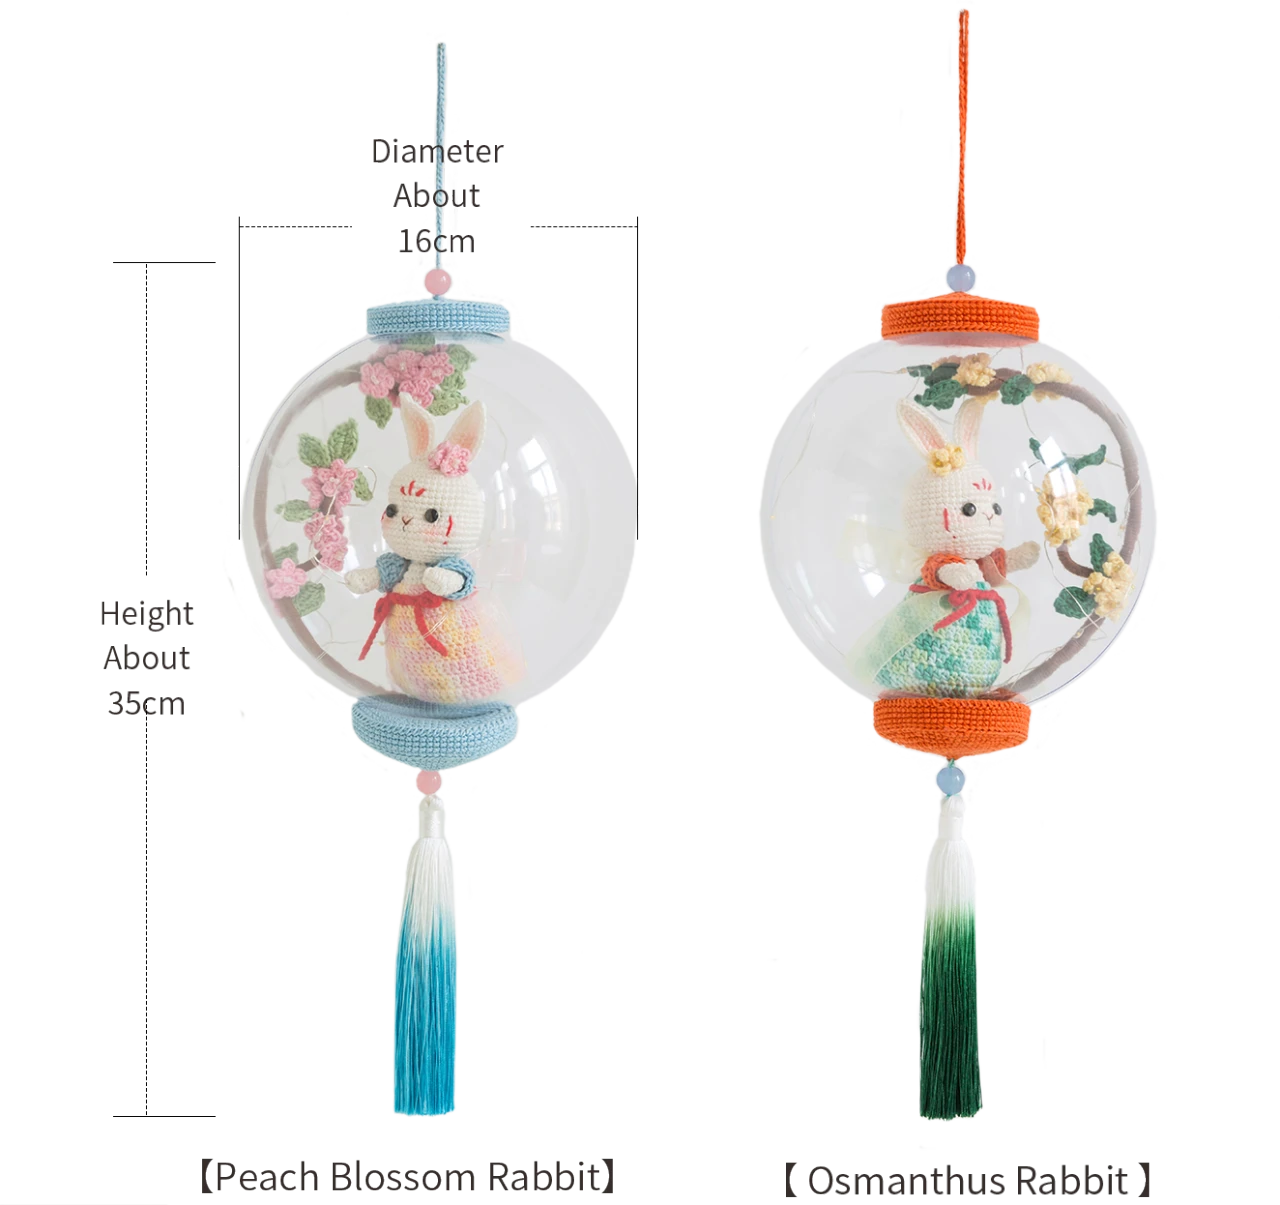
The handcrafted measurements may have an error, the size of the sample is for reference only.
Materials: Susan's Family 4-Ply Combed Cotton & Acrylic Fibre Hand Knitting Yarn & Combed 3# Lace & Fancy Dyed Lace
Hook: 1.75 mm crochet hook
Note: When crocheting in rounds, you need to start with a standing chain, and at the end, connect with a slip stitch and pull tight. The turning chain for single crochet and the joining slip stitch do not count as 1 stitch, while the turning chain for double crochet counts as 1 stitch.
ABBREVIATIONS
MRadjustable magic ring
RRound
V = sc2-in-12 single crochets into the same stitch
CHchain
Fdouble crochet
(...)×6crochet item in the parentheses six times
Dao2start in 2nd CH from the hook
Thalf double crochet
W = sc3-in-13 single crochets into the same stitch
HRow
[...]in the same stitch
XX stitch single crochet
FA = dc2togdouble crochet 2 stitches together
FV = dc2-in-12 double crochets into the same stitch
Kskip
(3T)Q = hdc3-puff3 half double crochets into the same stitch and crocheted together
BLOback loop only
SLslip stitch
A = sc2toginvisible single crochet 2 stitches together
[2CH, SL]CH2-picot:chain 2, and then join with one slip stitch into both the front loop of the previous stitch and the front leg strand of the previous stitch.
Note:
1. This pattern is making in Chinese crochet pattern terms, and the stitch name is written using American terminology. All measurements in charts are in cm.
2. Working in joined round: When crocheting in rounds without further guidance, working in closed rounds, start each round with a set number of beginning chains and close with a slip stitch. The beginning chain preceding a single crochet and the slip stitch used for joining rounds are not included in the total stitches.


Part 1 The Toy A
The toy includes several parts: the head, arms, body, tail, and accessories.
Step 1 The Head A 1 01' 08'' (Part 1)
The head is worked using the magic ring method, crocheting in rounds counterclockwise. Please refer to the video demonstration for more details.
| The Head | |||
| Rounds | Stitch Instruction | Total Stitches | Color |
| Cast on - R 1 | MR , 6 X | 6 | 02#Whisper White |
| R 2 | 6 V | 12 | |
| R 3 | ( X, V)×6 | 18 | |
| R 4 | ( X, V, X)×6 | 24 | |
| R 5 | (3 X, V)×6 | 30 | |
| R 6 | (2 X, V, 2 X)×6 | 36 | |
| R 7 | (5 X, V)×6 | 42 | |
| R 8—R 12 | even 42 X | 42 | |
| R 13 | 14 X, ( A, 2 X)×3, A, 14 X | 38 | |
| R 14 | 14 X, ( V, 2 X)×3, V, 14 X | 42 | |
| R 15 | 11 X, V, 2 X, V, 2 X, V, 6 X, V, 2 X, V, 2 X, V, 11 X |
48 | |
| R 16—R 17 | even 48 X | 48 | |
| R 18 | 11 X, A, 2 X, A, 2 X, A, 6 X, A, 2 X, A, 2 X, A, 11 X |
42 | |
| R 19 | (5 X, A)×6 | 36 | |
| R 20 | (2 X, A, 2 X)×6 | 30 | |
| R 21 | even 30 X | 30 | |
| R 22 | (3 X, A)×6 | 24 | |
| R 23 | ( X, A, X)×6 | 18 | |
| R 24 | ( X, A)×6 | 12 | |
| R 25 | 6 A M | 6 | |
| Crochet until there are a few rounds left, then stuff as you go. At the end, leave a 15 cm yarn tail to close up. | |||
Step 2 Arms A 2 17' 31'' (Part 1)
There are two arms in total. We will start from foundation chain and crochet in rounds counterclockwise along the starting chain. They are divided into hands and sleeves, two parts in total. Please refer to the video demonstration for more details.
| Arm×2 | |||
| Rounds | Stitch Instruction | Total Stitches | Color |
| Hands | 02#Whisper White | ||
| Cast on - R 1 | 4 CH, Dao 2, 2 X, W, X, V | 8 | |
| R 2 | 3 X, V, 3[(3 T)Q], V | 10 | |
| R 3 | even 10 X | 10 | |
| R 4—R 9 | X, V, 4 X, A, 2 X | 10 | |
| R 10 | X, V, 4 X, A, 2 X | 10 | Osmanthus Rabbit :42#Orangeade Peach Blossom Rabbit:15#Sky Blue |
| Sleeves | |||
| R 11 | BLO, turn, [SL, 3 CH, F], 2 F, F V, F, F V, 2 F, F V, F |
14 | |
| R 12 | 3 CH, 13 F | 14 | |
| The red slip stitches for transition don't count as 1 stitch. Leave a 10cm tail at the end for finishing off | |||
Step 3 The Body A 3 30' 15'' (Part 1)
The body is started with the magic ring method, crocheted in rounds counterclockwise, divided into Section 1, Section 2, and Section 3. During the crocheting process, you need to switch colors and stuff. Please refer to the video demonstration for more details.
| Body | ||||
| Section 1 | Rounds | Stitch Instruction | Total Stitches | Color |
| Cast on - R 1 | MR , 6 X | 6 | 02#Whisper White | |
| R 2 | 6 V | 12 | ||
| R 3 | ( X, V)×6 | 18 | ||
| R 4 | ( X, V, X)×6 | 24 | ||
| R 5 | (3 X, V)×6 | 30 | ||
| R 6 | (2 X, V, 2 X)×6 | 36 | ||
| R 7 | (5 X, V)×6 | 42 | ||
| R 8 | (3 X, V, 3 X)×6 | 48 | ||
| R 9 | (7 X, V)×6 | 54 | ||
| R 10 | BLO, even 54 X | 54 | ||
| R 11 | A, 7 X, A, (8 X, V)×3, 7 X, A, 7 X | 54 | ||
| R 12 | even 54 X | 54 | ||
| R 13 | 3 X, A, 7 X, A, 12 X, V, 8 X, V, 12 X, A, 4 X |
53 | ||
| R 14 | even 53 X | 53 | ||
| R 15 | A, 7 X, A, 16 X, V, 16 X, A, 7 X | 51 | ||
| R 16 | even 51 X | 51 | ||
| R 17 | 4 X, A, 7 X, A, 31 X, A, 3 X | 48 | ||
| R 18 | even 48 X | 48 | ||
| R 19 | A, 7 X, A, 28 X, A, 7 X | 45 | ||
| R 20 | even 45 X | 45 | ||
| R 21 | 7 X, A, 25 X, A, 7 X, A | 42 | ||
| R 22 | even 42 X | 42 | ||
| R 23 | A, 7 X, A, 22 X, A, 7 X | 39 | ||
| R 24 | even 39 X | 39 | ||
| R 25 | 7 X, A, 19 X, A, 7 X, A | 36 | ||
| R 26 | even 36 X | 36 | ||
| R 27 | A, 7 X, A, 16 X, A, 7 X | 33 | ||
| R 28 | even 33 X | 33 | ||
| R 29 | 7 X, A, 13 X, A, 7 X, A | 30 | Osmanthus Rabbit :106#Sprout Peach Blossom Rabbit:101#Peach Soda |
|
| Section 2 | R 1 | BLO, turn, [SL, 3 CH, F], 2 F, ( F V, 2 F)×9 |
40 | |
| R 2 | 3 CH, 6 F, F V, (7 F, F V)×4 | 45 | ||
| R 3 | 3 CH, even 44 F | 45 | ||
| R 4 | [3 CH, F], 5 F, F V, 8 F, F A, 5 F, F A, 5 F, F A, 8 F, F V, 5 F |
45 | ||
| R 5 | 3 CH, even 44 F | 45 | ||
| R 6 | 3 CH, 4 F, F V, 32 F, F V, 5 F, F V | 48 | ||
| R 7 | [3 CH, F], 5 F, F V, 35 F, F V, 5 F | 51 | ||
| R 8 | 3 CH, 4 F, F V, 38 F, F V, 5 F, F V | 54 | ||
| Section 3 | R 1 | (Section 1 R 29 remaining half stitch), 12 X, 6 X, 12 X | 30 | Red is color 2.: 02#Whisper White The rest is color 1.: Osmanthus Rabbit :42#Orangeade Peach Blossom Rabbit:15#Sky Blue |
| R 2 | 5 X, Connect the hand(6 X, K 4), K 4, 3 X, 6 X, 3 X, Connect the hand(6 X, K 4), K 4, 5 X |
34 | ||
| R 3 | A, X, 5 A, X, 3 A, X, 5 A, X, A | 19 | ||
| After completing Section 2, start stuffing. Then continue to stuff as you go while crocheting the edges. The transition red slip stitch doesn't count as 1 stitch | ||||
Step 4 TheTail A 4 53' 25'' (Part 1)
The tail is made using the magic ring method, crocheting in rounds counterclockwise. Stuffing is required while crocheting, and after completion, it should be sewn onto the corresponding position on the body. Please refer to the video demonstration for more details.
| Tail | |||
| Rounds | Stitch Instruction | Total Stitches | Color |
| Cast on - R 1 | MR , 6 X | 6 | 02#Whisper White |
| R 2 | 6 V | 12 | |
| R 3—R 5 | even 12 X | 12 | |
| R 6 | ( X, A)×4 | 8 | |
| Stuff as you go, and finally leave a 30 cm yarn tail for closing and sewing up. | |||
Step 5 Accessories A 5 55' 29'' (Part 1)
The accessories include facial features, flowers, patterns, assembly of head and body, belts, and ribbons. The facial features include eyes, nose and mouth, blush, and ears; the flowers vary depending on the colorway but are made using a similar method. Each flower is made in pairs, starting with a magic ring and crocheting in rounds to create the flower fabric piece. After completion, add the pistil and sew it in place. Please refer to the video demonstration for more details.
Note:
① Mouth and nose: Use 1 strand of 4-Ply Combed Cotton & Acrylic Fibre Hand Knitting Yarn 34# Toffee;
② Pattern: Use 2 strands of 4-Ply Combed Cotton & Acrylic Fibre Hand Knitting Yarn 51# High Risk Red;
③ Belt: Use 4-Ply Combed Cotton & Acrylic Fibre Hand Knitting Yarn 51# High Risk Red.
④ For the toy flower motifs, use 2 pieces with long yarn tails reserved. The remaining flower motifs will be used for assembling the flower branches later. The pistil embroidery methods are different. Refer to the video demonstration for specifics.
| Ear × 2 | |||
| Rounds | Stitch Instruction | Total Stitches | Color |
| Cast on - R 1 | 10 CH, Dao 2, 8 X, W, 7 X, V | 20 | 02#Whisper White |
| R 2 | V, 6 T, 2 X, [ X, T, CH, T, X], 2 X, 6 T, 2 V |
/ | |
| Leave a 20 cm yarn tail at the end for sewing together. | |||
| Blossom motifs ×28 | |||
| Rounds | Stitch Instruction | Color | |
| Cast on - R 1 | MR , (3 CH, Dao 2, T, X, SL)×4 | 09#Pale Banana | |
| For 2 of the pieces, leave a 20 cm yarn tail before breaking the yarn, and for the rest, leave a 5 cm yarn tail before breaking the yarn. The number of fabric pieces can be adjusted according to personal preference and material availability. |
|||
| Peach blossom motifs ×22 | |||
| Rounds | Stitch Instruction | Color | |
| Cast on - R 1 | MR , (2 CH, F, 2 CH, SL)×5 | 44#Candy Pink | |
| For 2 of the pieces, leave a 20 cm yarn tail before breaking the yarn, and for the rest, leave a 5 cm yarn tail before breaking the yarn. The number of fabric pieces can be adjusted according to personal preference and material availability. |
|||
Part 2 Accessories B
The accessories include flower branches, base fabric pieces, top fabric pieces, and overall assembly.
Step 1 Flower Branches B 1 00' 26'' (Part 2)
Both flower branch styles are divided into three parts: flowers, leaves, and assembly. The flowers are identical to those in the corresponding colorway toy accessories. The assembly method for both flower branches is the same. Please refer to the video demonstration for more details.
| Leaf ×12 | |||
| Rounds | Stitch Instruction | Color | |
| Cast on - R 1 | 8 CH, Dao 2, SL, X, T, 2 F, T, [ X, (2 CH, SL), X], T, 2 F, T, X, SL |
Osmanthus Rabbit :19#Verdant Green Peach Blossom Rabbit:35#Fair Green |
|
| When crocheting, you can add thin wire, and the amount can be adjusted based on personal preference and material availability. Wrapping flower branch yarn: 4-Ply Combed Cotton & Acrylic Fibre Hand Knitting Yarn 34# Toffee |
|||
Step 2 B 2Base Fabric Pieces and Top Fabric Pieces 19' 05'' (Part 2)
The lampshade fabric is divided into Section 1, Section 2, and the interlayer fabric. The interlayer fabric uses the foundation chain method, and works back and forth along the starting chain. The crochet pattern for the top of the lampshade is similar to Section 1 of the bottom of the lampshade .Please refer to the video demonstration for more details.
| The section 1 and the section 2 of the lampshade fabric piece | |||
| Rounds | Stitch Instruction | Total Stitches | Color |
| Cast on - R 1 | MR , 6 X | 6 | Osmanthus Rabbit :42#Orangeade Peach Blossom Rabbit:15#Sky Blue |
| R 2 | 6 V | 12 | |
| R 3 | ( X, V)×6 | 18 | |
| R 4 | ( X, V, X)×6 | 24 | |
| R 5 | (3 X, V)×6 | 30 | |
| R 6 | (2 X, V, 2 X)×6 | 36 | |
| R 7 | (5 X, V)×6 | 42 | |
| R 8 | (3 X, V, 3 X)×6 | 48 | |
| R 9 | (7 X, V)×6 | 54 | |
| R 10 | (4 X, V, 4 X)×6 | 60 | |
| R 11 | (9 X, V)×6 | 66 | |
| R 12 | (5 X, V, 5 X)×6 | 72 | |
| R 13 | BLO, 64 X, 8 CH, K 8 | 72 | |
| R 14—R 16 | even 72 X | 72 | |
| Leave a tail of about 70 cm at the end for sewing together. | |||
| Cast on - R 1 | MR , 6 X | 6 | |
| R 2 | 6 V | 12 | |
| R 3 | ( X, V)×5, 3 CH, K 2 | 18 | |
| R 4 | ( X, V, X)×6 | 24 | |
| R 5—R 12 | Work as established for Section 1 R 5—R 12 | / | |
| Interlayer fabric piece | |||
| Rounds | Stitch Instruction | Total Stitches | Color |
| Cast on - R 1 | 15 CH, Dao 2, 14 X | 14 | Osmanthus Rabbit :42#Orangeade Peach Blossom Rabbit:15#Sky Blue |
| R 2—R 21 | CH, turn, even 14 X | 14 | |
| Leave a 60 cm yarn tail at the end for sewing together. | |||
| Top Fabric Pieces | |||
| Rounds | Stitch Instruction | Total Stitches | Color |
| Cast on - R 1 - R 12 | Crochet according to the pattern of Section 1, from Cast on - R 1 to R 12 | / | Osmanthus Rabbit :42#Orangeade Peach Blossom Rabbit:15#Sky Blue |
| R 13 | BLO, even 72 X | 72 | |
| R 14 - R 16 | even 72 X | 72 | |
Step 3 Overall Assembly B 3 23' 49'' (Part 2)
The overall assembly is divided into several parts: the hollow sphere, the lamp base, and the lamp top. Please refer to the video demonstration for more details.
Made by the community