Accessories / Scarf
Morning Breeze Cashmere Scarf
Project preview
See the finished project
Pattern format
Instructions
Watch and follow
Video tutorial
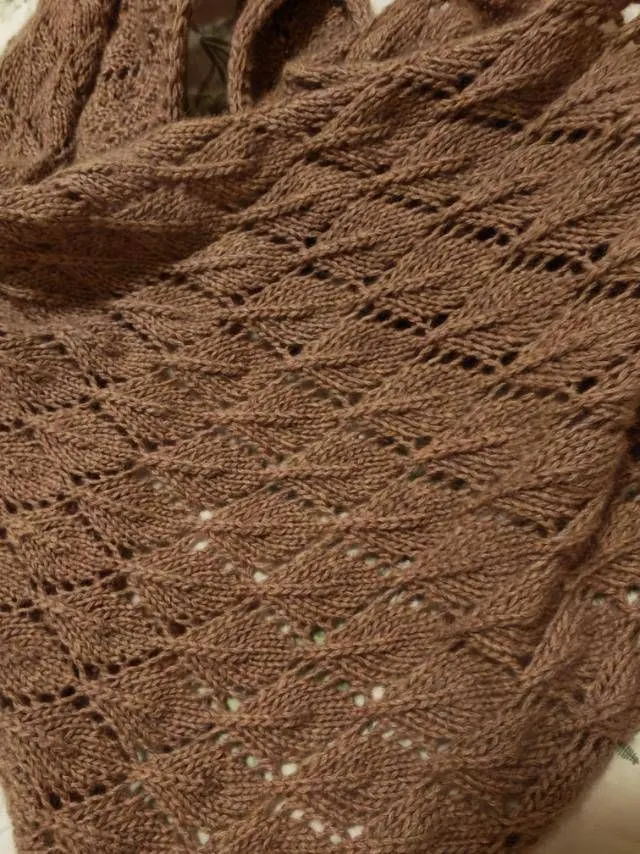
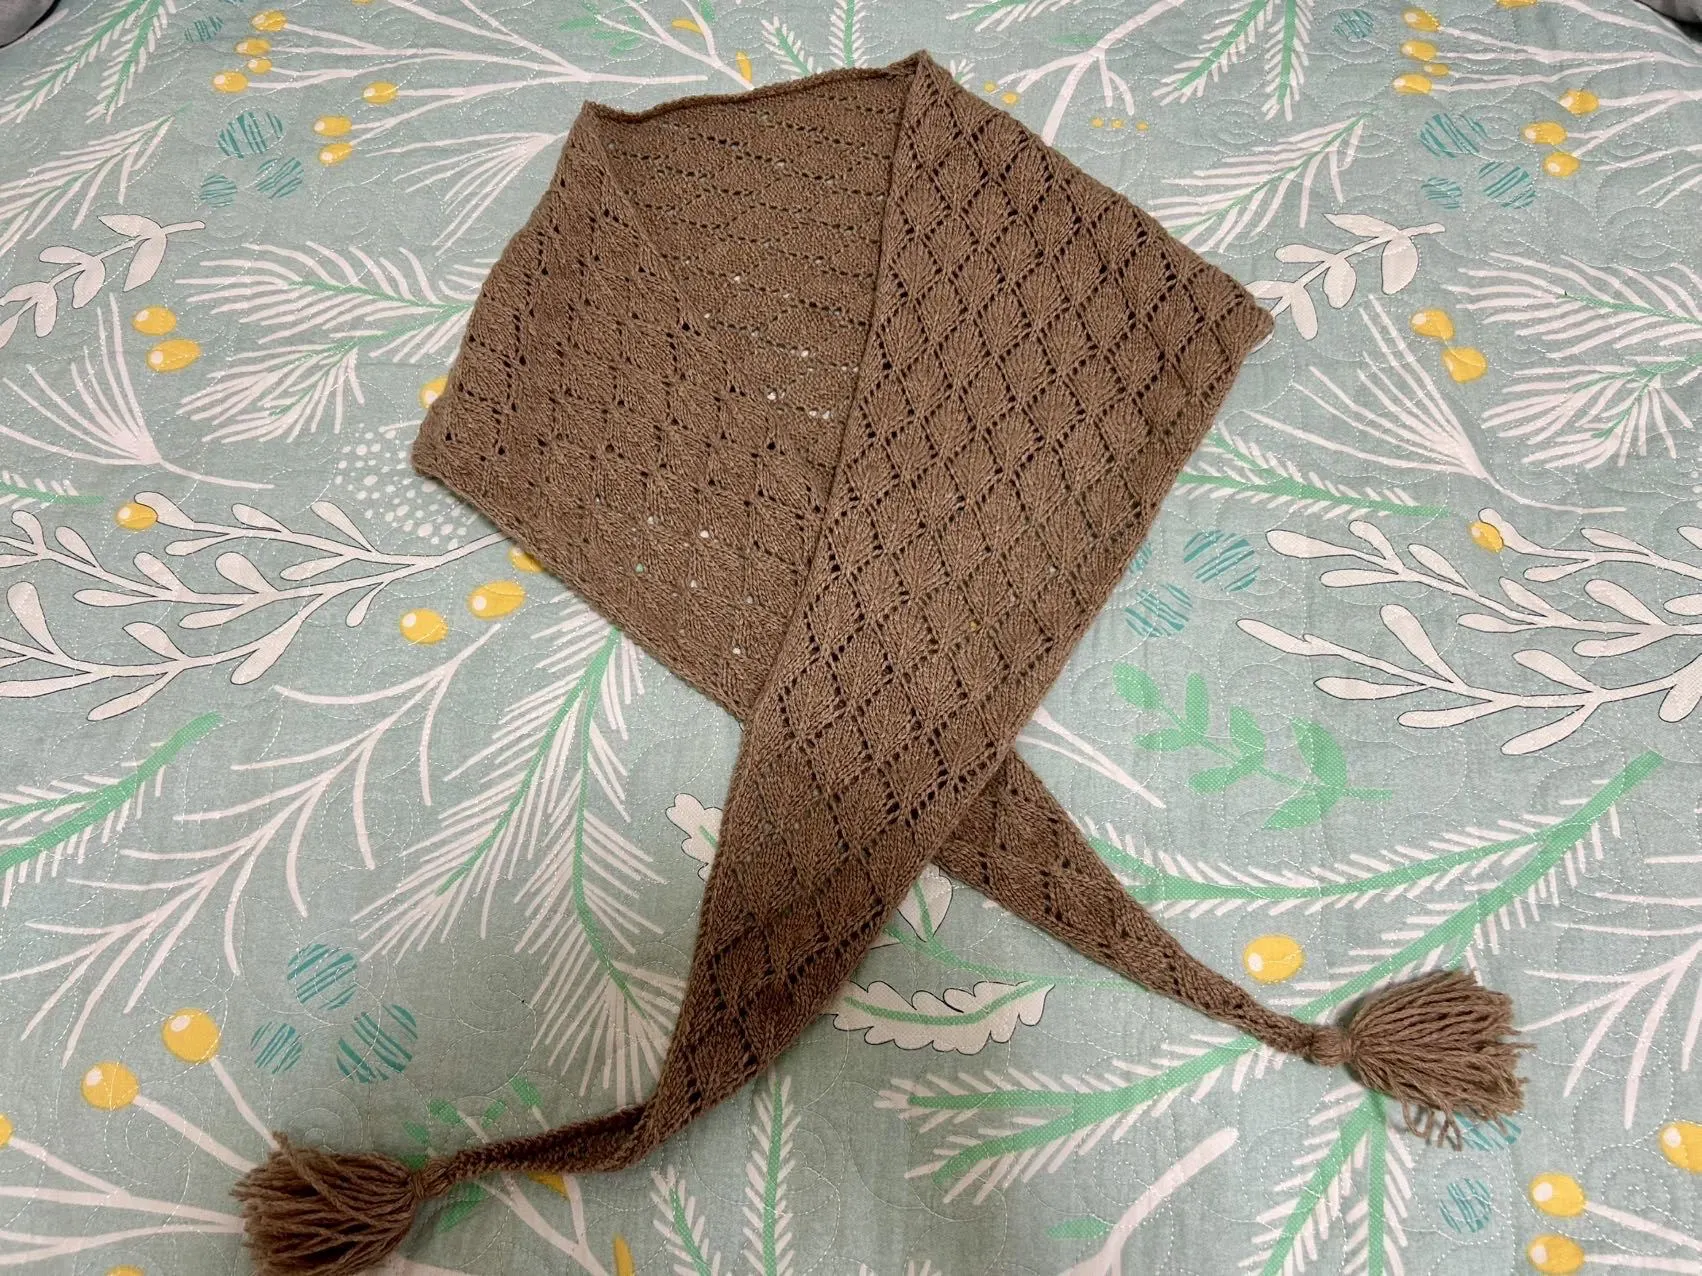
The scarf consists of the main part and the tassels. The main part is divided into an increasing section and a decreasing section. We'll start by knitting the main part. After completing it, we'll attach the tassels to the corresponding positions.
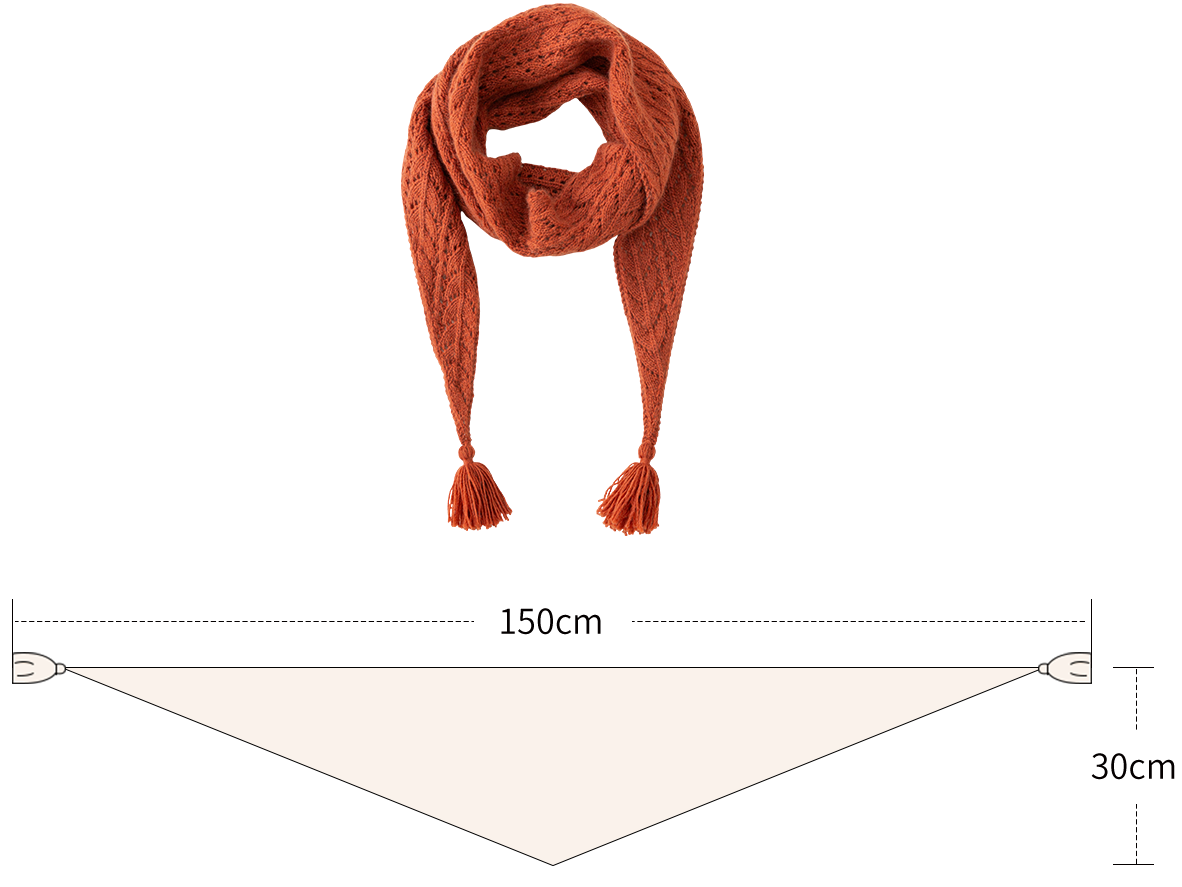
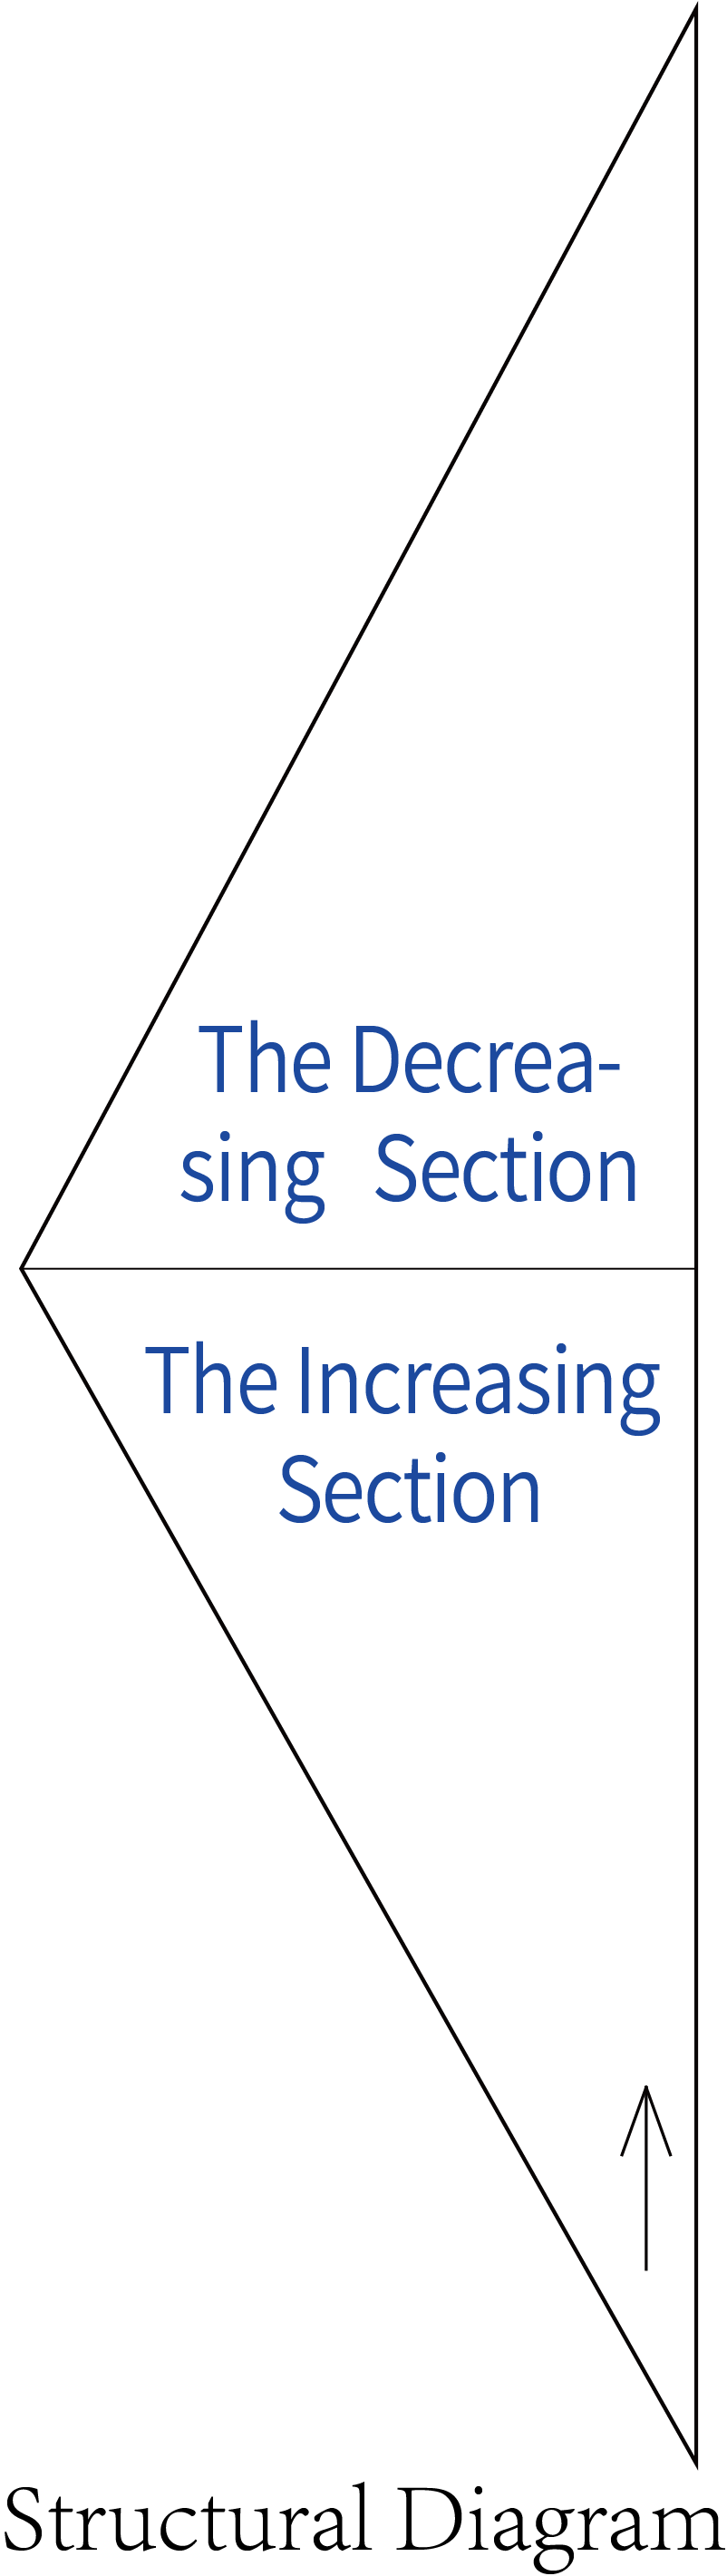
The handcrafted measurements may have an error of 1 to 2 cm. Due to variations in individual tension, the size of the sample is for reference only.
Materials: Susan's Family 3-Ply 30% Cashmere Hand Knitting Yarn
Hook: 3.25 mm short knitting needle

Chart Key



Note:
1. This pattern is making in Chinese crochet pattern terms, and the stitch name is written using American terminology. All measurements in charts are in cm.
2. The chart represent the right side of fabric, so check the key to see how to work a certain symbol on the right side and on the wrong side.
3. When knitting back and forth, work the opposite stitch on the wrong side.

Part 1 The Increasing SectionA 00' 22''
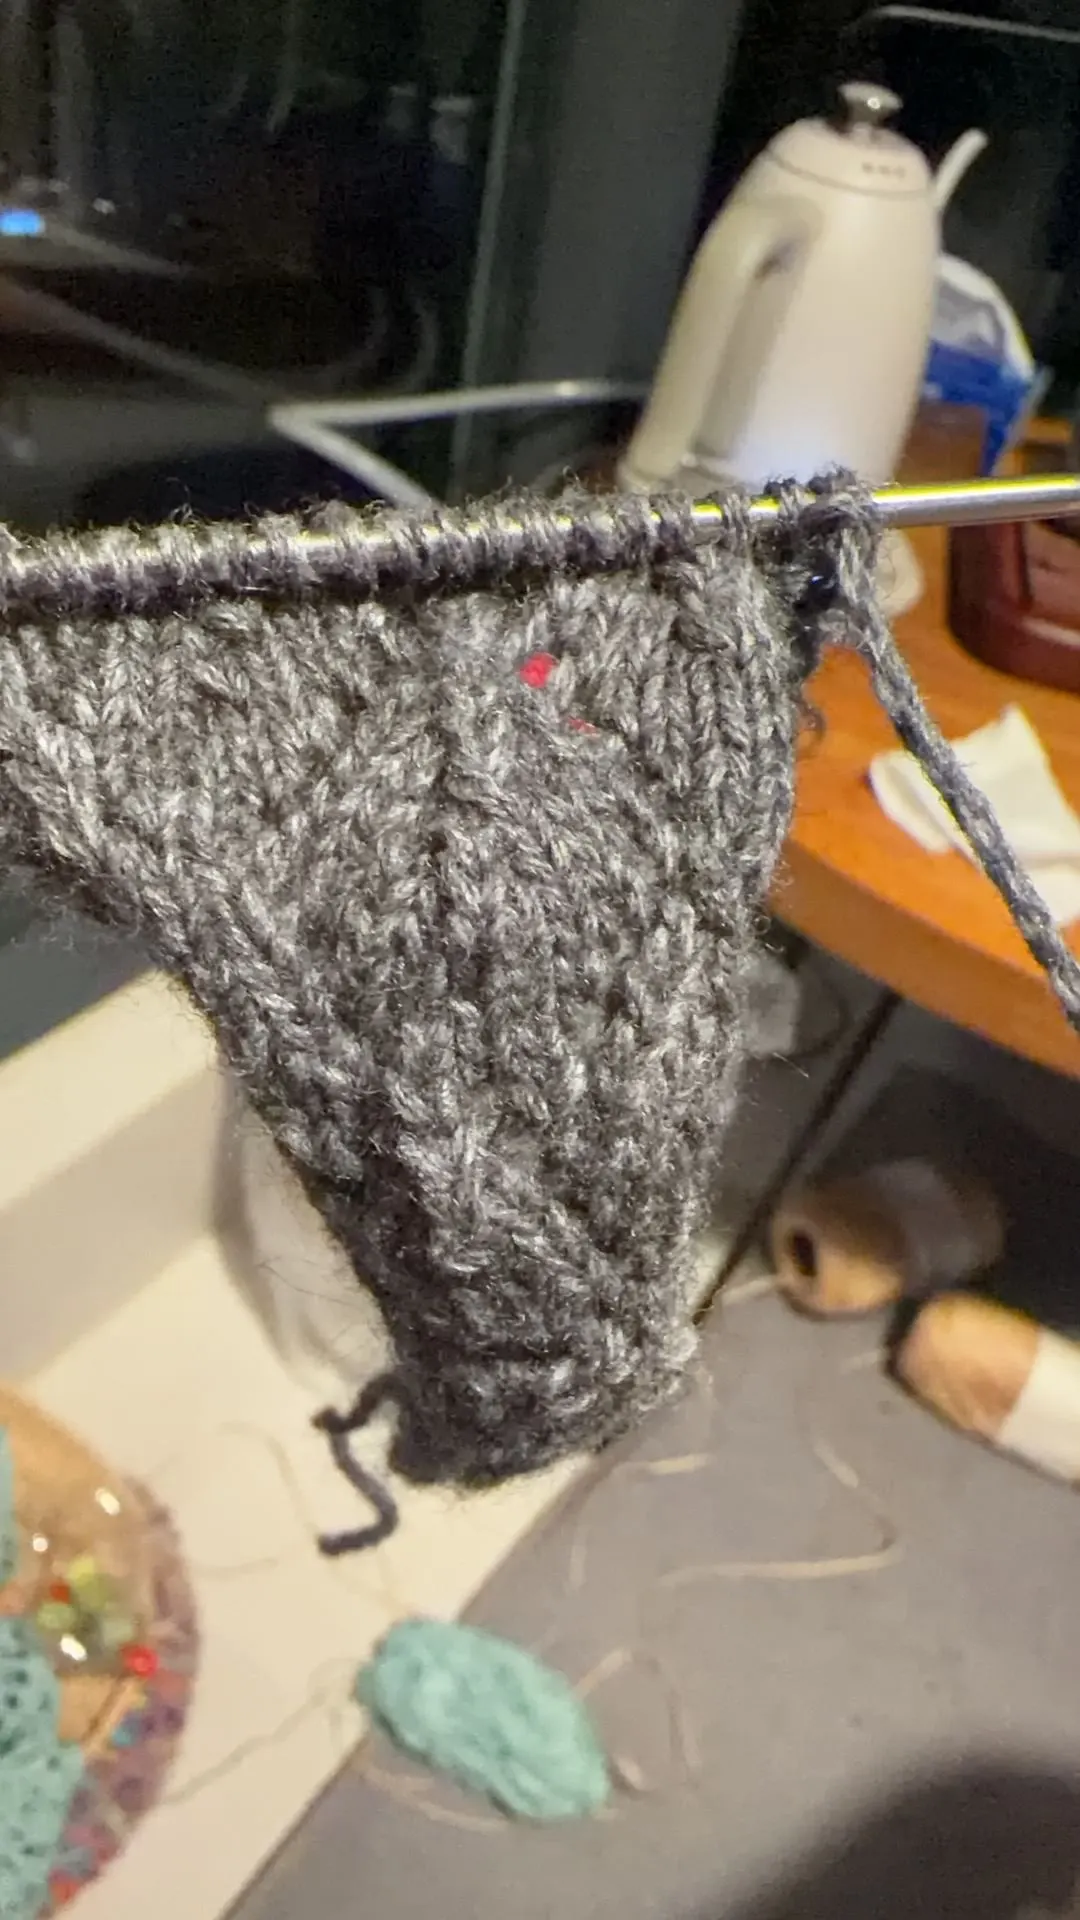
This scarf uses the method of cable cast on. We knit back and forth in rows. Please refer to the video demonstration for more details.
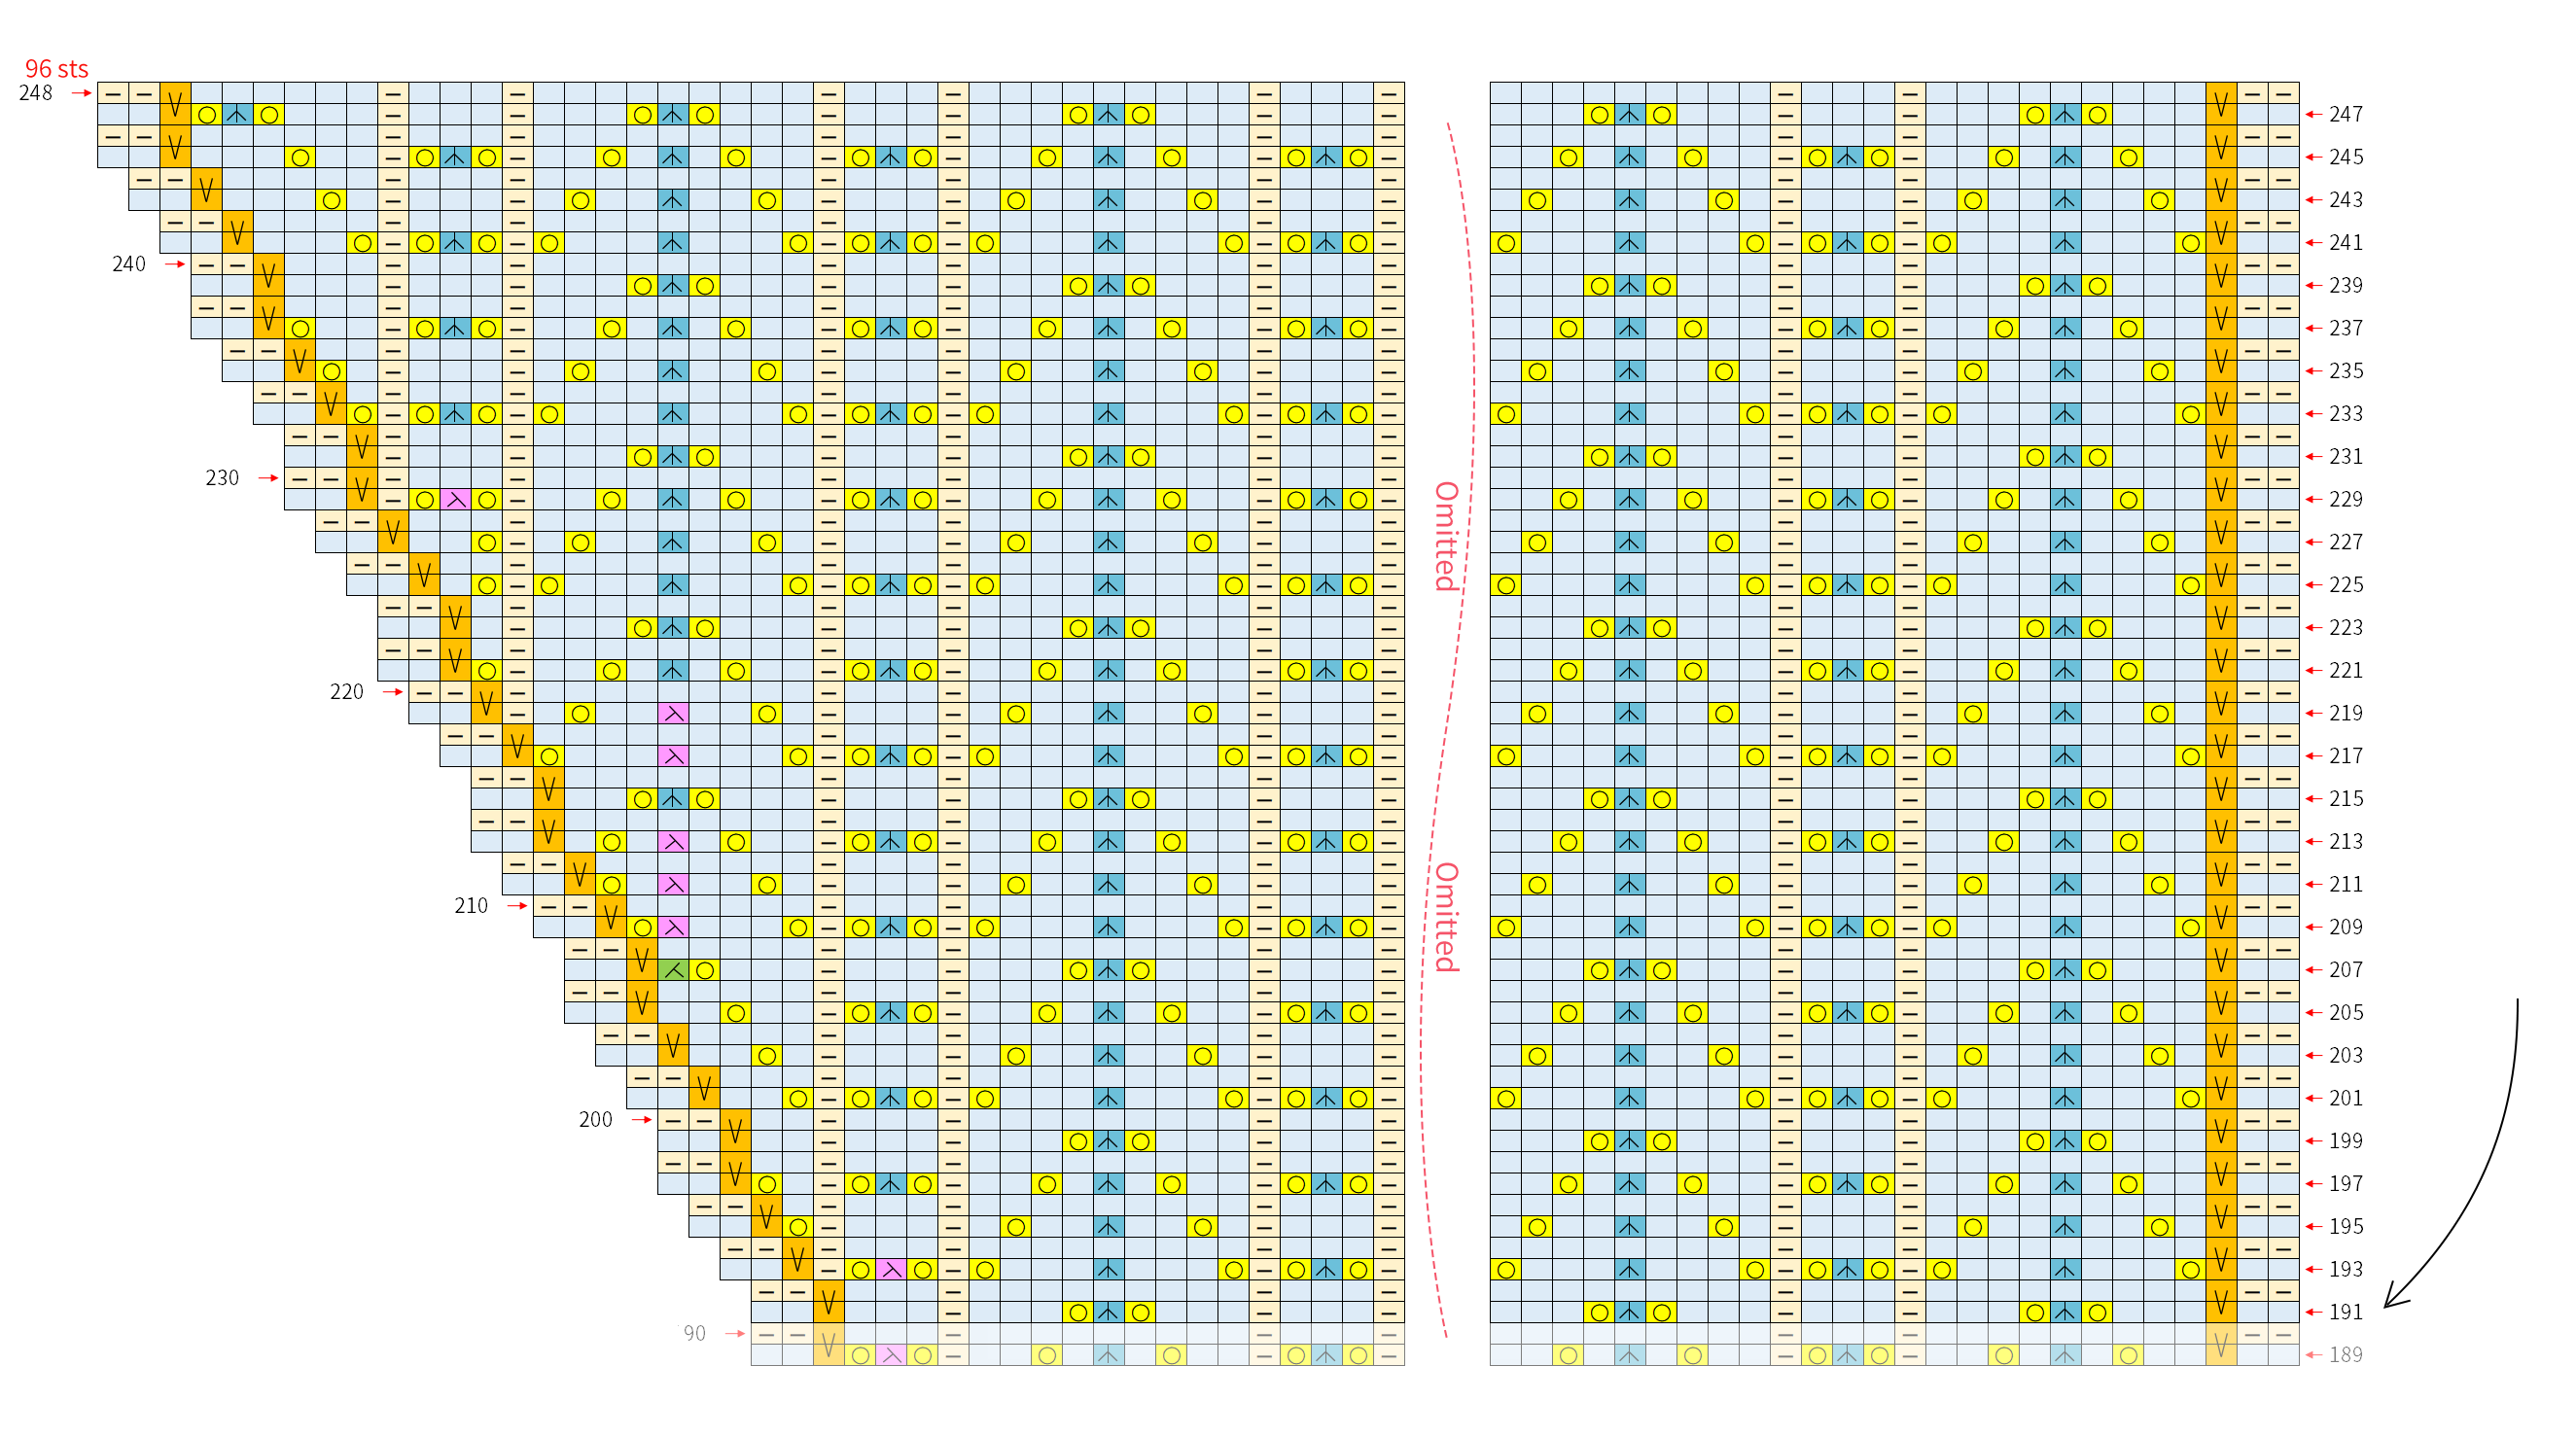
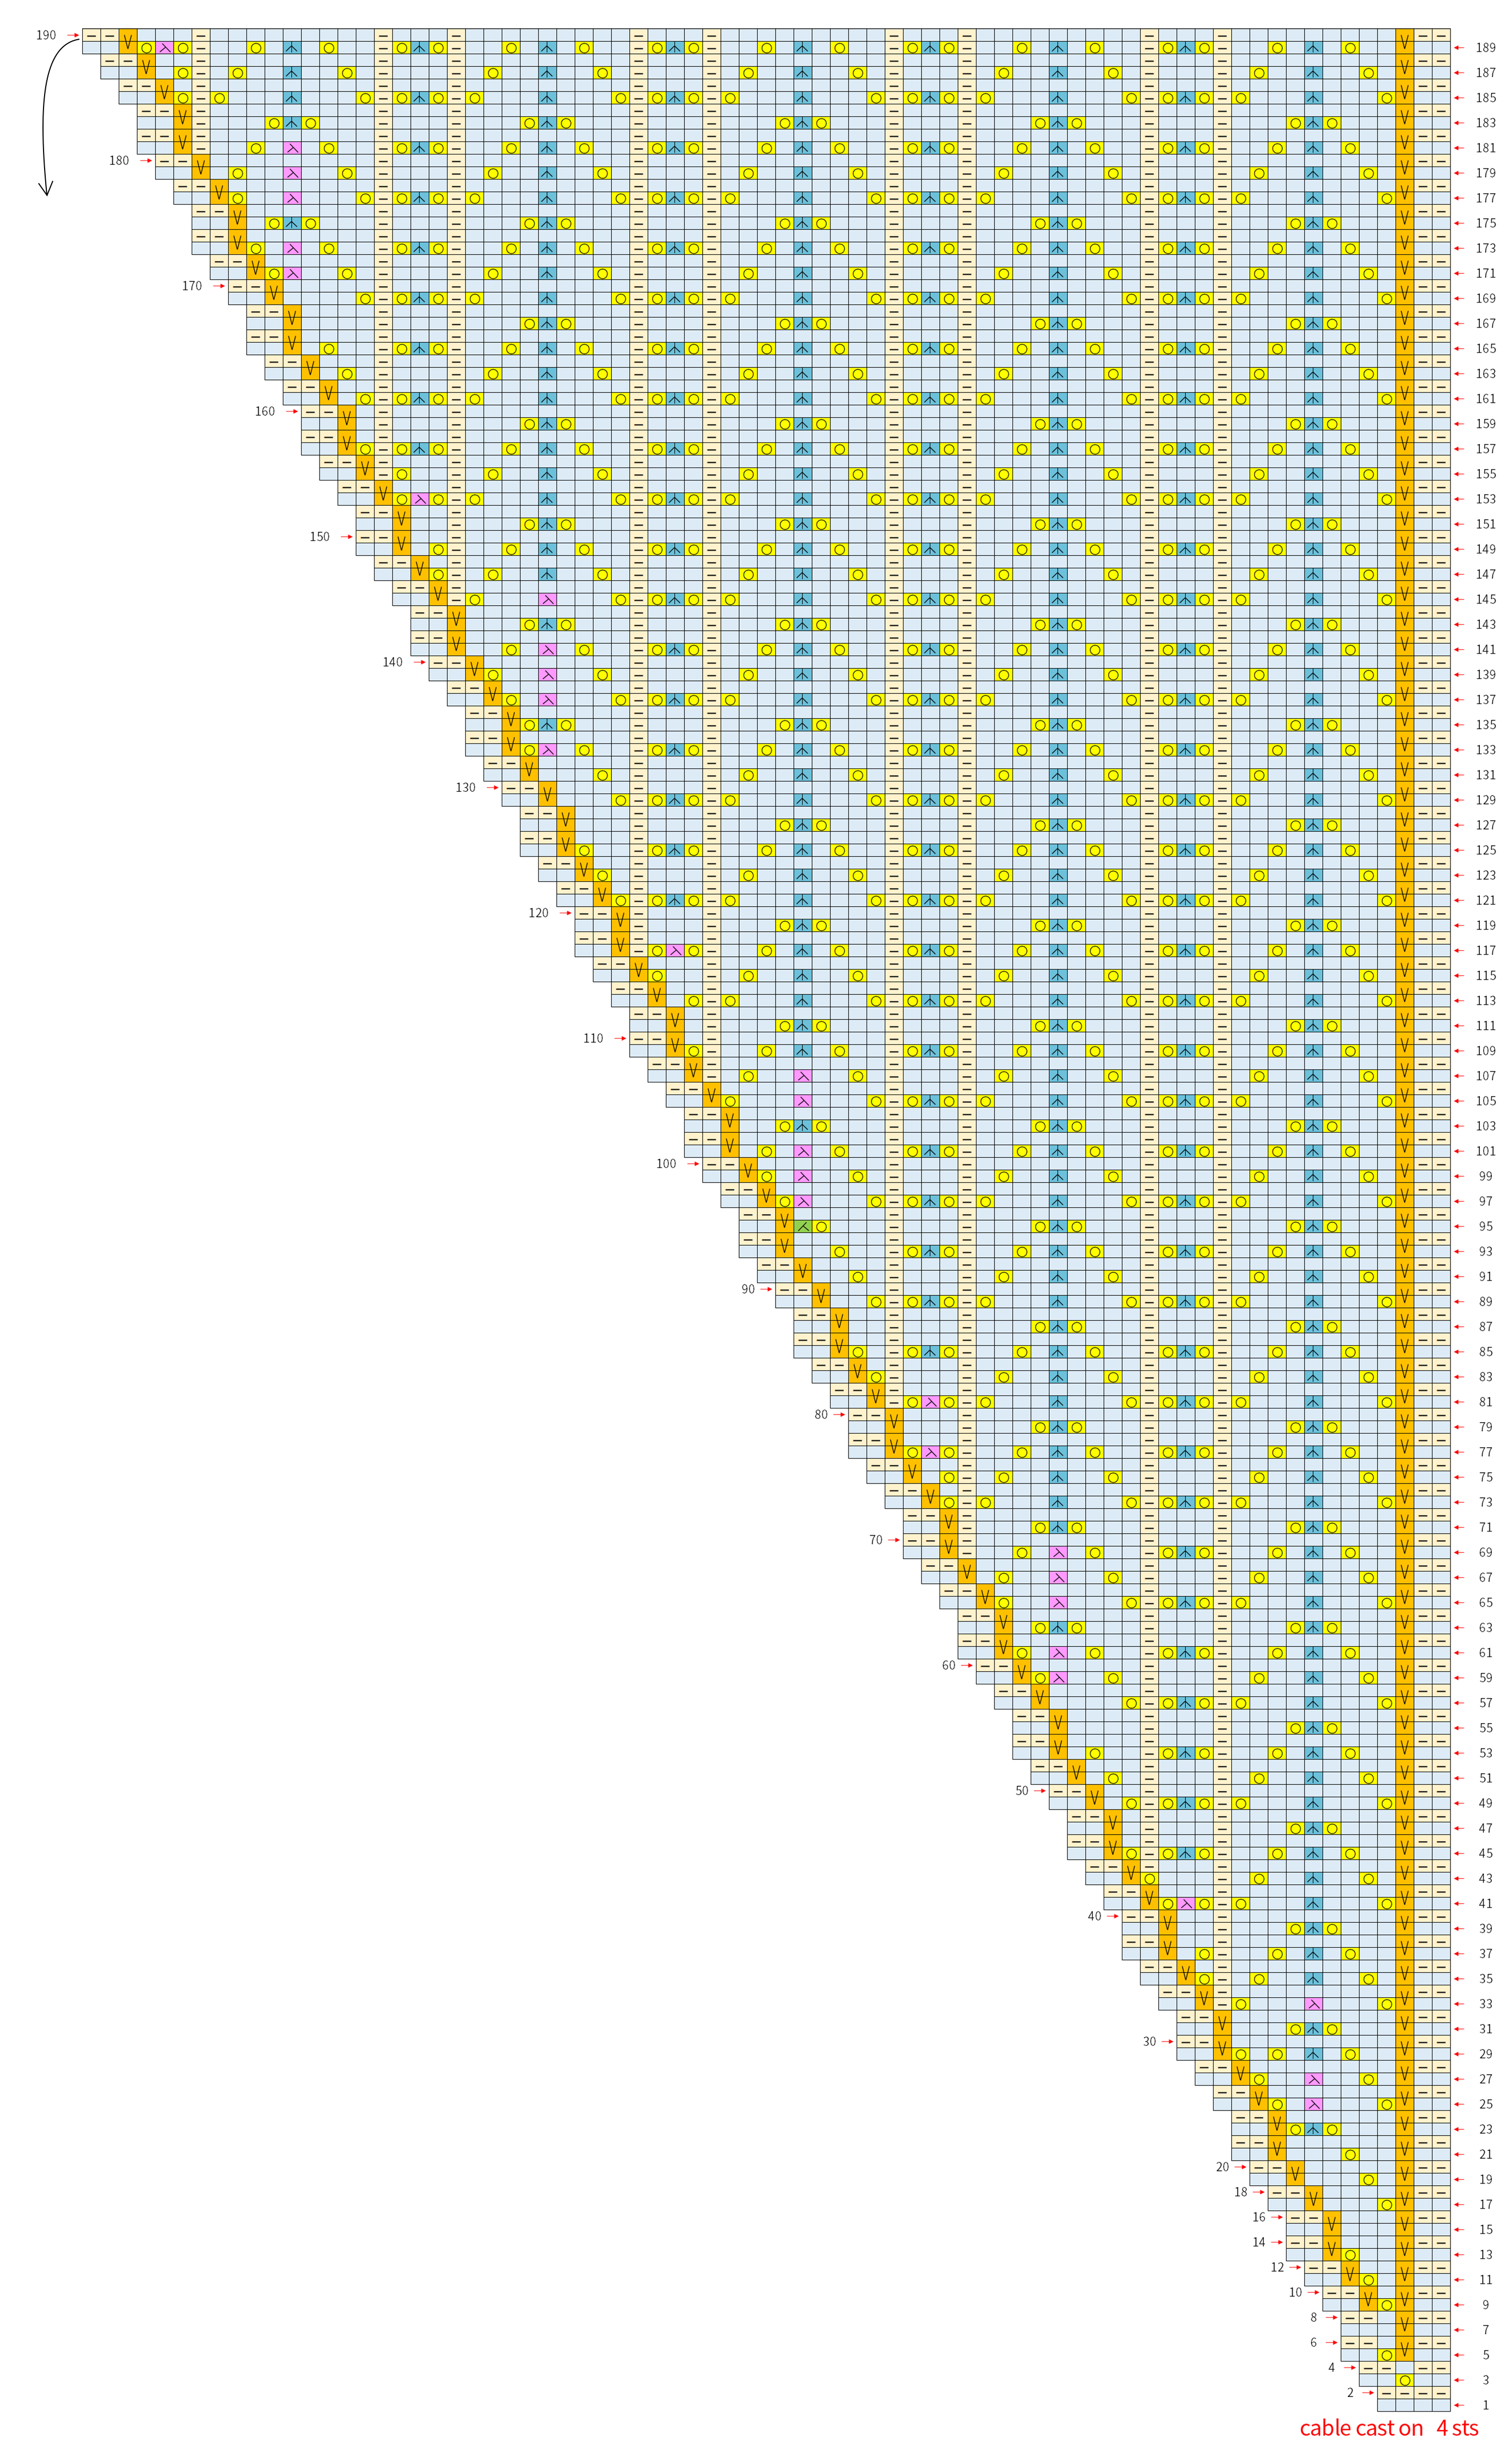
Note: After knitting the 50th row, the height is 14cm.
Part 2 The Decreasing SectionB 28' 42''
We'll work on the decreasing section. One side will continue to be worked straight up. The other side will have stitches decreased evenly. In the end, the scarf will form a long triangle shape. Please refer to the video demonstration for more details.
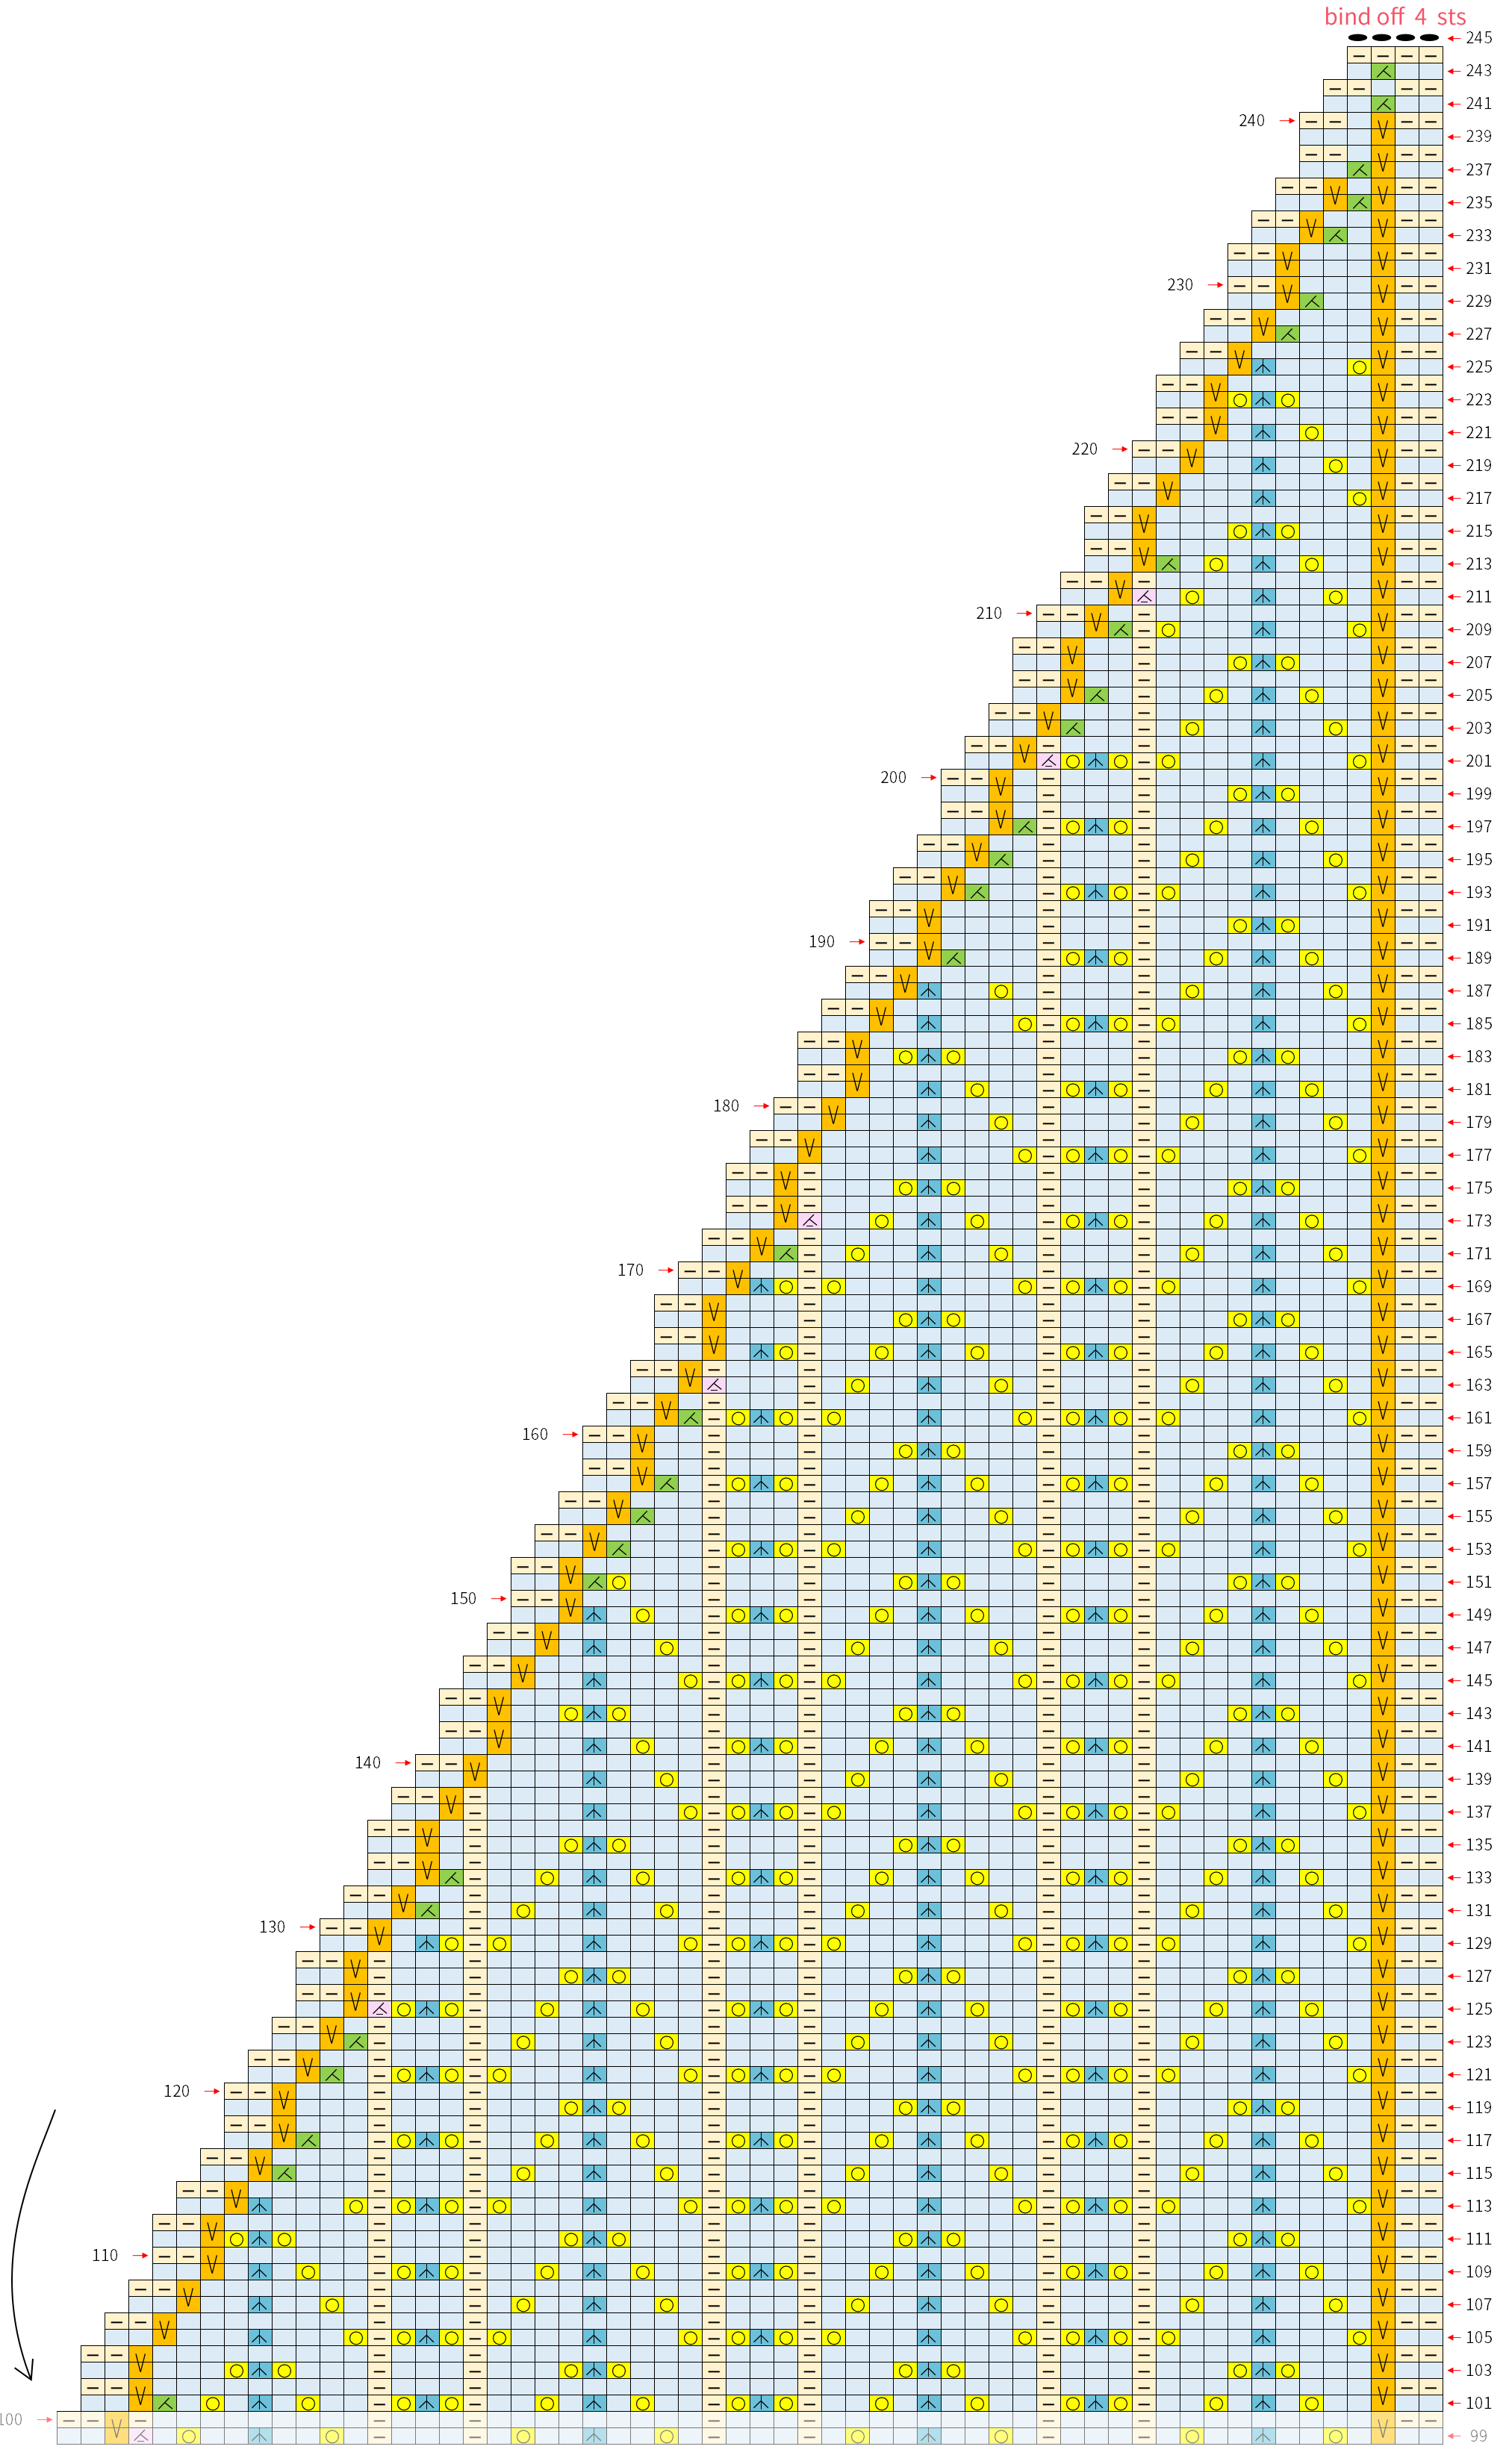
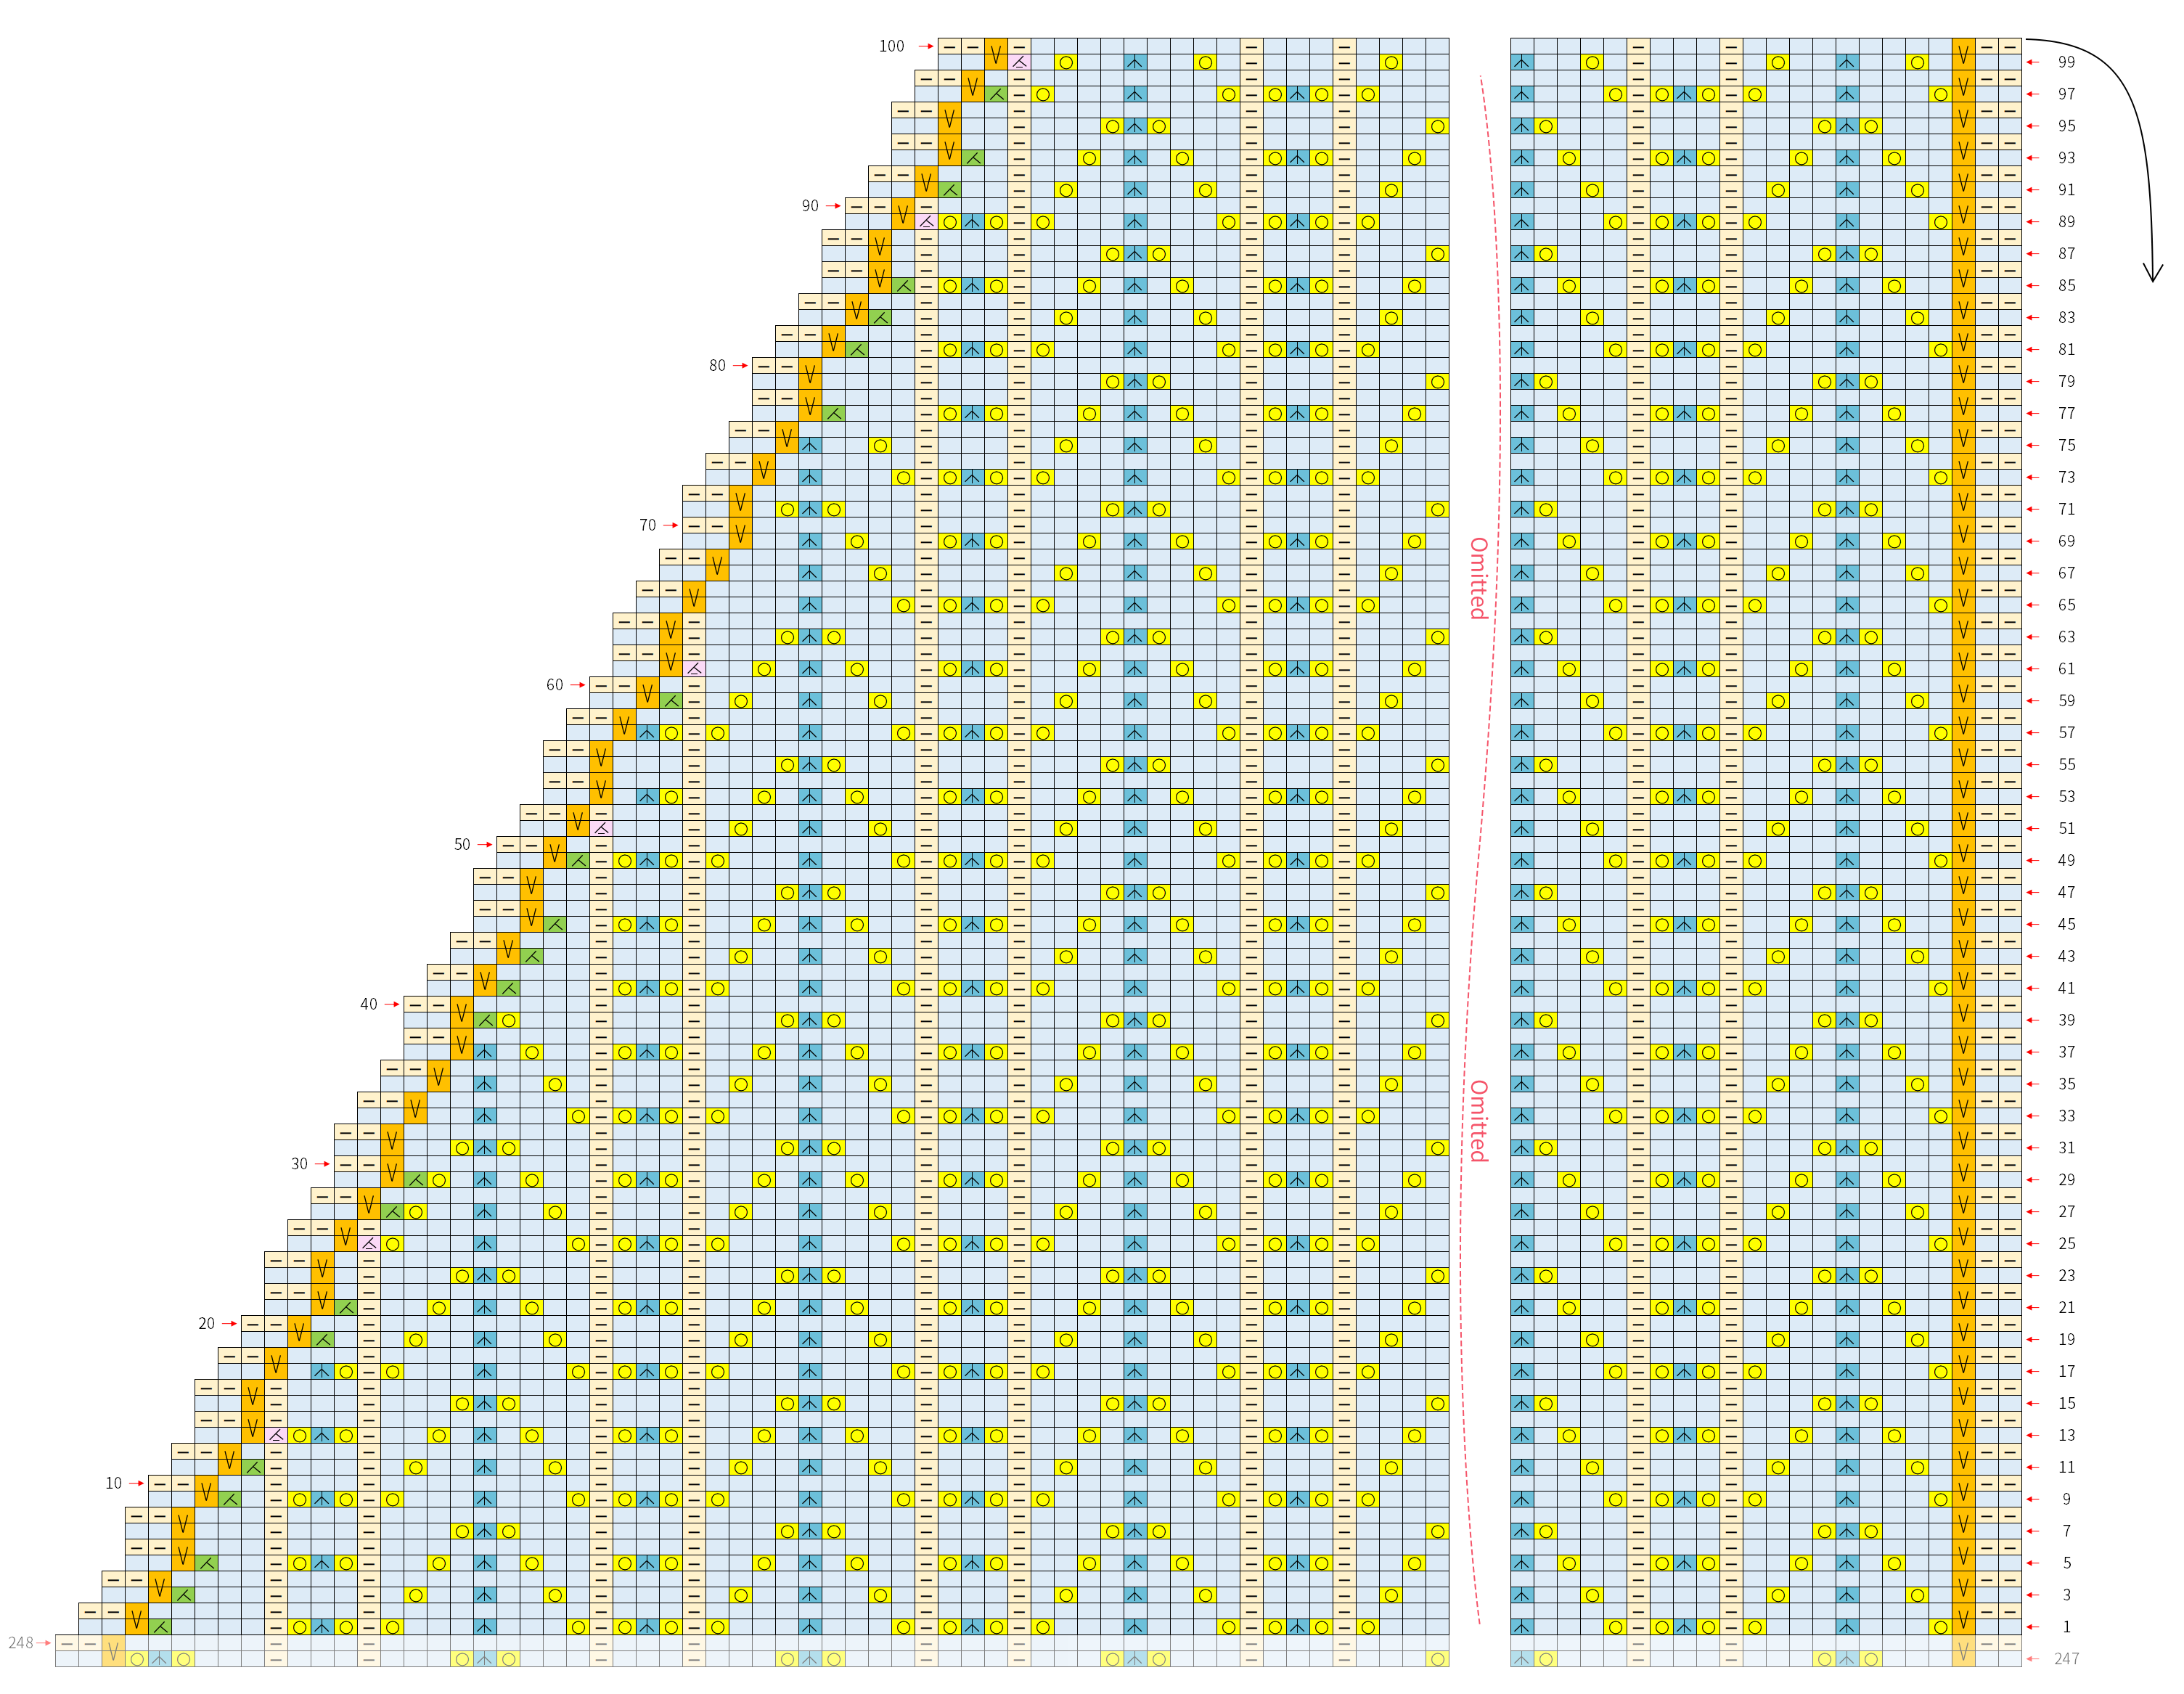
Part 3 The TasselsC 32' 04''
After completing the main part, We need to attach tassels to both sides of the shawl. Please refer to the video demonstration for more details.
The Tassels: Prepare 1 piece of cardboard that is 8.5cm tall, and wrap the thread around it 45 times.
Made by the community