Home / Lamp
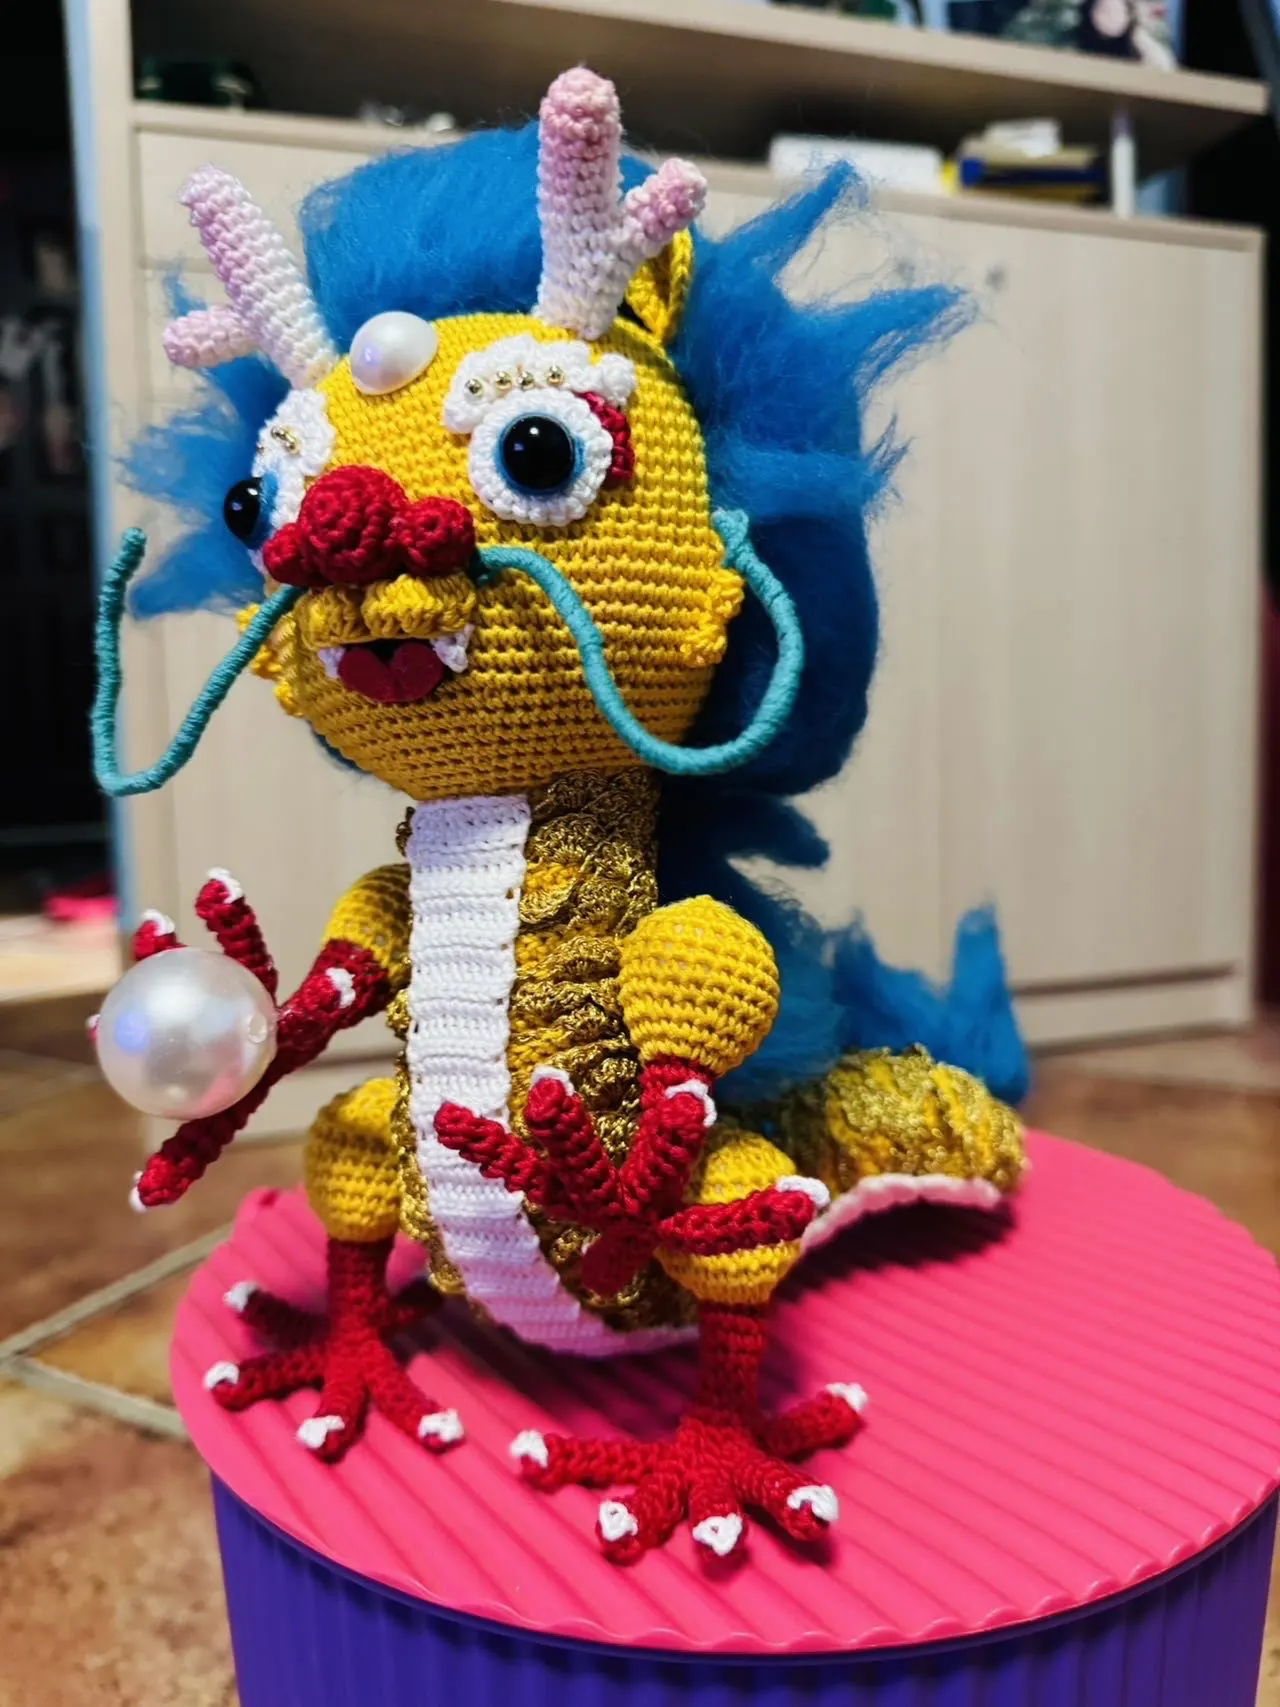
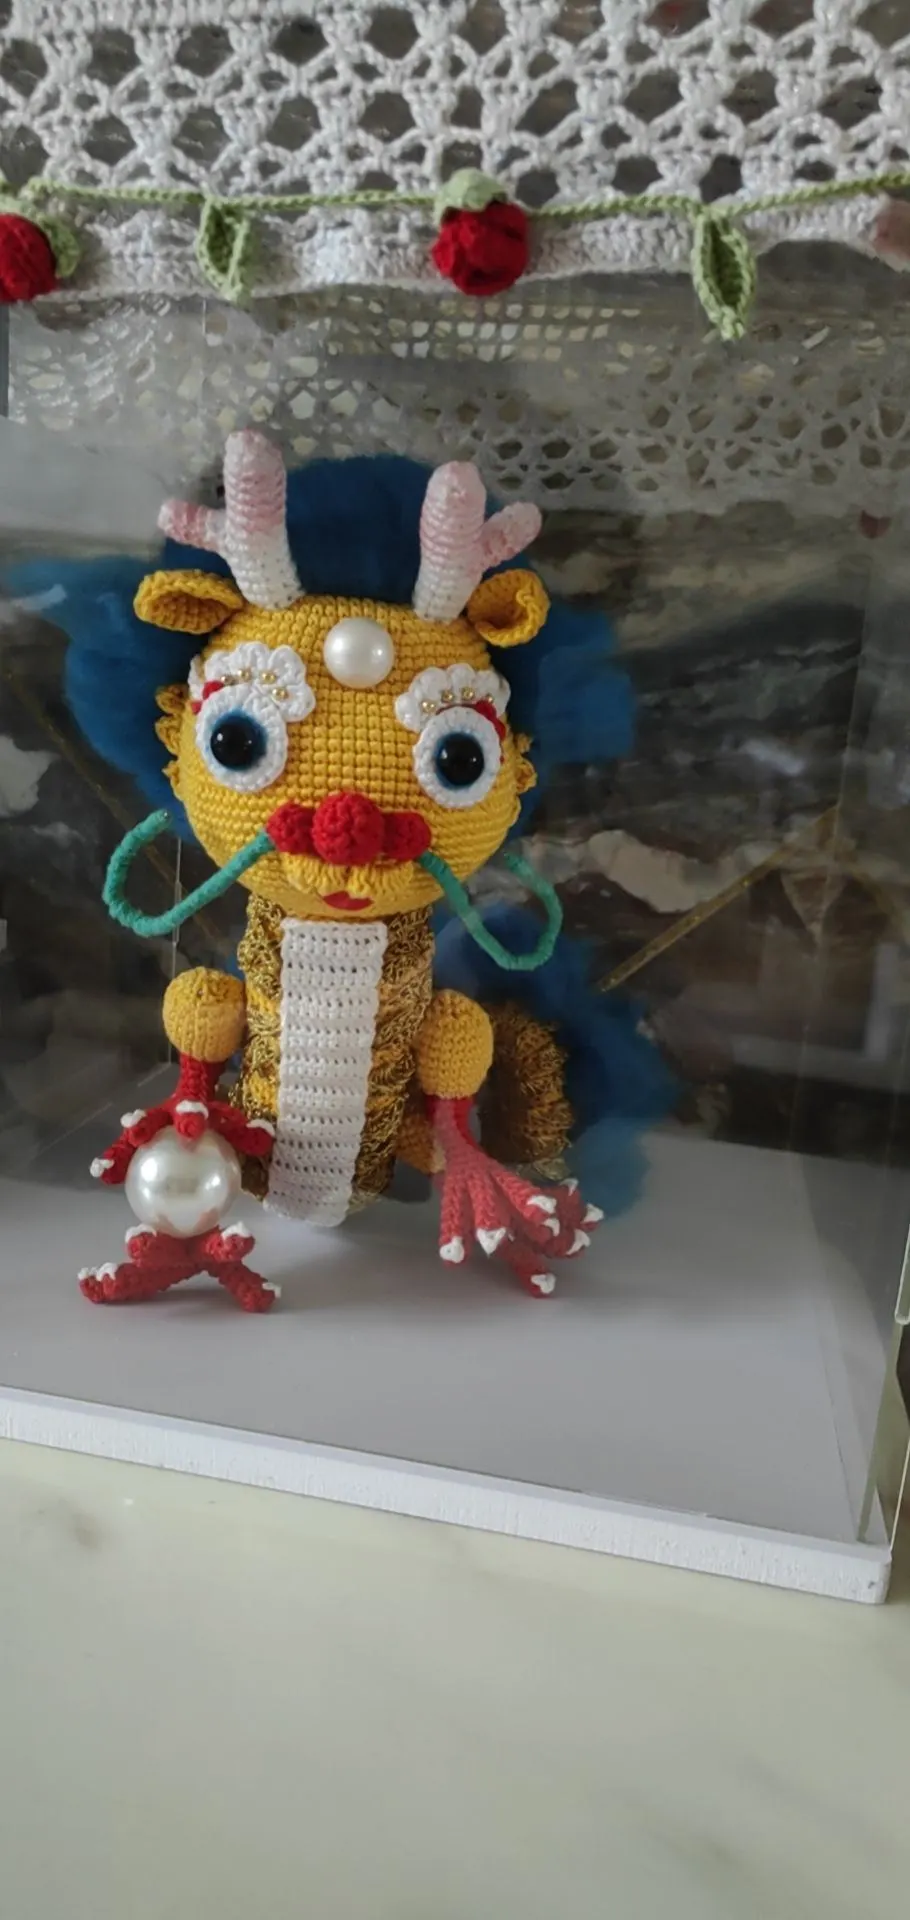
Mystic Lóng Carry Light
Project preview
See the finished project
Pattern format
Instructions
Watch and follow
Video tutorial
| Style | Yarn | Color |
|---|---|---|
| Red Version | 4-Ply Combed Cotton & Acrylic Fibre Hand Knitting Yarn | 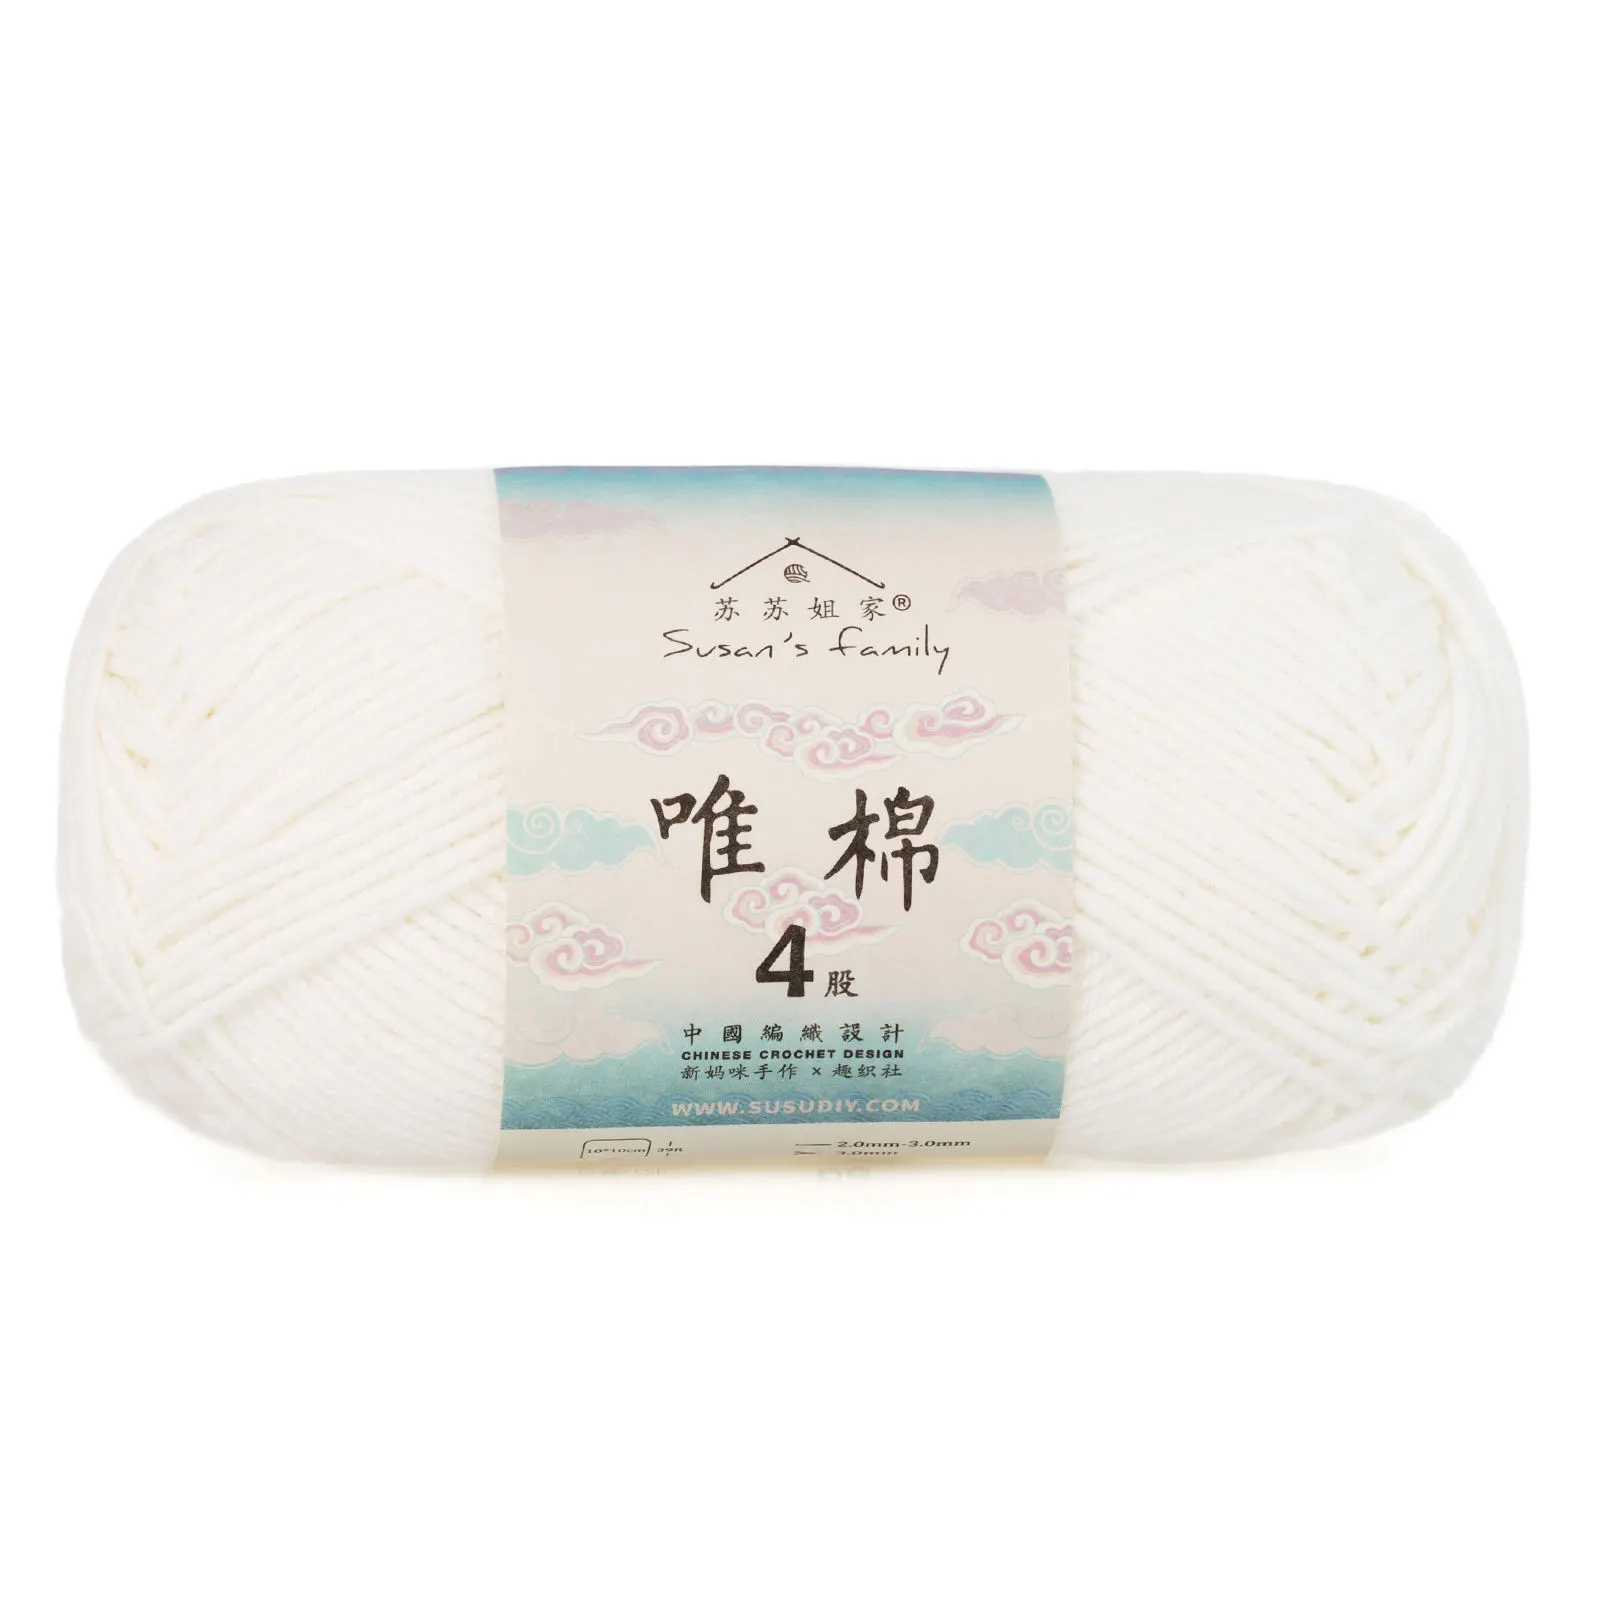 06#Bright White x 1 06#Bright White x 1 09#Aspen Gold x 1 09#Aspen Gold x 1 25#Fair Green x 1 25#Fair Green x 1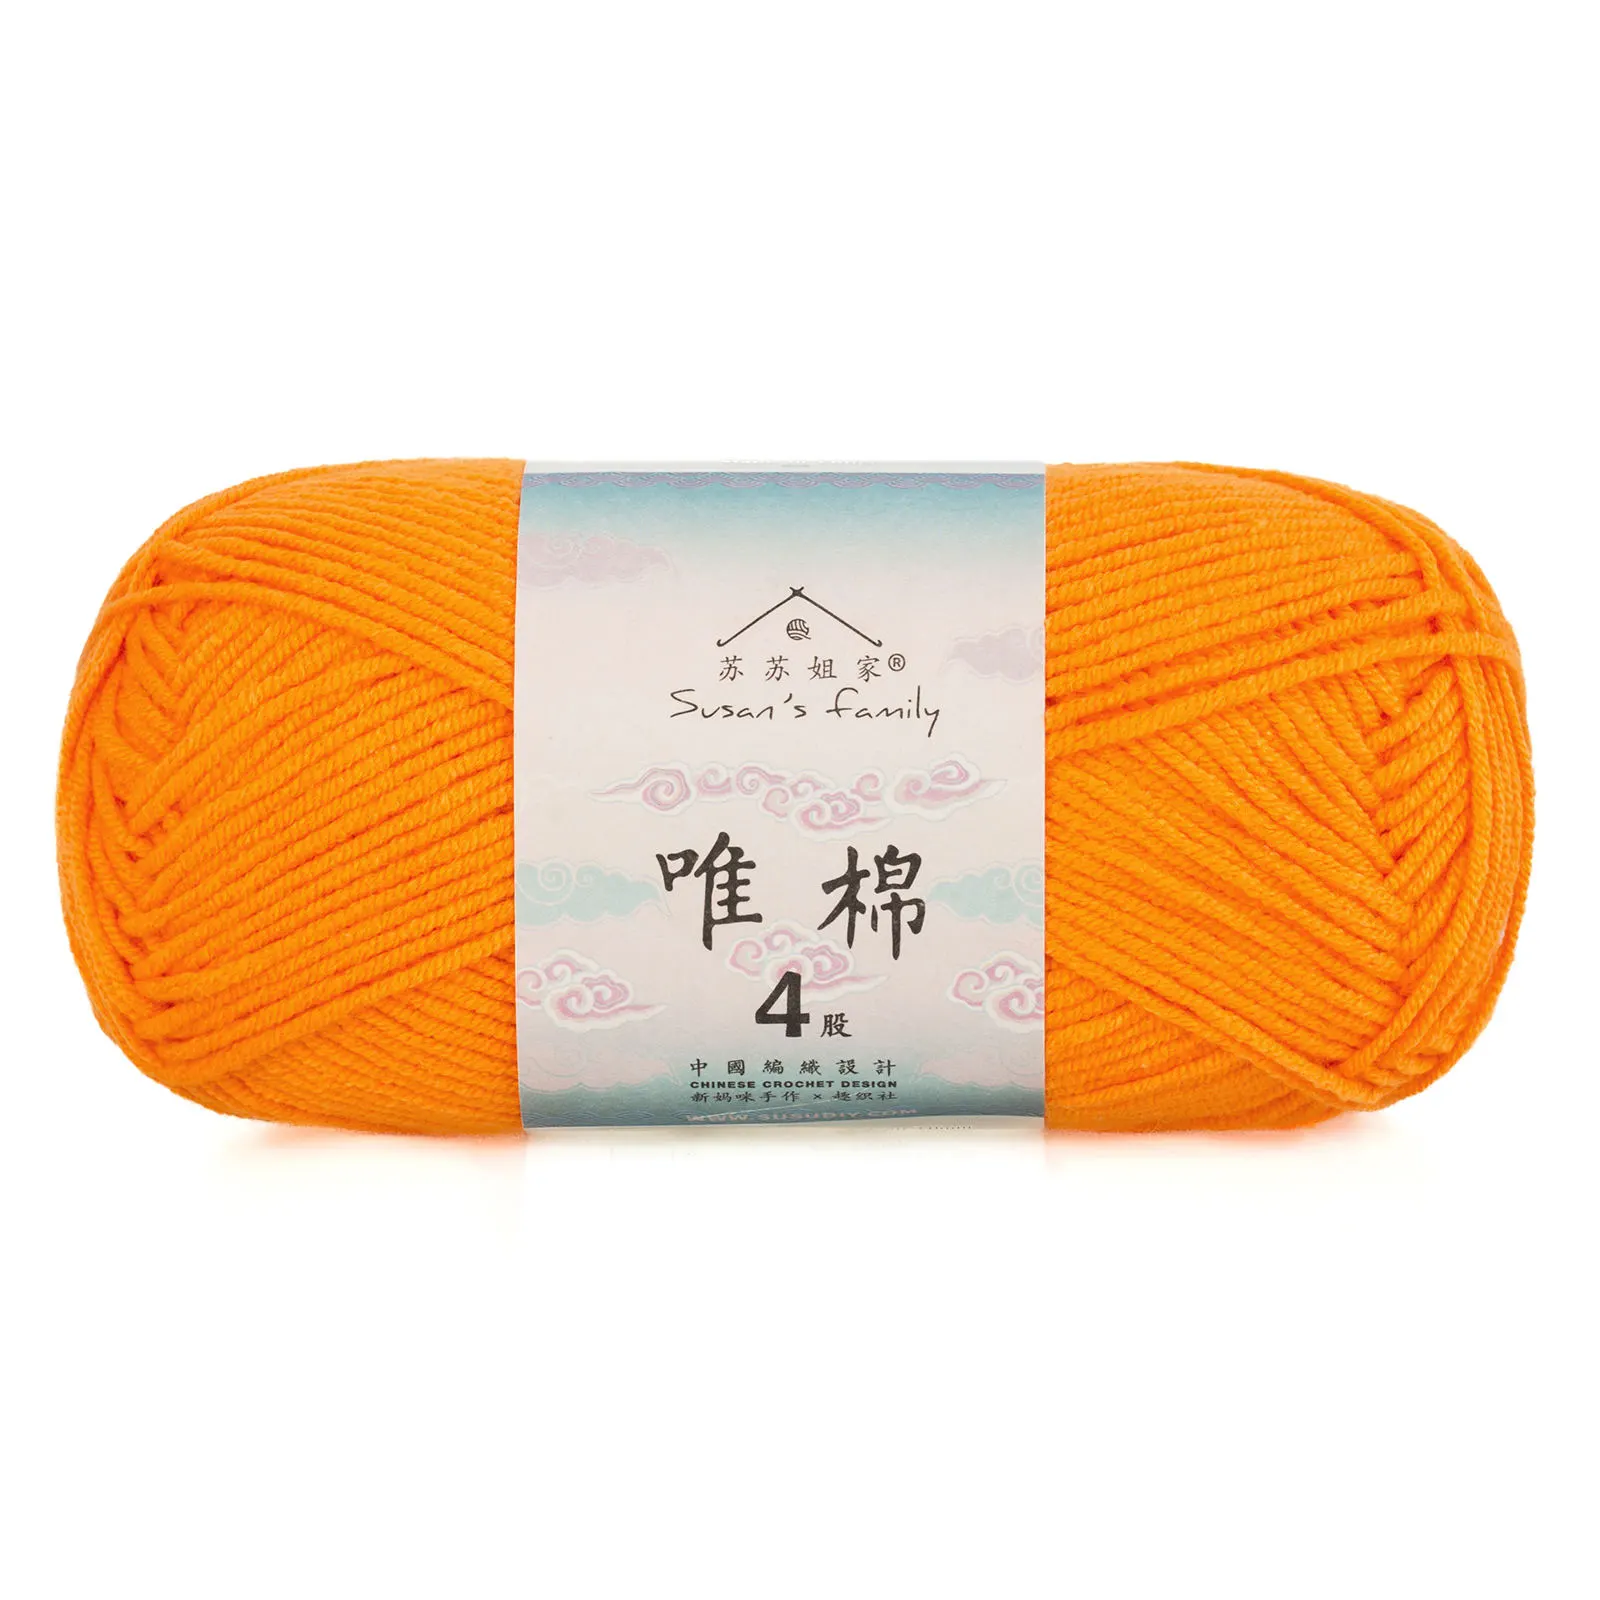 30#Zinnia x 1 30#Zinnia x 1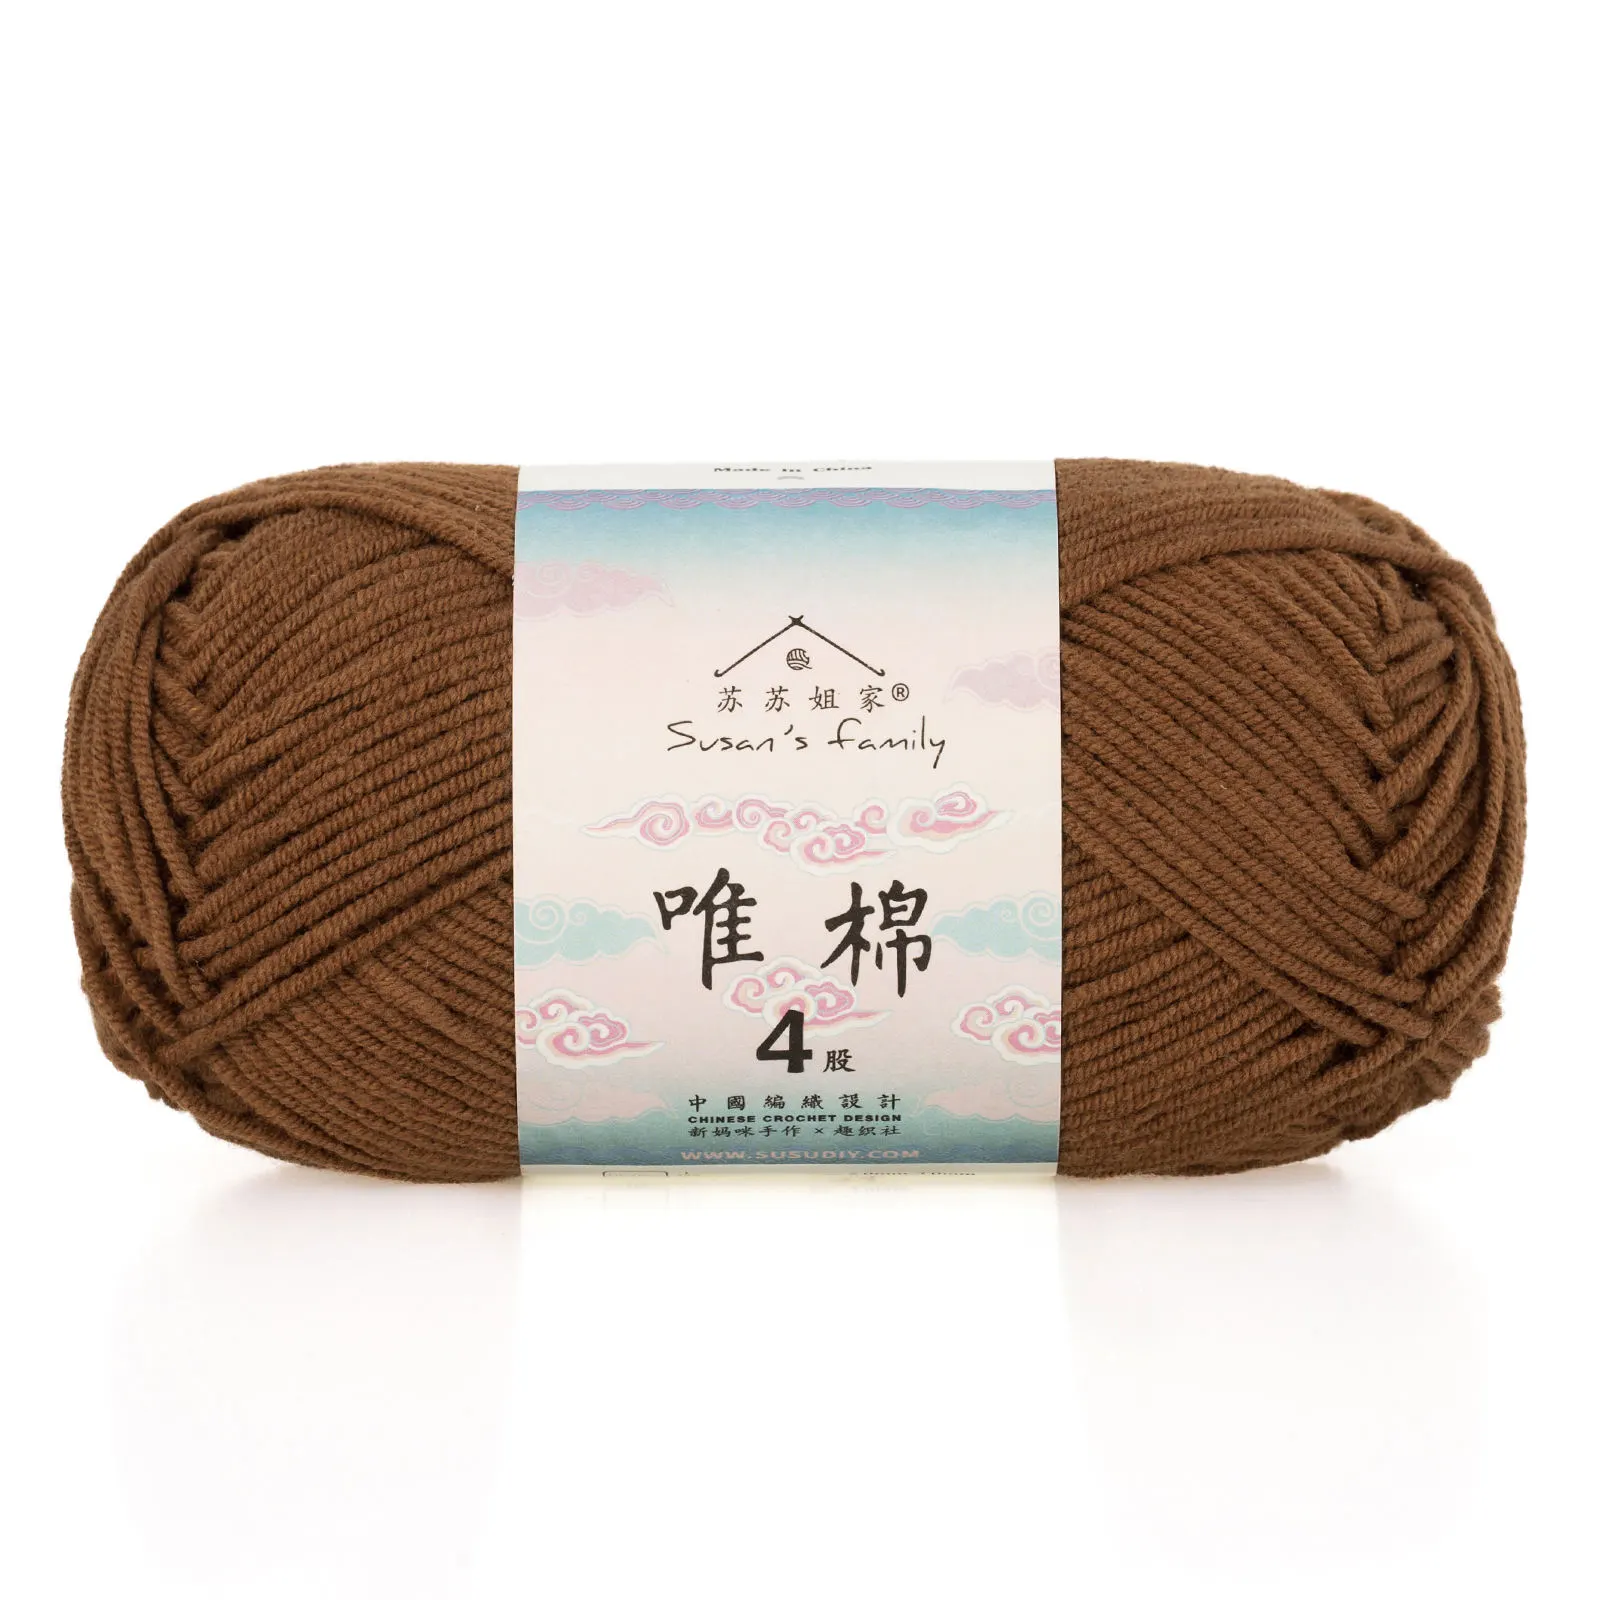 34#Toffee x 1 34#Toffee x 1 51#High Risk Red x 2 51#High Risk Red x 2 72#Placid Blue x 1 72#Placid Blue x 1 |
This product is divided into the head, body, belly, tail, hands, feet, facial features section, decorative fabric pieces on the sides, and the collar at the bottom. Add an acrylic ball and place the fairy lights during the crocheting process. Crochet and sew according to the chart sequence, and finally assemble the remaining accessories.
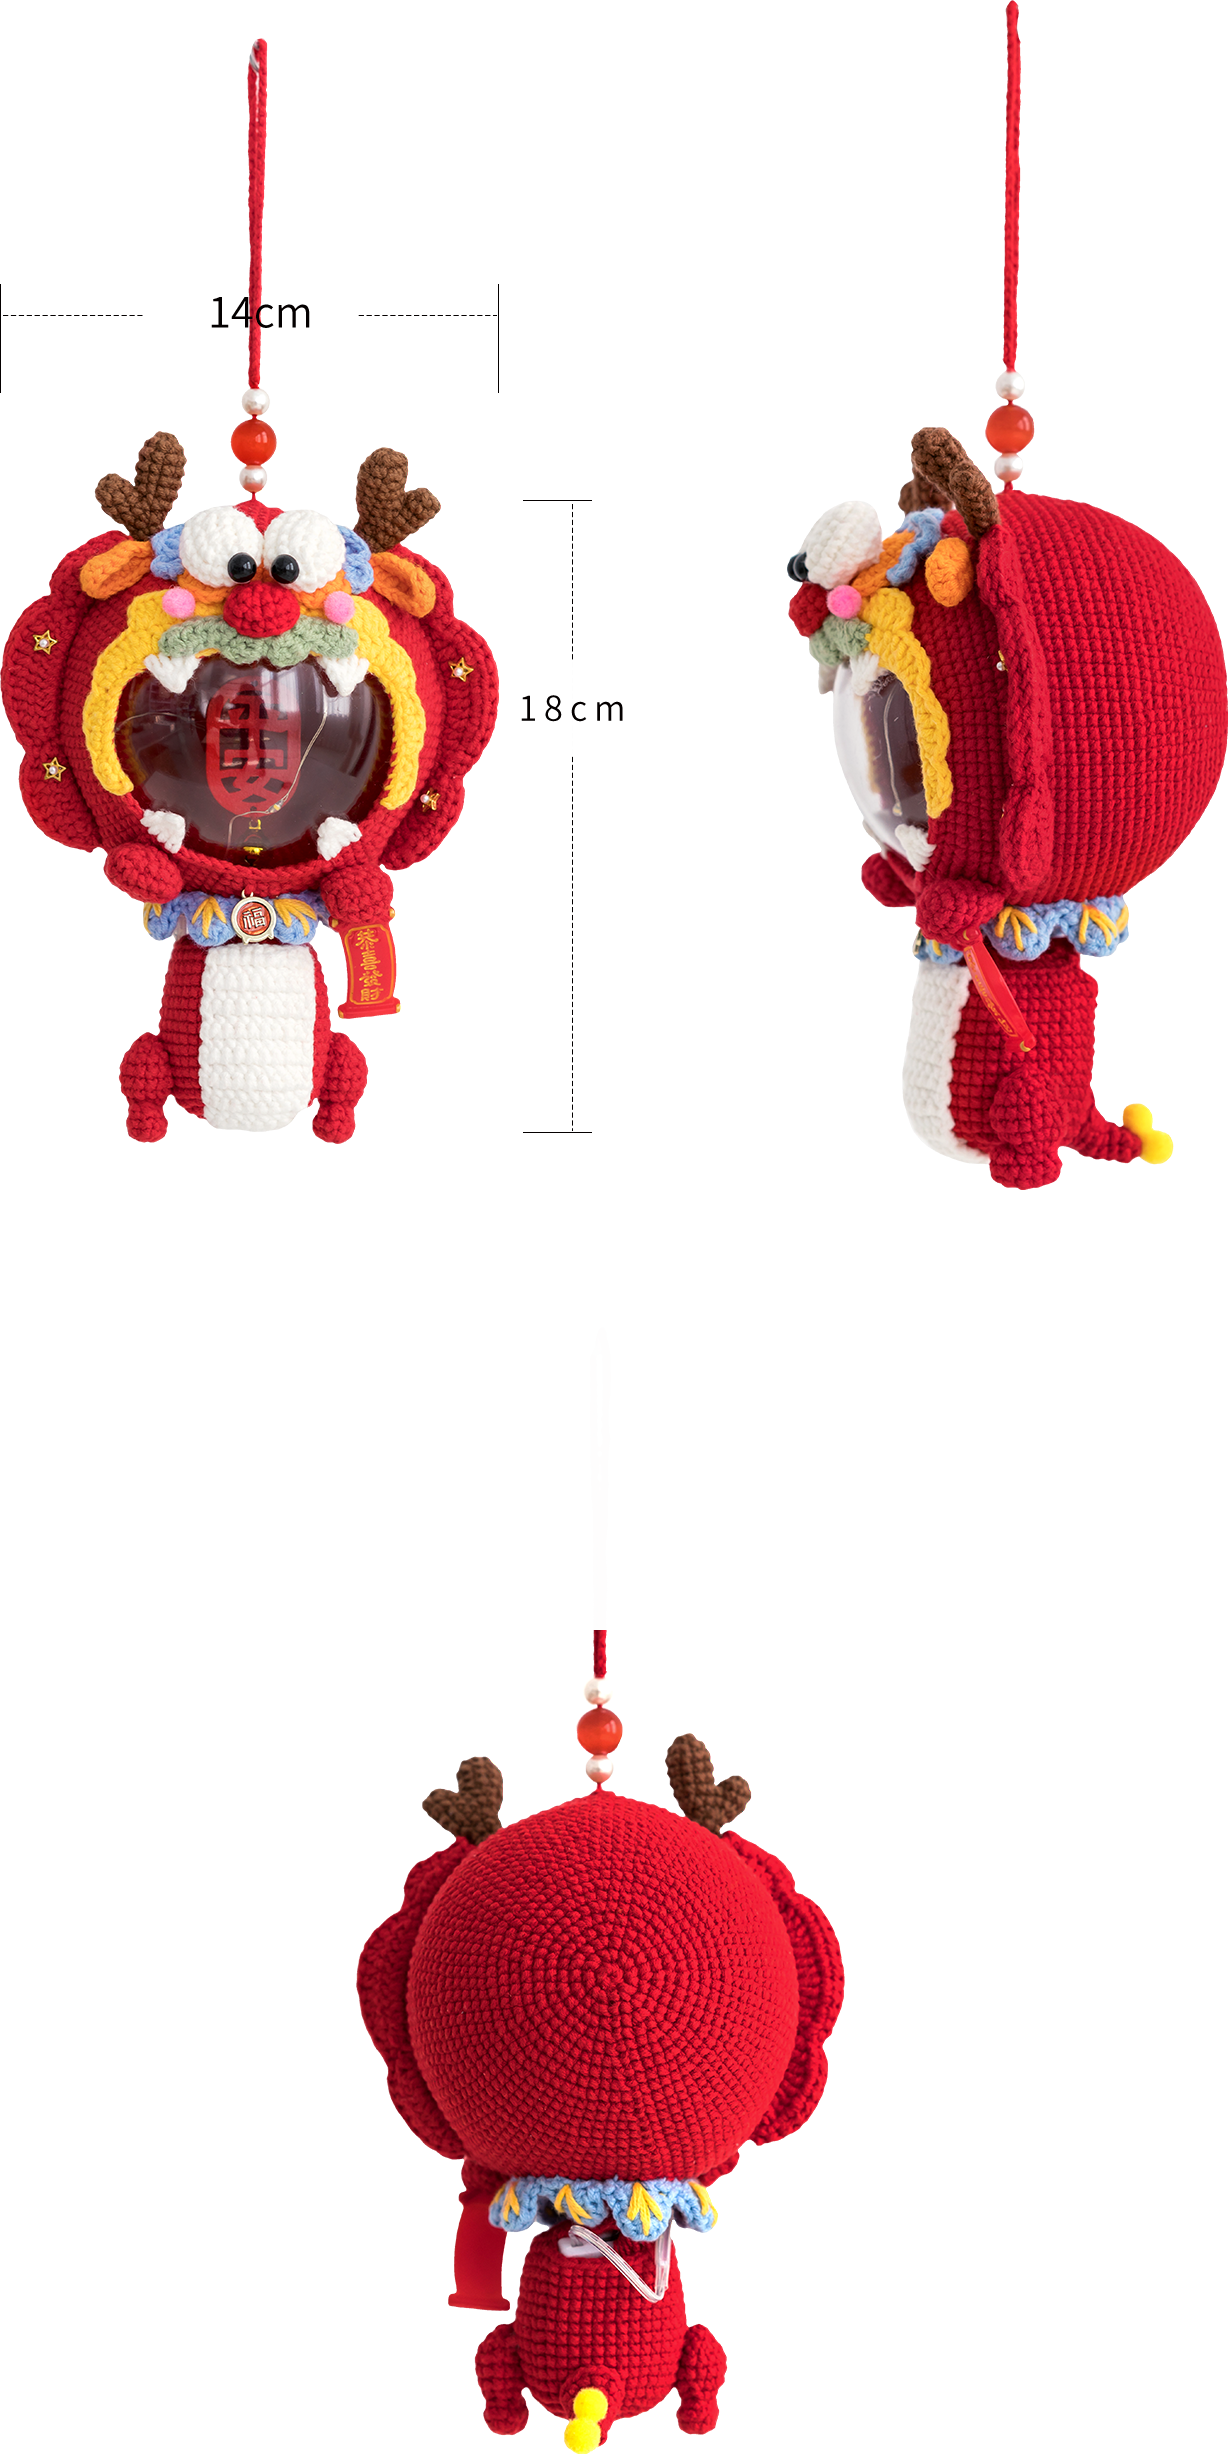
The handcrafted measurements may have an error of 1 to 2 cm.
Due to variations in individual tension, the size of the sample is for reference only.
Materials: Susan's Family 4-Ply Combed Cotton & Acrylic Fibre Hand Knitting Yarn
Tool:2.00 mm Crochet Hook
ABBREVIATIONS
Note: 1. This pattern is making in Chinese crochet pattern terms, and the stitch name is written using American terminology. All measurements in charts are in cm.
2. Working in joined round: When crocheting in rounds without further guidance, working in closed rounds, start each round with a set number of beginning chains and close with a slip stitch.


Part 1 Head A 01' 13'' (Part1)
The head begins with a magic ring. Crochet in rounds counterclockwise. Add an acrylic ball and accessories during the crocheting process. Please refer to the video demonstration for more details.
| Head | |||
| Round/Row | Stitch Instructions | Total Stitches | Color |
| Cast on, R 1 | MR, 7X | 7 | 51#High Risk Red |
| R 2 | 7V | 14 | |
| R 3 | (X, V)×7 | 21 | |
| R 4 | (X, V, X)×7 | 28 | |
| R 5 | (3X, V)×7 | 35 | |
| R 6 | (2X, V, 2X)×7 | 42 | |
| R 7 | (5X, V)×7 | 49 | |
| R 8 | (3X, V, 3X)×7 | 56 | |
| R 9 | (7X, V)×7 | 63 | |
| R 10 | (4X, V, 4X)×7 | 70 | |
| R 11 | even 70X | ||
| R 12 | (9X, V)×7 | 77 | |
| R 13 | even 77X | ||
| R 14 | (5X, V, 5X)×7 | 84 | |
| R 15 | even 84X | ||
| R 16 | (11X, V)×7 | 91 | |
| R 17—R 22 | even 91X | ||
| R 23 | 79X, 12CH, K12 | ||
| R 24—R 27 | even 91X | ||
| R 28 | (11X, A)×7 | 84 | |
| R 29 | even 84X | ||
| Note: Drill the hole on the acrylic ball and place the pendant. | |||
| R 30 | (5X, A, 5X)×7 | 77 | |
| R 31 | even 77X | ||
| R 32 | (9X, A)×7, cut the yarn after crocheting. | 70 | |
| H 33 | Insert from the 19th stitch, 2X, T, F, FA, (2F, FA)×3, F, T, 2X | 18 | |
| H 34 | Carry the yarn to the 18th stitch of R 32, 2X, T, F, FA, (3F, FA)×2, F, T, 2X | 17 | |
| H 35 | Carry the yarn to the 15th stitch of R 32, X, A, 2T, (3F, FA)×2, 3F, 2T, A, X | 19 | |
| H 36 | Crochet a round from next stitch, 3T, A, (6X, A)×4, 7T, FA, 7F, FA, 4T |
52 | |
| Note: Leave a yarn tail of about 15 centimeters before cutting. | |||
Part 2 Body B 40' 28'' (Part1)
Start with a magic ring and crochet in rounds counterclockwise. After crocheting, stuff and place the fairy lights and the battery box, sew it onto the head. Please refer to the video demonstration for more details.
| Body | |||
| Round | Stitch Instructions | Total Stitches | Color |
| Cast on, R 1 | MR, 7X | 7 | 51#High Risk Red |
| R 2 | 7V | 14 | |
| R 3 | (X, V)×7 | 21 | |
| R 4 | (X, V, X)×7 | 28 | |
| R 5 | (3X, V)×7 | 35 | |
| R 6 | (2X, V, 2X)×7 | 42 | |
| R 7—R 18 | even 42X | ||
| R 19 | 34X, 8CH, K8 | ||
| R 20 | BLO: (2X, A, 2X)×7 | 35 | |
| R 21 | (3X, A)×7 | 28 | |
| R 22 | (X, A, X)×7 | 21 | |
| R 23 | (X, A)×7 | 14 | |
| R 24 | 7A | 7 | |
| Note: Stuff the yarn, insert the battery box and continue stuffing. Sew it on the corresponding position. |
|||
Part 3 Belly C 48' 05'' (Part1)
Start with a foundation chain. Crochet back and forth. After crocheting, Sew it onto the body. Please refer to the video demonstration for more details.
| Belly | |||
| Row | Stitch Instructions | Total Stitches | Color |
| Cast on, H 1 | 8CH, Dao 2, 7X | 7 | 06#Bright White |
| H 2—H 4 | even 7X | ||
| H 5 | V, 5X, V | 9 | |
| H 6—H 17 | even 9X | ||
| Note: Leave a yarn tail of about 50 centimeters. | |||
Part 4 Tail D 52' 41'' (Part1)
Start with a magic ring and crochet in rounds counterclockwise. After crocheting, Sew it onto the body. Please refer to the video demonstration for more details.
| Tail | |||
| Round | Stitch Instructions | Total Stitches | Color |
| Cast on, R 1 | MR, 5X | 5 | 51#High Risk Red |
| R 2 | even 5X | ||
| R 3 | X, 2V, 2X | 7 | |
| R 4 | 2X, 2V, 3X | 9 | |
| R 5 | 3X, 2V, 4X | 11 | |
| R 6 | 4X, 2V, 5X | 13 | |
| Note: Leave a yarn tail of about 30 centimeters. | |||
Part 5 Hands and feet E 54' 34'' (Part1)
The hands and feet have different stitch counts, but their crocheting method is the same. Both use a foundation chain to start and crochet in rounds counterclockwise. After crocheting, Sew it onto the head and the body separately. Please refer to the video demonstration for more details.
| Hand×2 | |||
| Round | Stitch Instructions | Total Stitches | Color |
| Cast on, R 1 | 5CH, Dao 2, 3X, W, 2X, V | 10 | 51#High Risk Red |
| R 2 | V, 2X, 3V, 2X, 2V | 16 | |
| R 3 | even 16X | ||
| R 4 | 3A, 10X | 13 | |
| R 5 | even 13X | ||
| R 6 | 2X, 2A, 3X, 2A | 9 | |
| Note: Leave a yarn tail of about 40 centimeters. | |||
| Foot×2 | |||
| Round | Stitch Instructions | Total Stitches | Color |
| Cast on, R 1 | 6CH, Dao 2, X, T, F, T, W, T, F, T, V | 12 | 51#High Risk Red |
| R 2 | even 12X | ||
| R 3 | 2A, FM, 2A, X | 6 | |
| R 4 | 6V | 12 | |
| R 5 | (3X, V)×3 | 15 | |
| R 6—R 7 | even 15X | ||
| R 8 | (3X, A)×3 | 12 | |
| R 9 | 6A | 6 | |
| Note: Leave a yarn tail of about 30 centimeters. Stuff a piece of yarn for filling. Close the seam of the opening. |
|||
Part 6 Facial features F 00' 09'' (Part2)
The facial features include the yellow decorative piece, the teeth, the dragon horns, the ears, the whiskers, the eyeball, eye fabric piece, and the nose. Specific crochet method and assembly. Please refer to the video demonstration for more details.
| Yellow decorative piece | |||
| Round | Stitch Instructions | Total Stitches | Color |
| Cast on, H 1 | 42CH, Dao 2, X, 2T, SL, T, 2F, T, SL, [T, F], (FV, F)×2, 13F, (F, FV)×2, [F, T], SL, T, 2F, T, SL, 2T, X |
47 | 09#Aspen Gold |
| H 2 | Insert the hook into the stitch to the right of the second FV. 2CH, FV, 15F, FV, 2CH, SL | / | |
| Note: Sew it in the middle of the mouth. | |||
| Tooth×4 | |||
| Round | Stitch Instructions | Total Stitches | Color |
| Cast on, H 1 | 2CH, FM | / | 06#Bright White |
| Note: After completing all parts, glue it onto the acrylic ball. | |||
| Horn×2 | ||||
| Part | Round | Stitch Instructions | Total Stitches | Color |
| first part | Cast on, R 1 | MR, 6X | 6 | 34#Toffee |
| R 2 | (X, V)×3 | 9 | ||
| R 3—R 5 | even 9X, cut the yarn. | |||
| second part | Cast on, R 1 | MR, 6X | 6 | |
| R 2 | even 6X, do not cut the yarn. | |||
| third part | R 1 | 3X, crochet on the first part, 9X, 3X | 15 | |
| R 2 | even 15X | |||
| R 3 | (3X, A)×3 | 12 | ||
| R 4 | 6A | 6 | ||
| R 5 | 6X | |||
| Note: Sew them onto the corresponding position of the head. | ||||
| Ear×2 | |||
| Round | Stitch Instructions | Total Stitches | Color |
| Cast on, H 1 | 7CH, Dao 2, X, T, 3F, [5F], 3F, T, X | 13 | 30#Zinnia |
| Note: Sew them onto the corresponding position of the head. | |||
| Whiskers | |||
| Round | Stitch Instructions | Total Stitches | Color |
| Cast on, H 1 | 10CH, Dao 4, 2F, 3T, X, SL | 13 | 25#Fair Green |
| H 2 | CH, Turn, 4SL, 3CH, Dao 4, Crochet on the stitch of the slip stitch. F, T, X, K | / | |
| H 3 | CH, Turn, 2SL, 4CH, Dao 4, F, T, X | ||
| H 4 | CH, Turn, 3SL, 7CH, Dao 4, 2F, 3T, X, SL | ||
| Note: Leave a yarn tail of about 40 centimeters. And the starting yarn tail, then tie them in a knot to sew. With the wrong side of the piece facing out. |
|||
| Eyeball×2 | |||
| Round | Stitch Instructions | Total Stitches | Color |
| Cast on, R 1 | 5CH, Dao 2, 3X, W, 2X, V | 10 | 06#Bright White |
| R 2 | V, 2X, 3V, 2X, 2V | 16 | |
| R 3 | 2X, 2V, 6X, 2V, 4X | 20 | |
| R 4 | even 20X | ||
| R 5 | 2X, 2A, 6X, 2A, 4X | 16 | |
| R 6 | 8A | 8 | |
| Note: Leave a yarn tail of about 30 centimeters. Stuff with an appropriate amount of yarn tails and then sew them on the corresponding positions. |
|||
| Eye piece×2 | |||
| Round | Stitch Instructions | Total Stitches | Color |
| Cast on, R 1 | 5CH, Dao 2, 3X, W, 2X, V | 10 | 30#Zinnia |
| R 2 | V, 2X, 3V, 2X, 2V | 16 | |
| R 3 | X, V, 2X, (X, V)×3, 2X, (X, V)×2 | 22 | |
| R 4 | [2CH, F], [F, 2CH, SL], [3CH, E], EV, [E, 3CH, SL], [2CH, F], [F, 2CH, SL] | / | 72#Placid Blue |
| Note: After crocheting R 3, leave a yarn tail of about 30 centimeters. | |||
| Nose | |||
| Round | Stitch Instructions | Total Stitches | Color |
| Cast on, R 1 | 4CH, Dao 2, 2X, W, X, V | 8 | 51#High Risk Red |
| R 2 | V, X, 3V, X, 2V | 14 | |
| R 3 | even 14X | ||
| Leave a yarn tail of about 30 centimeters for sewing. | |||
Part 7 Red decorative pieces G 35' 34'' (Part2)
Start with a foundation chain. Crochet back and forth. Crochet two pieces. Sew them together and secure them on the sides. Please refer to the video demonstration for more details.
| Red decorative piece×2 | |||
| Row | Stitch Instructions | Total Stitches | Color |
| Cast on, H 1 | 28CH, Dao 2, X, T, 2F, FV, F, T, X, SL, X, T, F, FV, 3F, FV, F, T, X, SL, X, TV, T, 2X, SL | 31 | 51#High Risk Red |
| H 2 | CH, Turn, SL, 3X, TV, T, X, SL, 2X, 9T, 2X, SL, X, 6T, X, SL | 32 | |
| Note: Crochet two pieces. Leave a yarn tail of about 60 centimeters for the second piece. Sew two pieces together. Then, sew onto the corresponding position. |
|||
Part 8 Collar and strap H 43' 09'' (Part2)
Start with a foundation chain. Crochet back and forth. Assemble the strap. Please refer to the video demonstration for more details.
| Collar | |||
| Row | Stitch Instructions | Total Stitches | Color |
| Cast on, H 1 | 7CH, Dao 2, 3SL, (9CH, Dao 2, 3SL)×7 | / | 72#Placid Blue |
| H 2 | 2CH, Turn, {2T, [5T], 2T, SL(crochet at the third chain of the 5 chains)}×7, 2T, [5T], 2T, SL(Crochet on the first starting chain) | / | |
| Note: Leave a yarn tail of about 50 centimeters. Use 09#Aspen Gold to embroider the pattern. Sew them onto the corresponding position of the head. |
|||
| Strap | |||
| Row | Stitch Instructions | Total Stitches | Color |
| Cast on, H 1 | 65CH | 65 | 51#High Risk Red |
| Note: Leave a yarn tail of about 30 centimeters at both ends. Cut off one or two strands from each thread, then thread the beads. |
|||
Made by the community