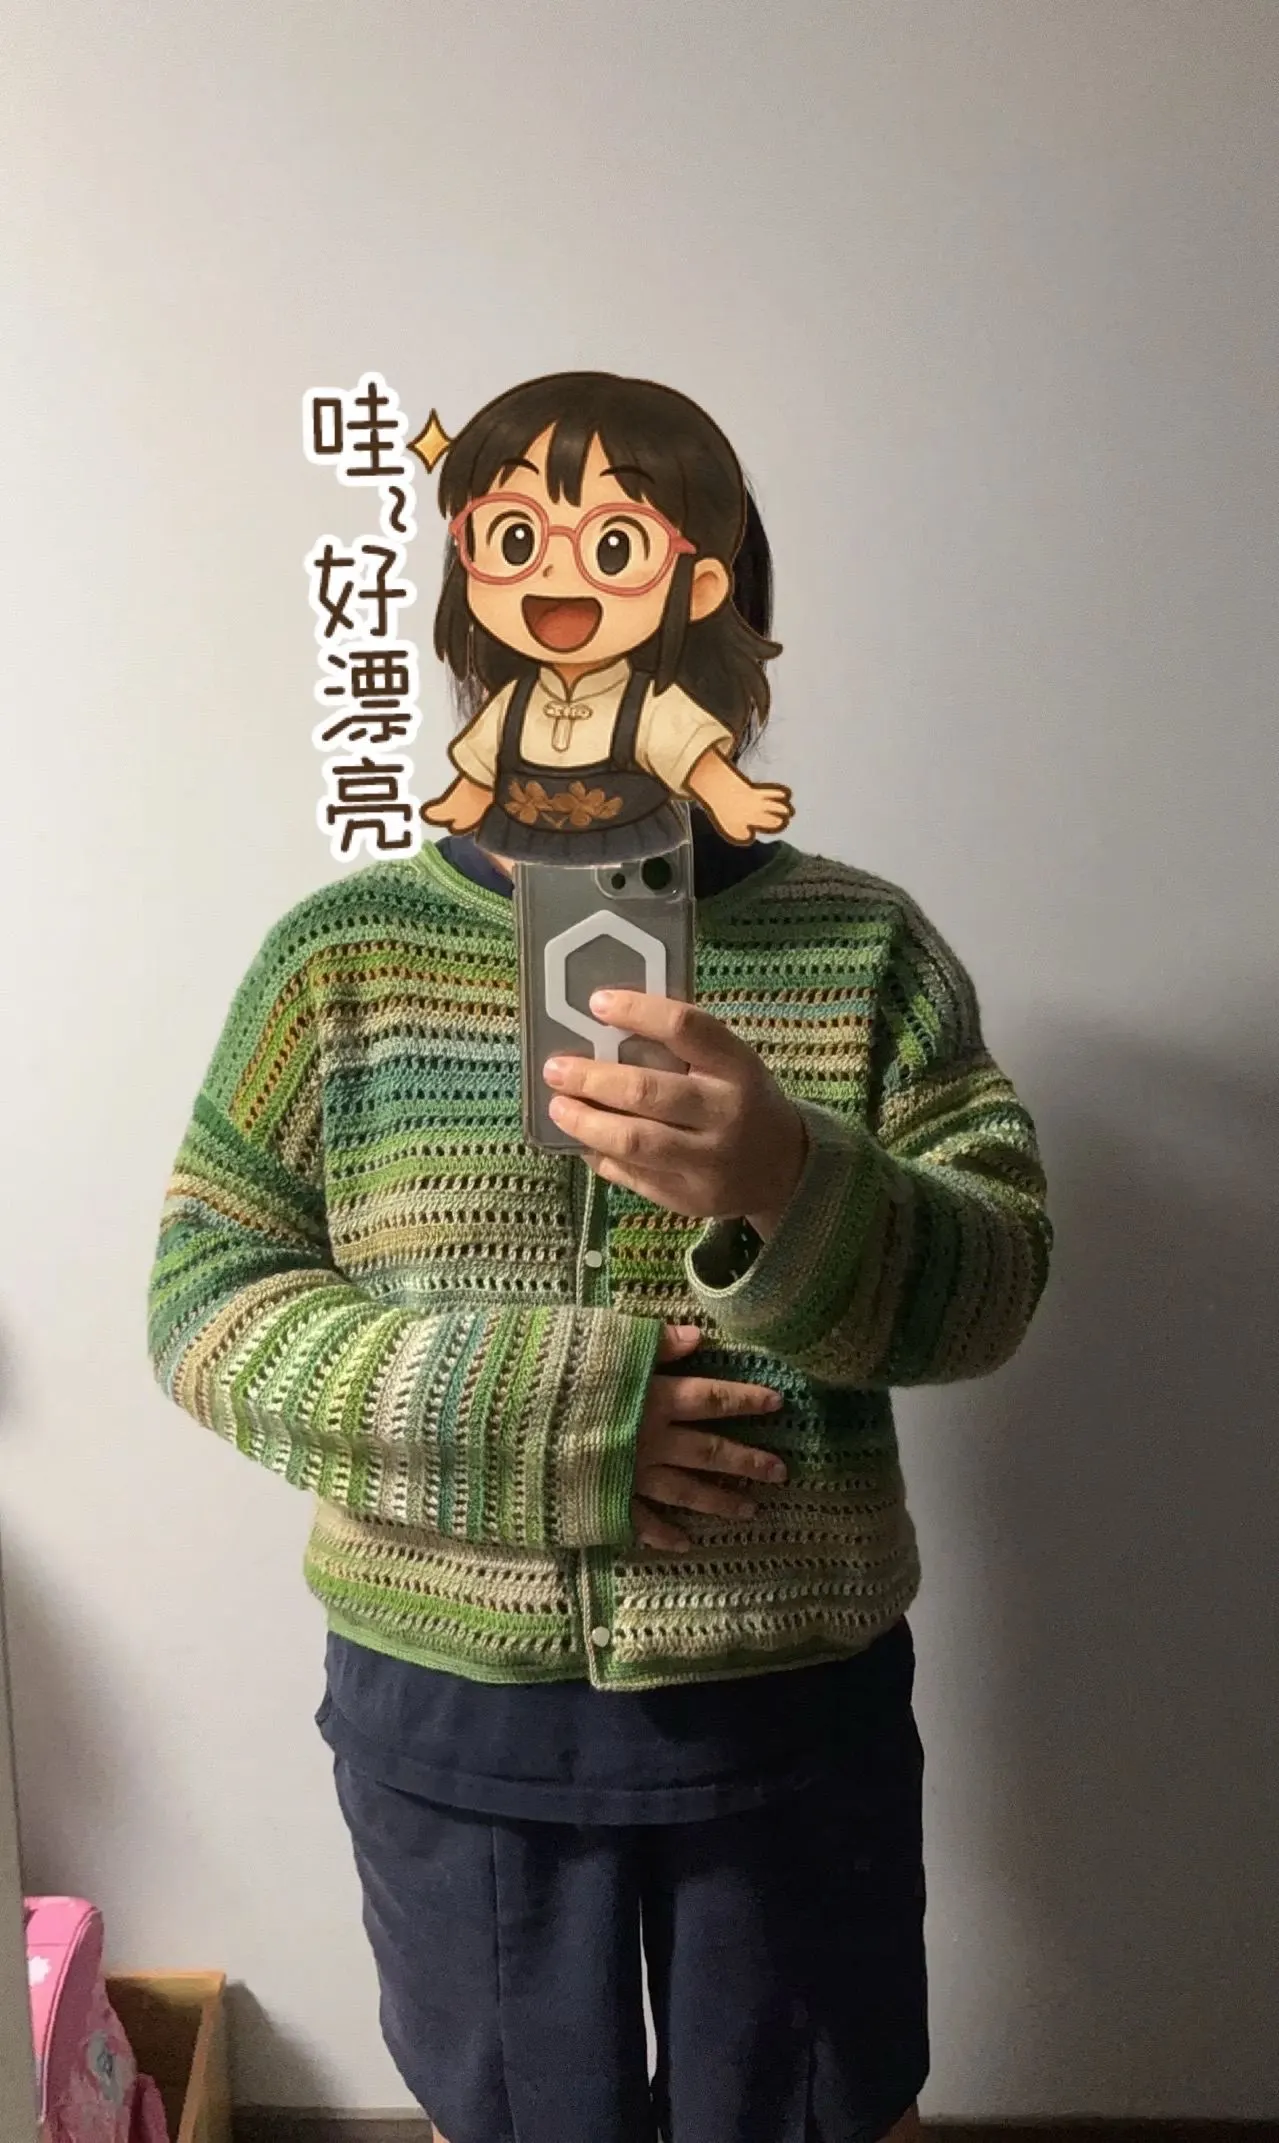
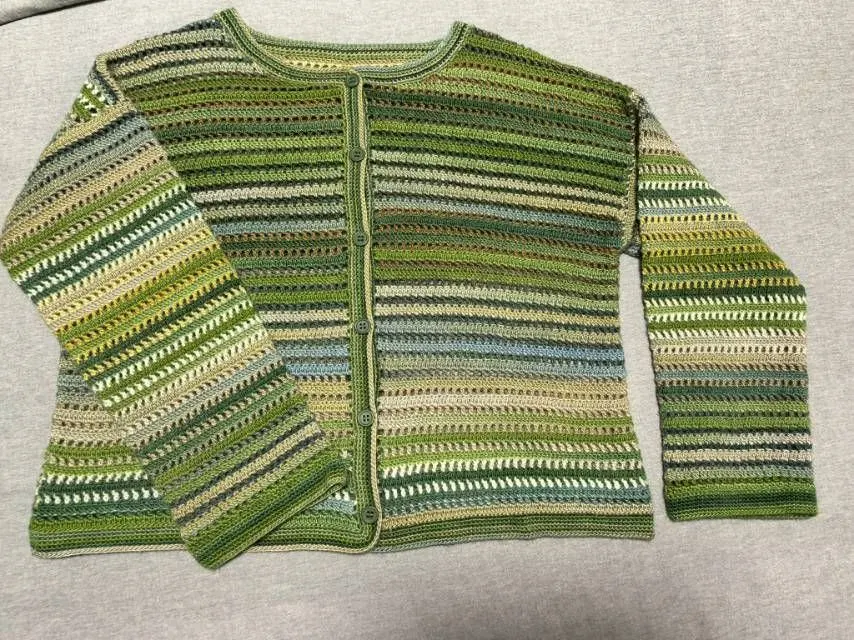
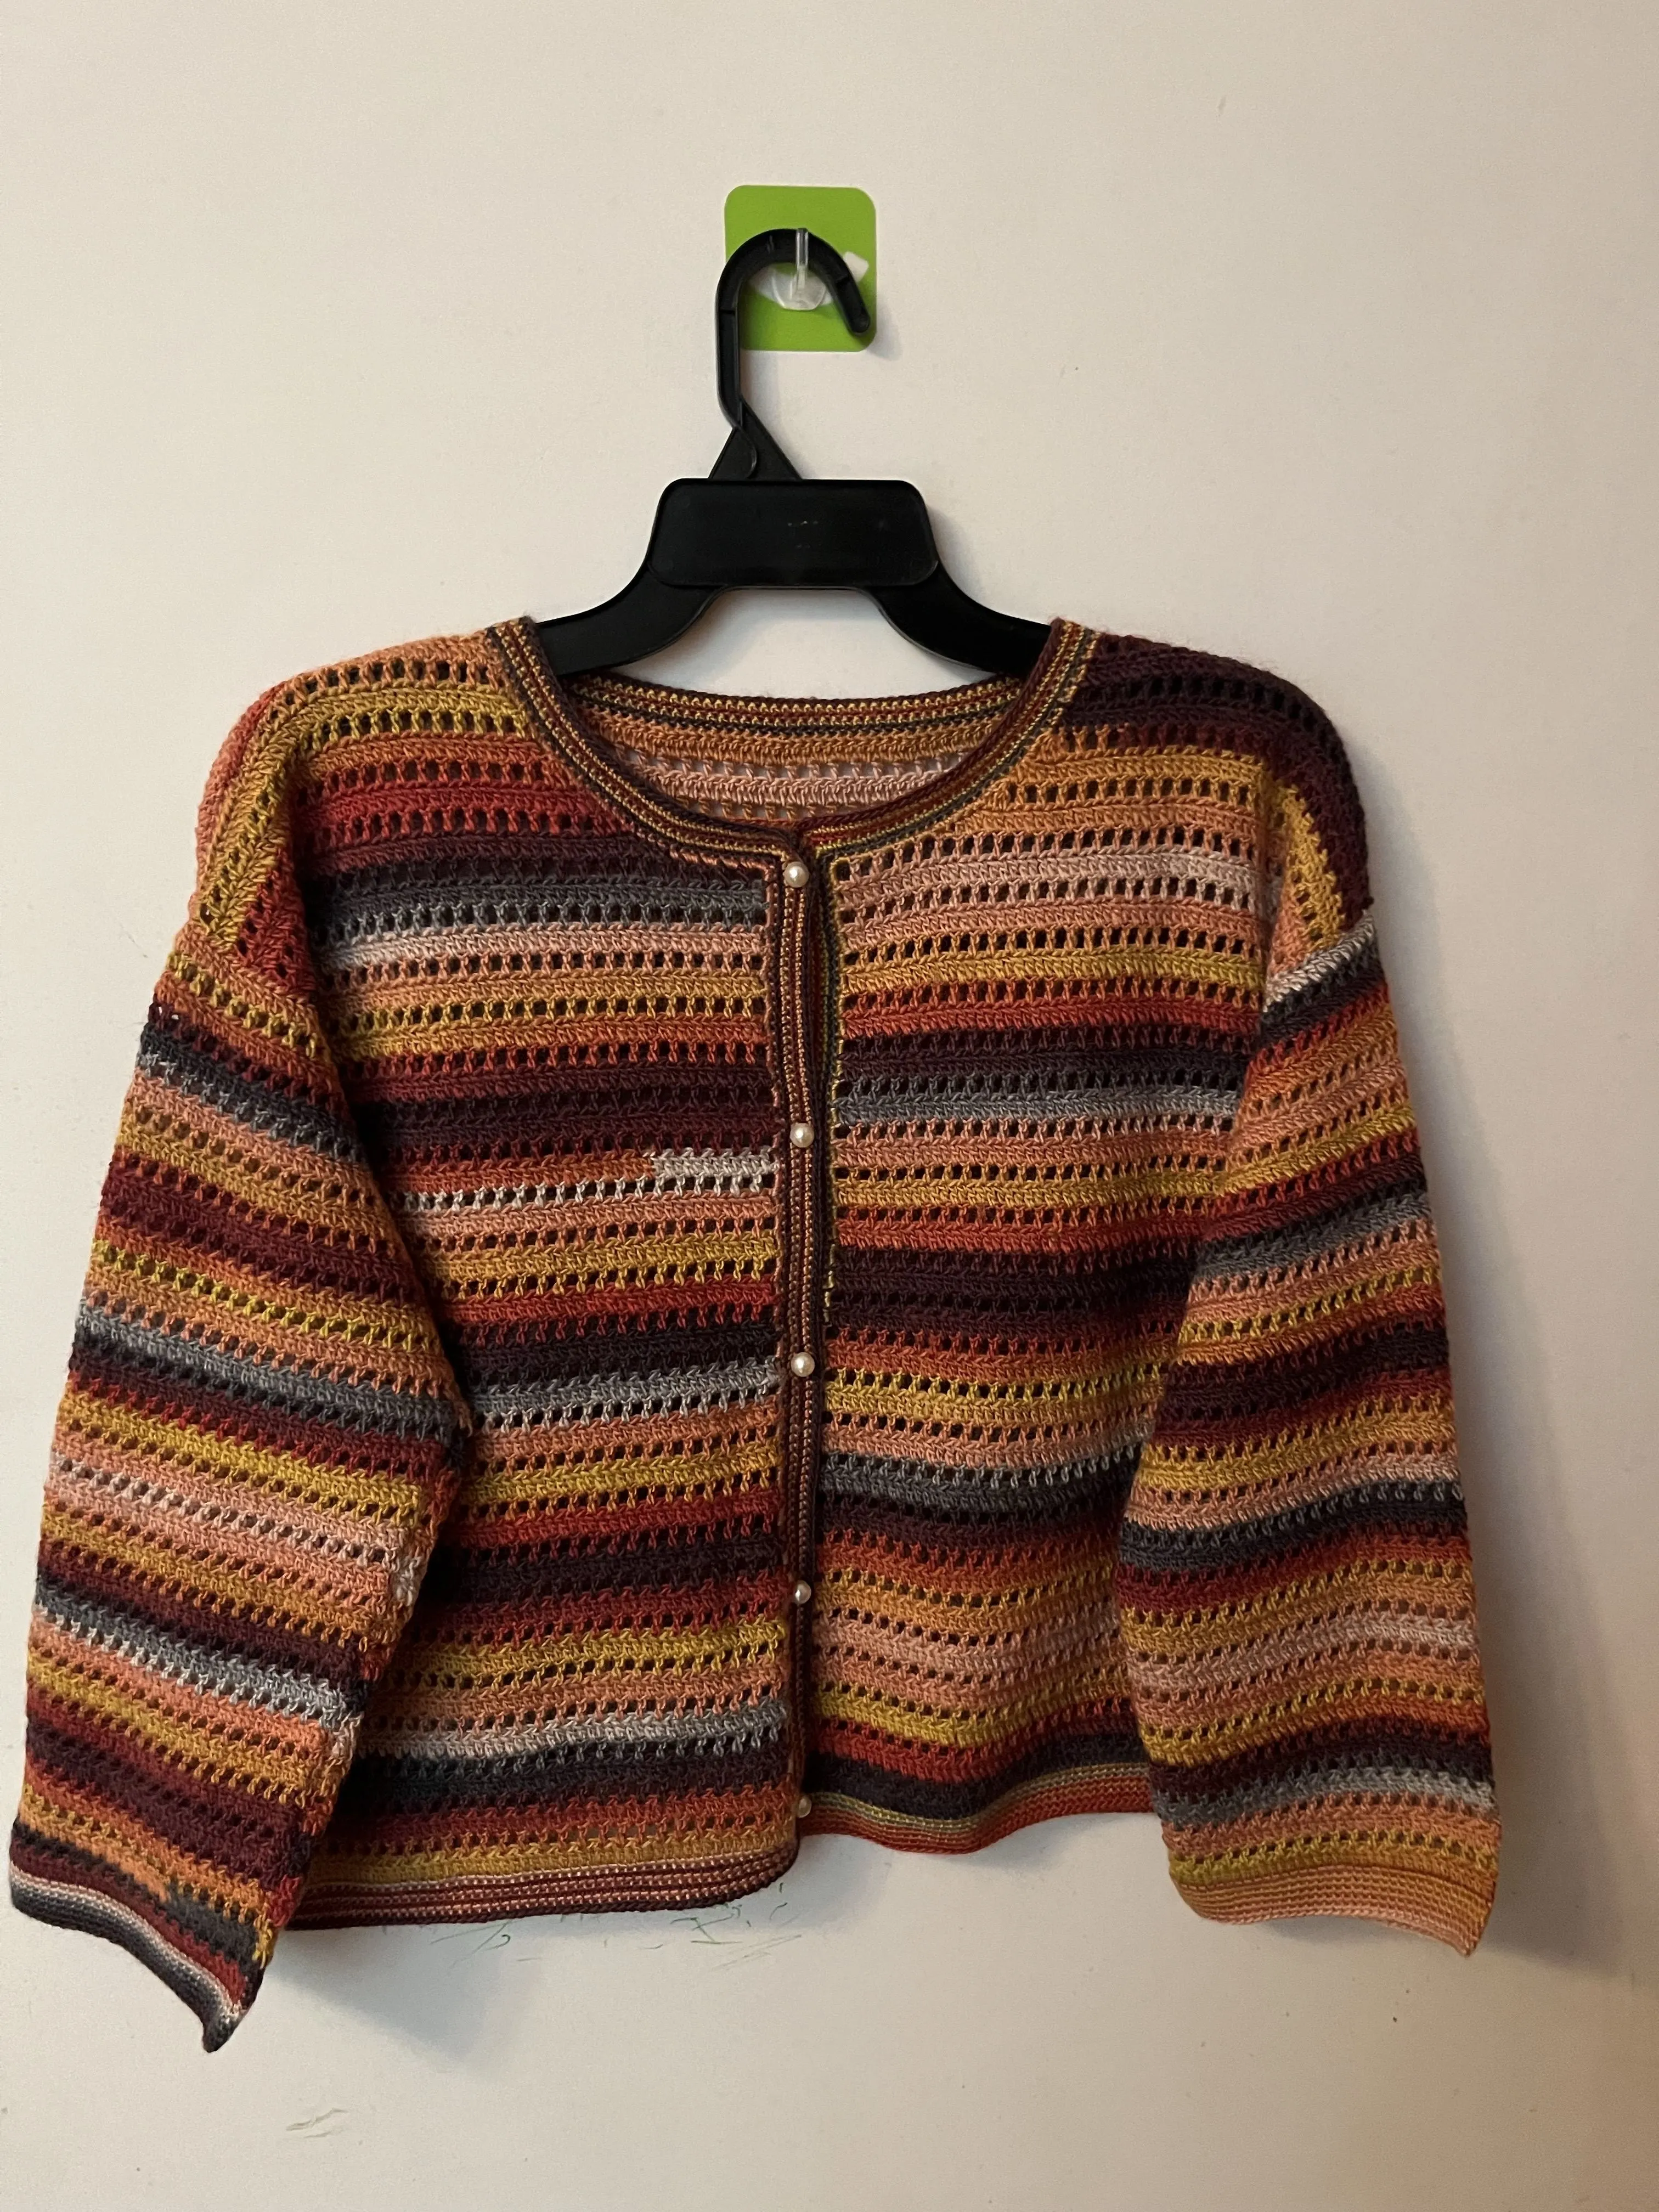
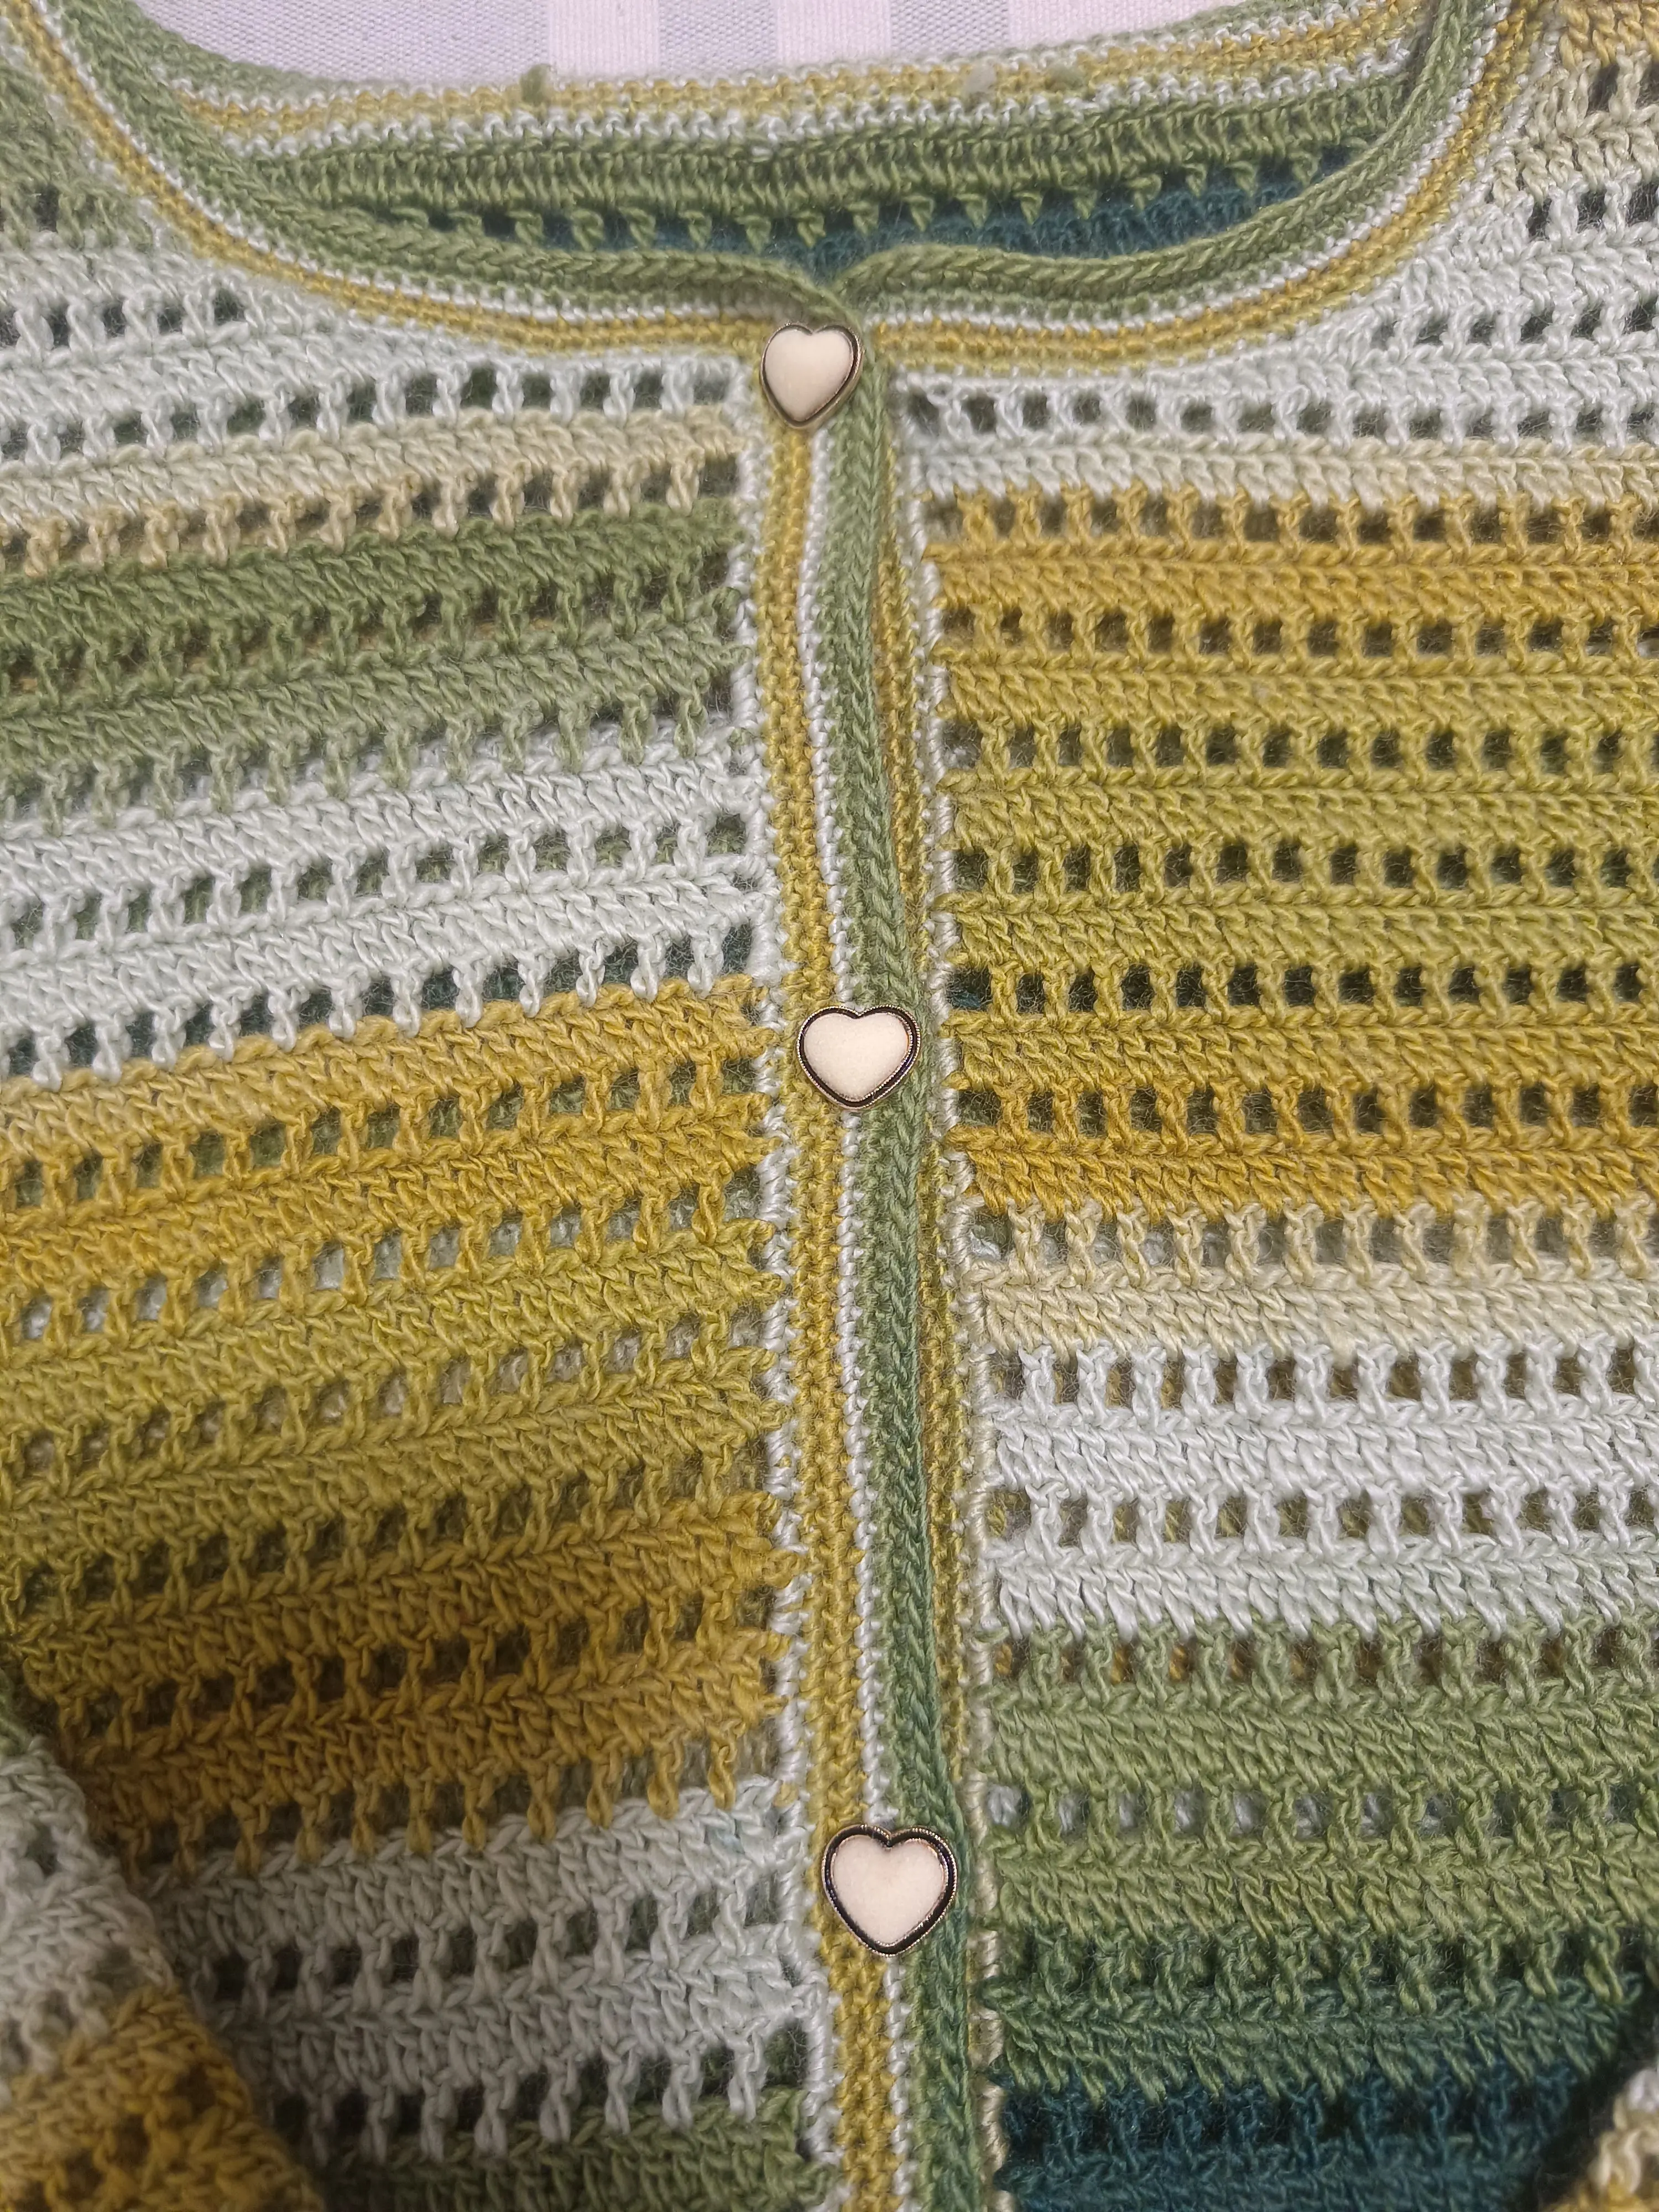
Clothes
Pine Rain
Project preview
See the finished project
Pattern format
Instructions
Watch and follow
Video tutorial
| Style | Yarn | Color |
|---|---|---|
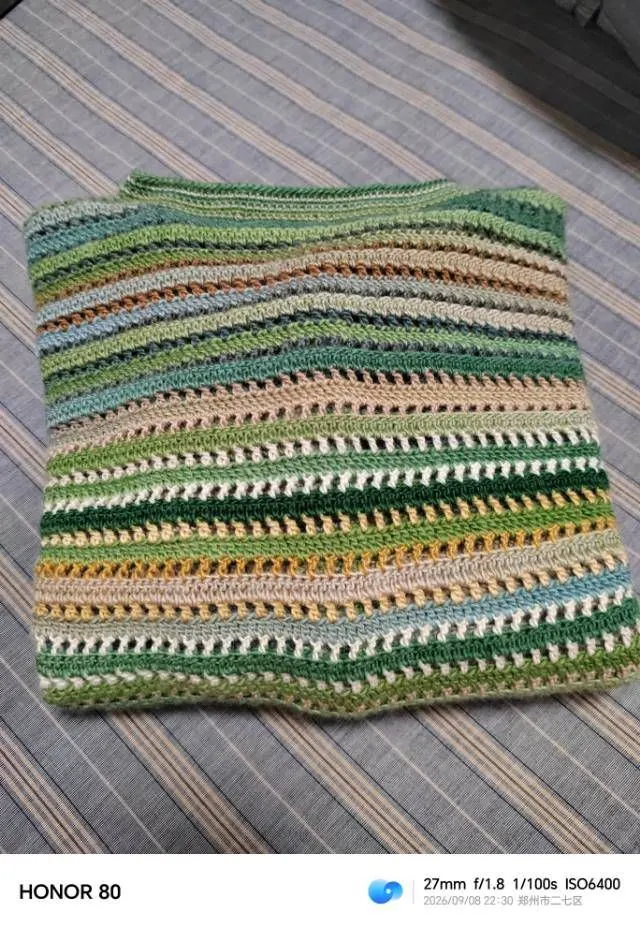
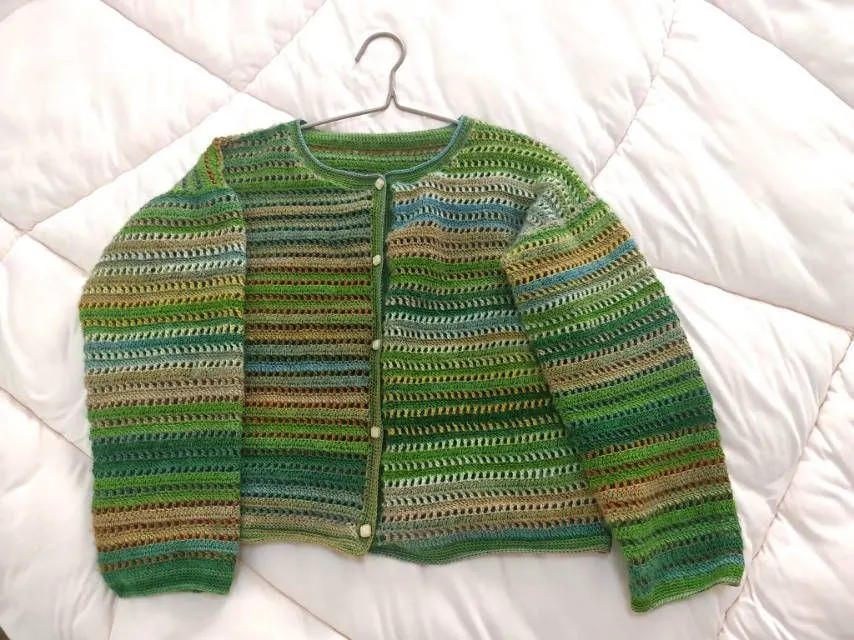
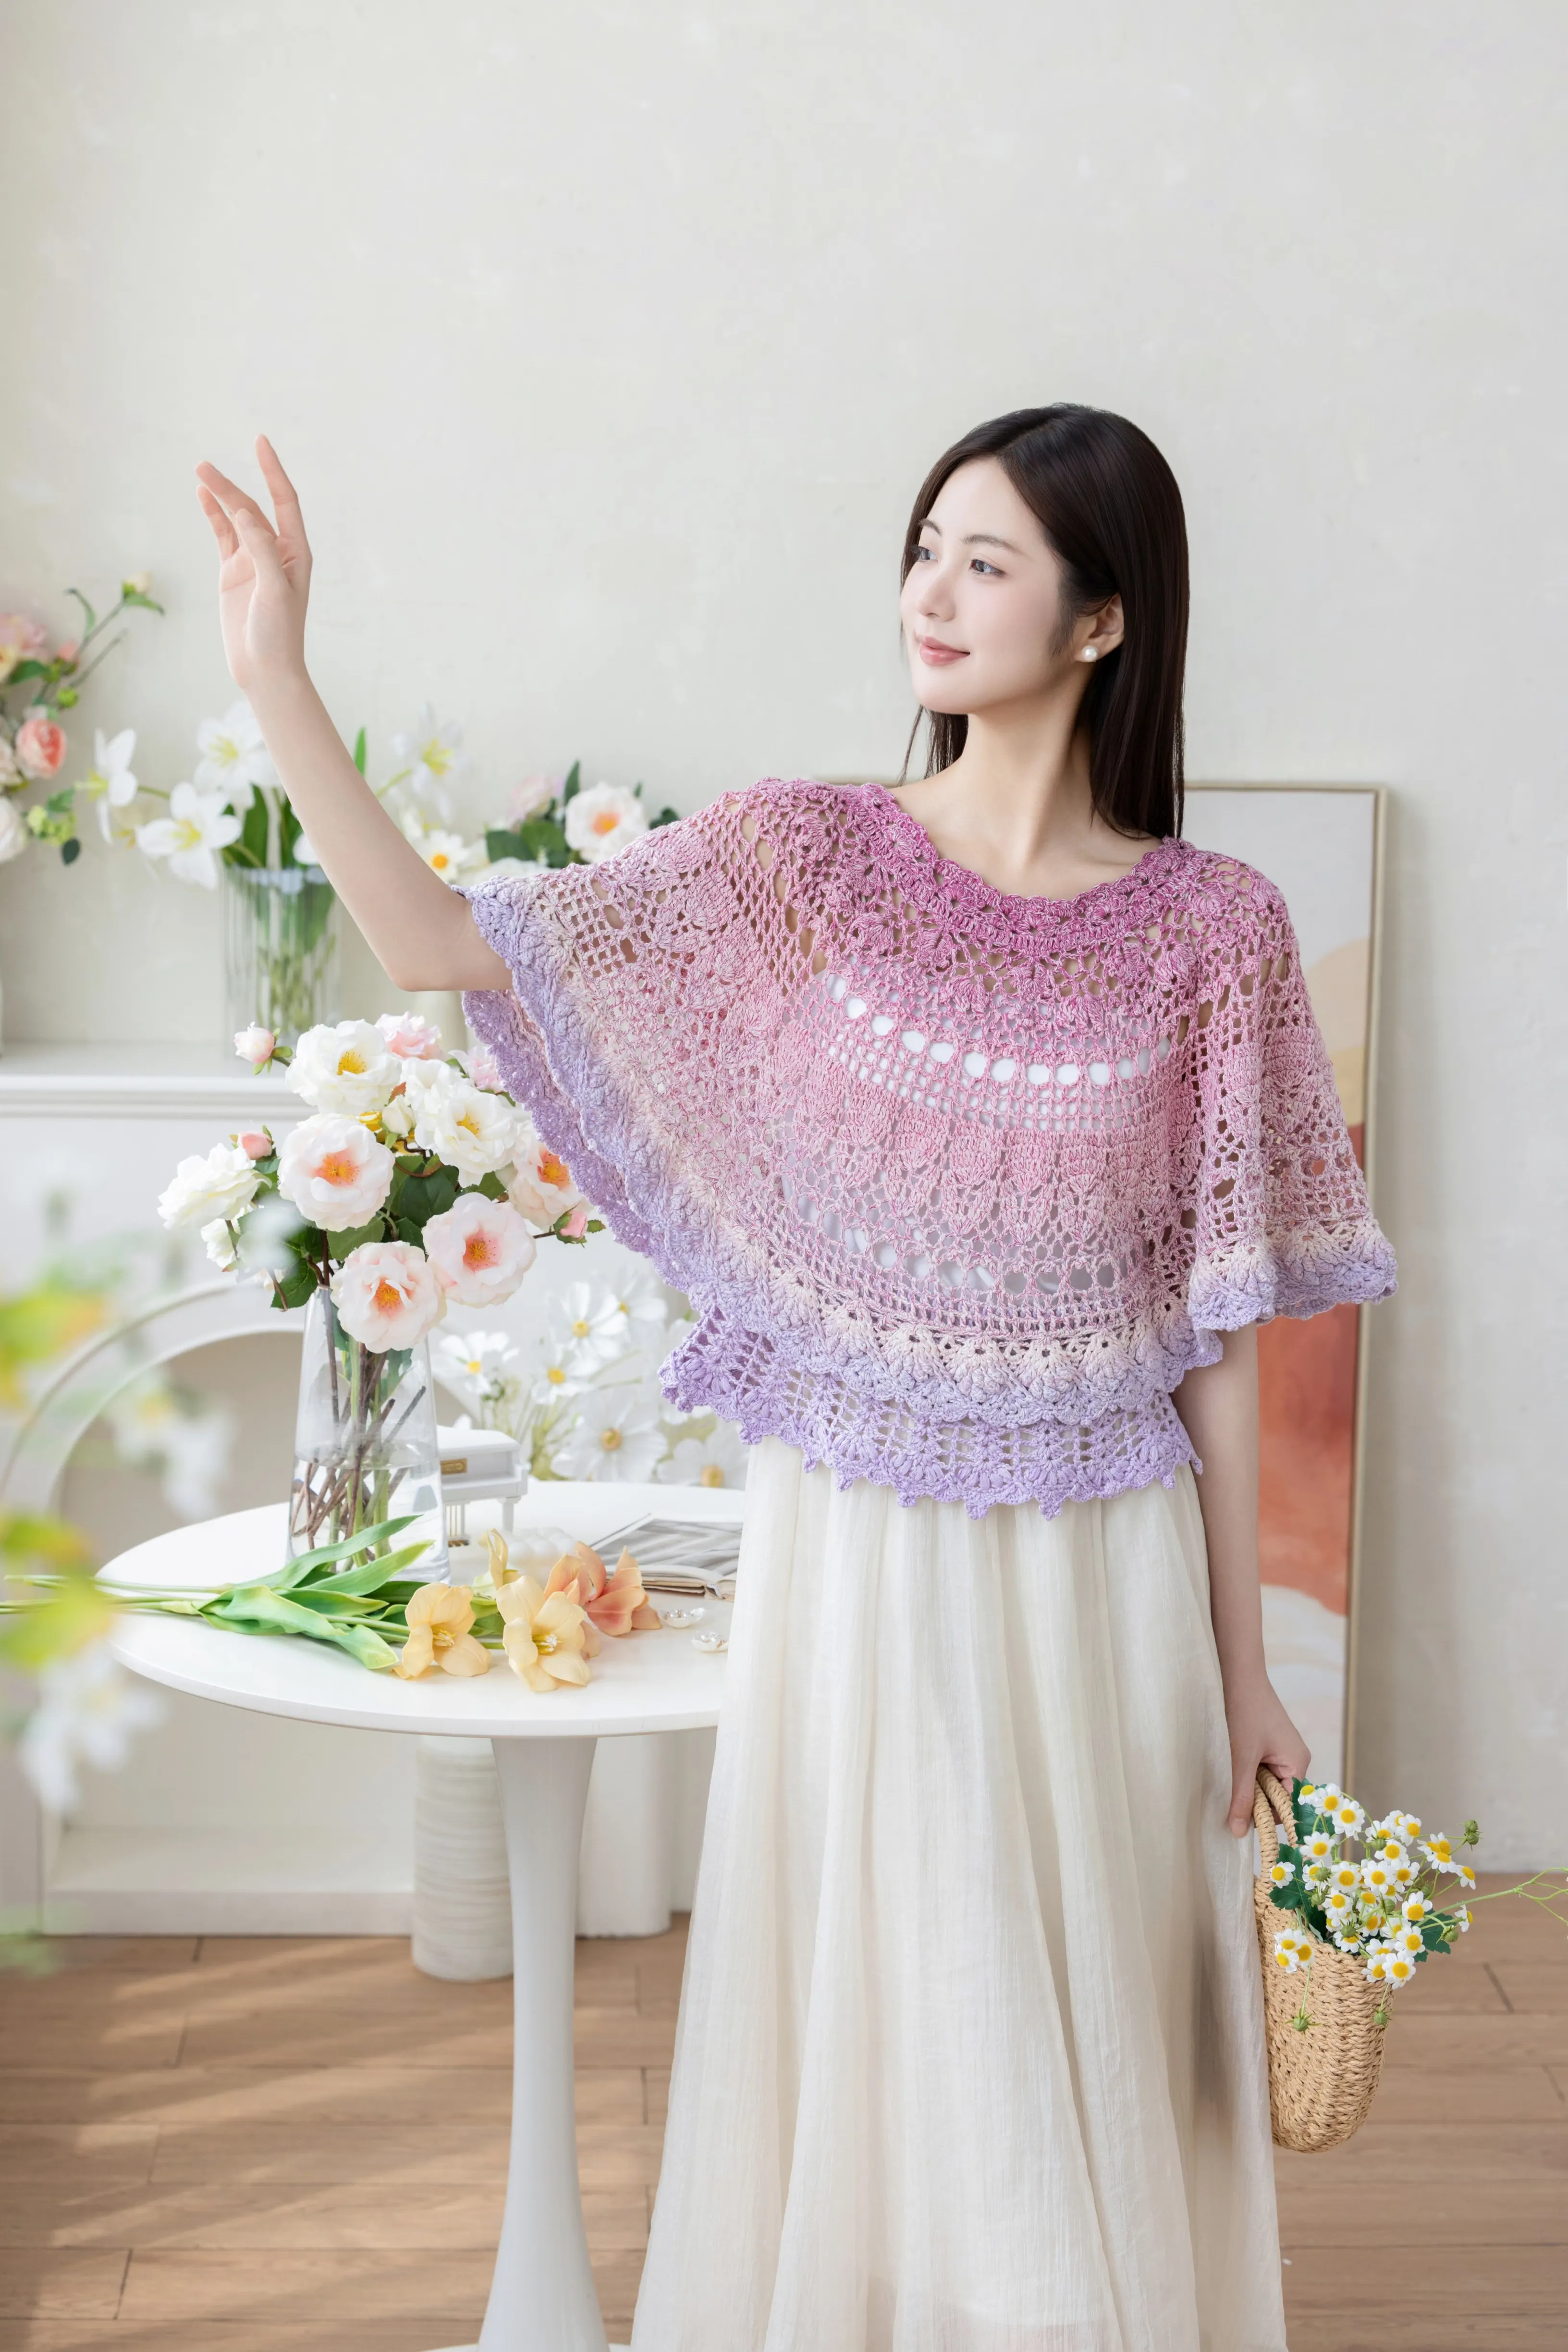
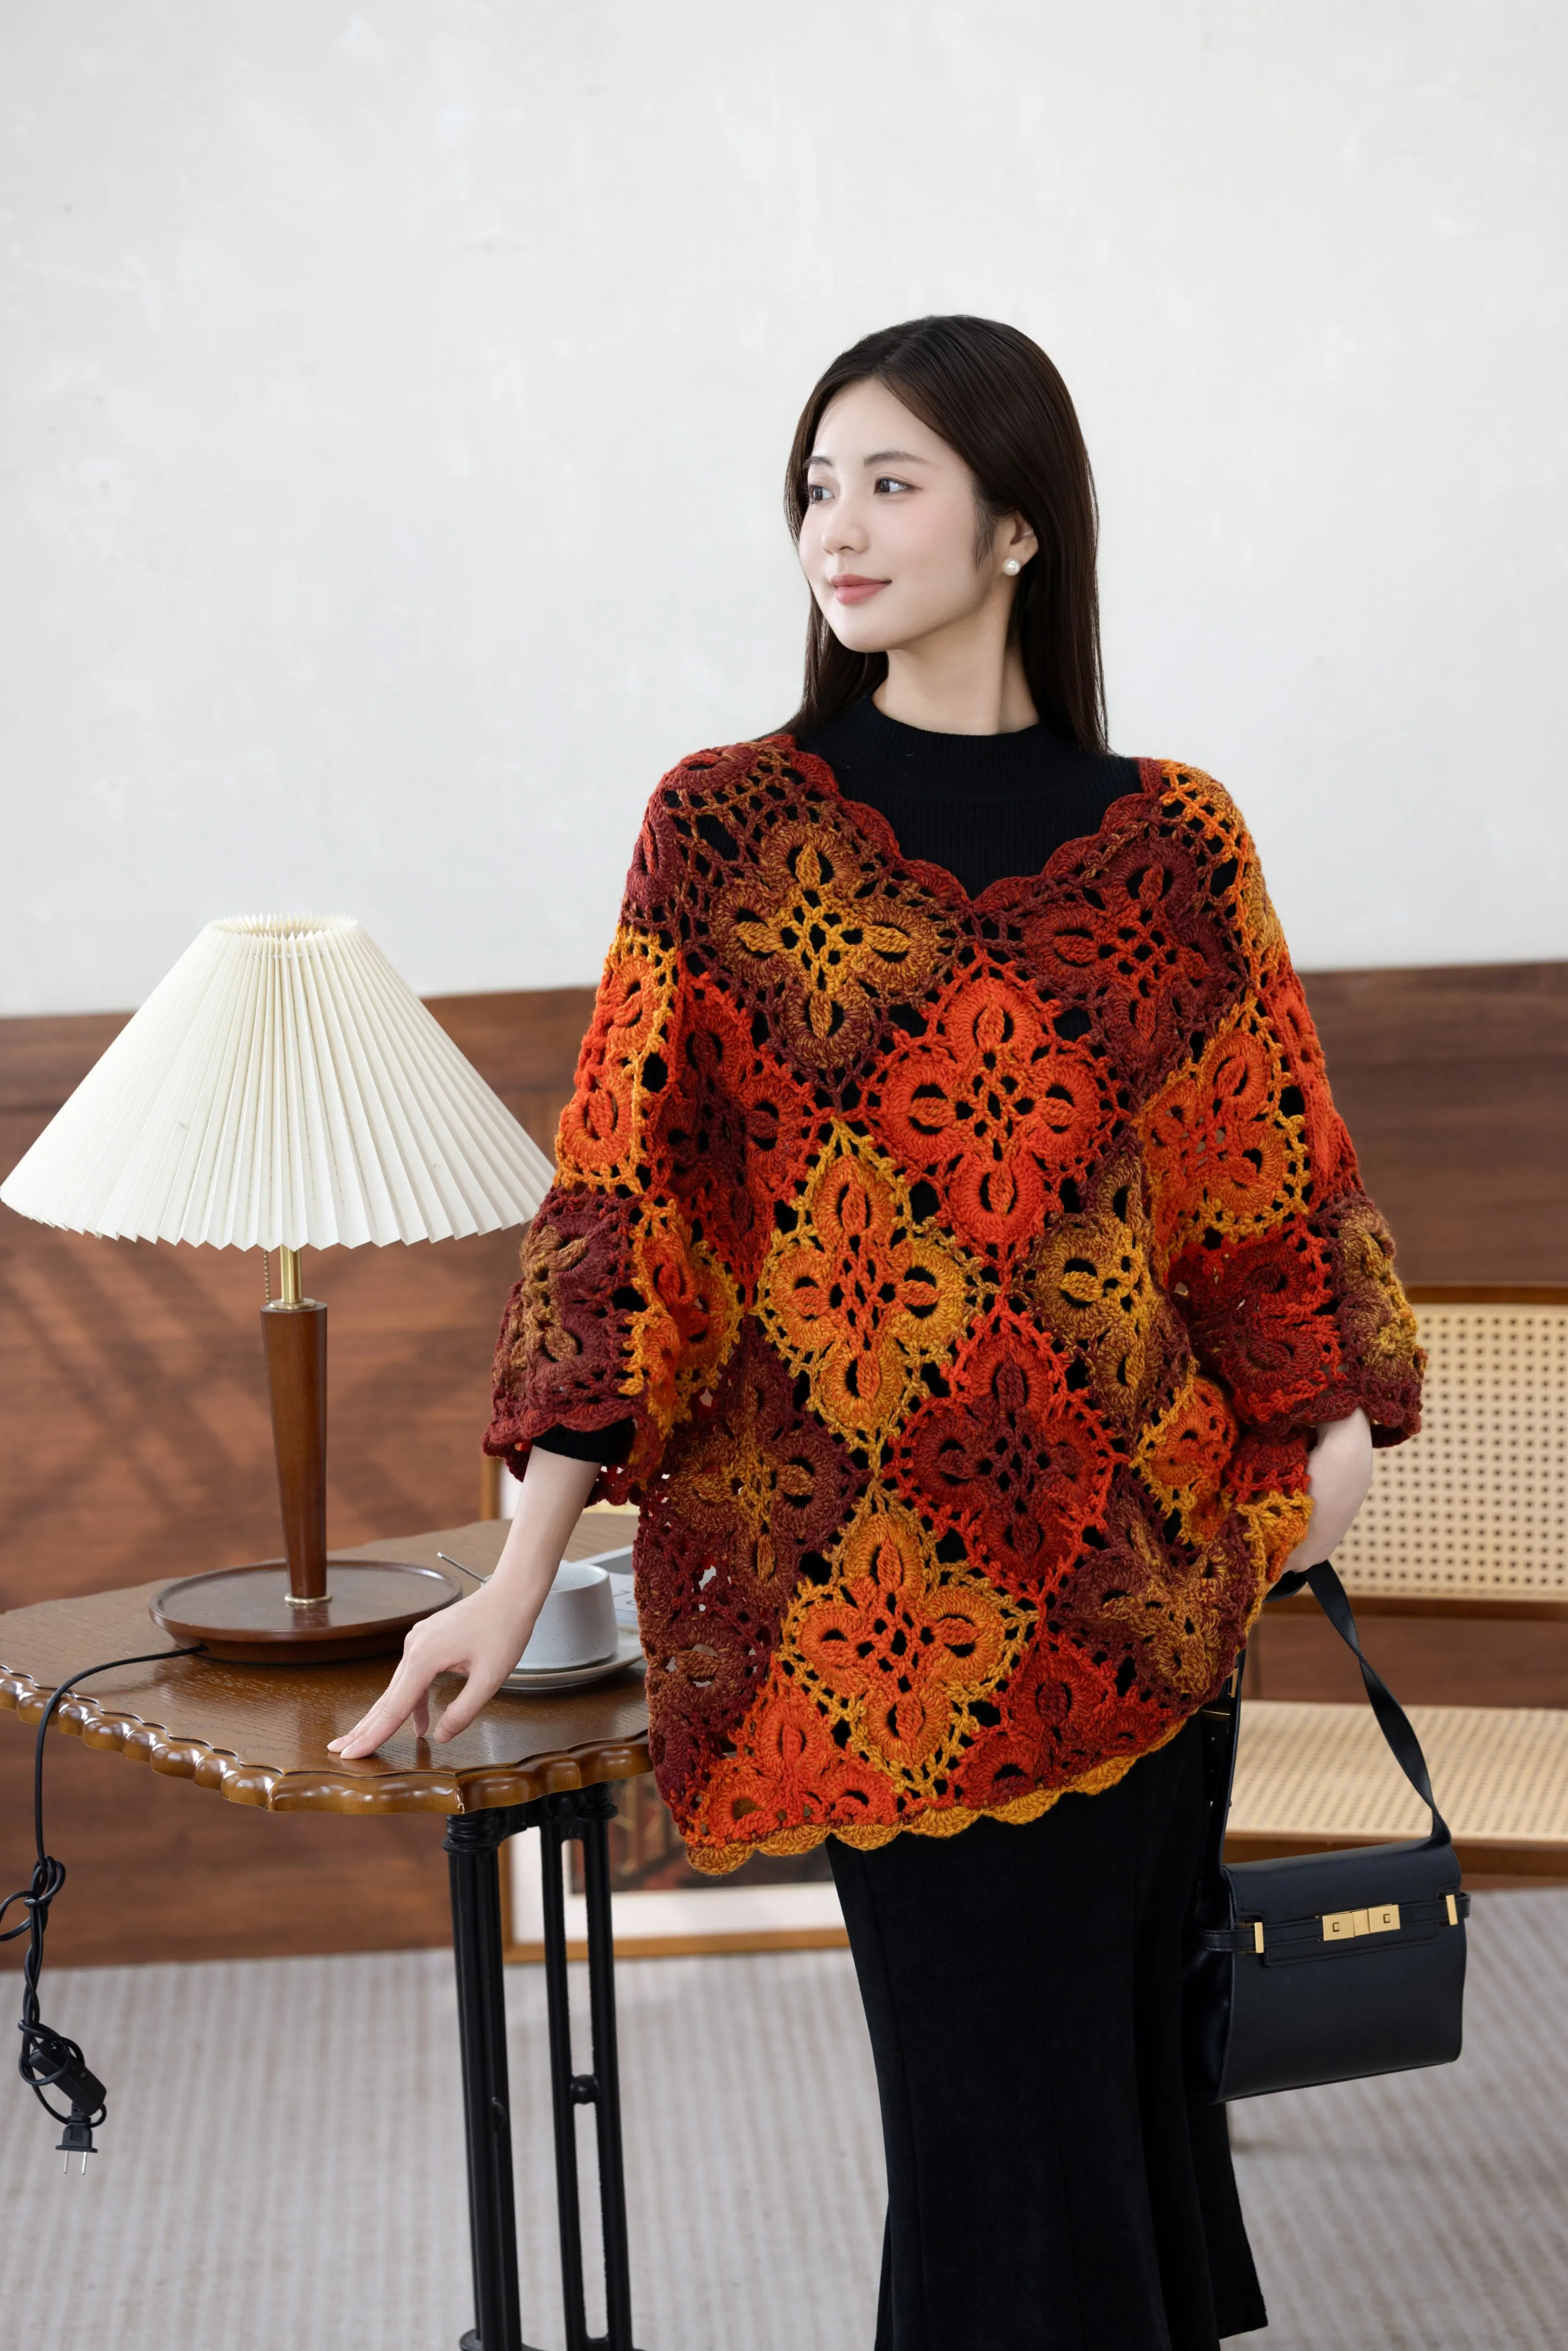
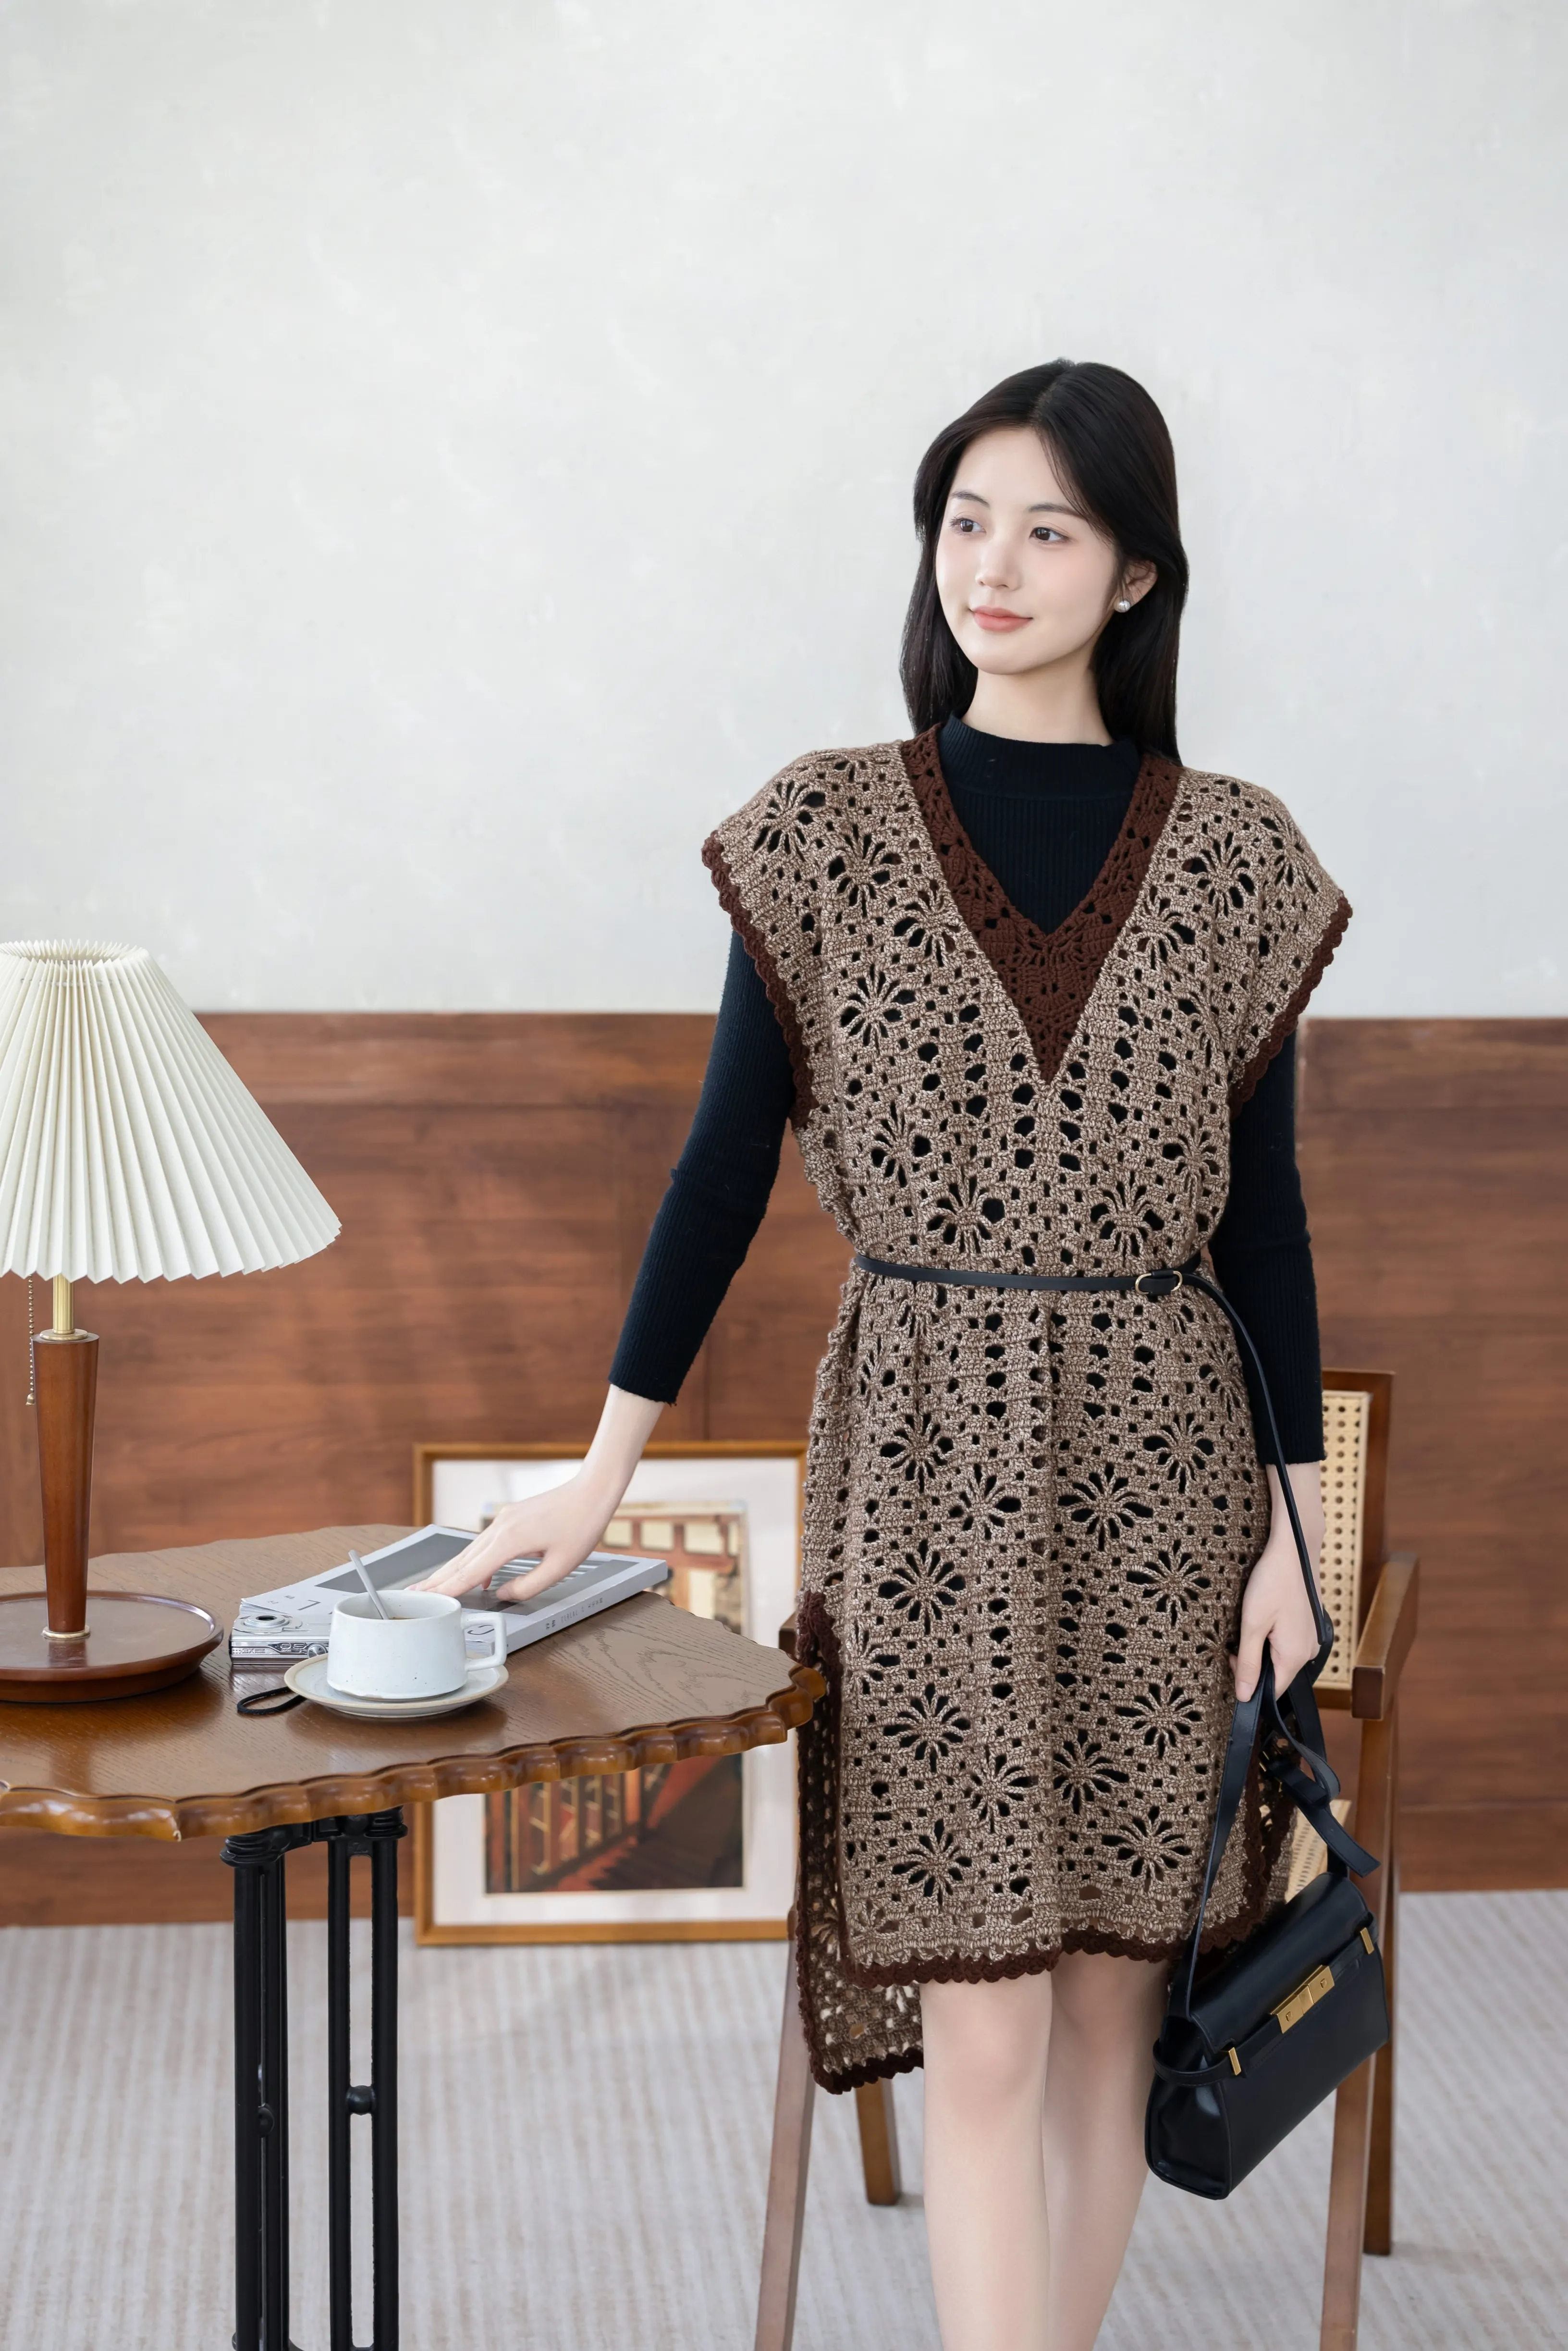
| Aurora - Small | Monet Impression | 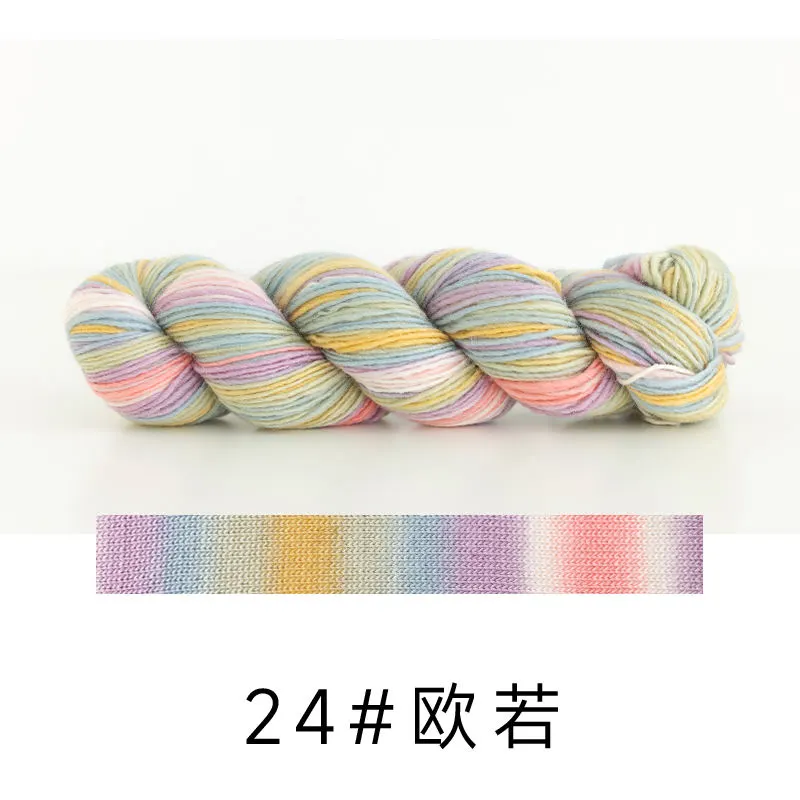 24#Aurora x 7 24#Aurora x 7 29#Spring Fiesta x 4 29#Spring Fiesta x 4 |
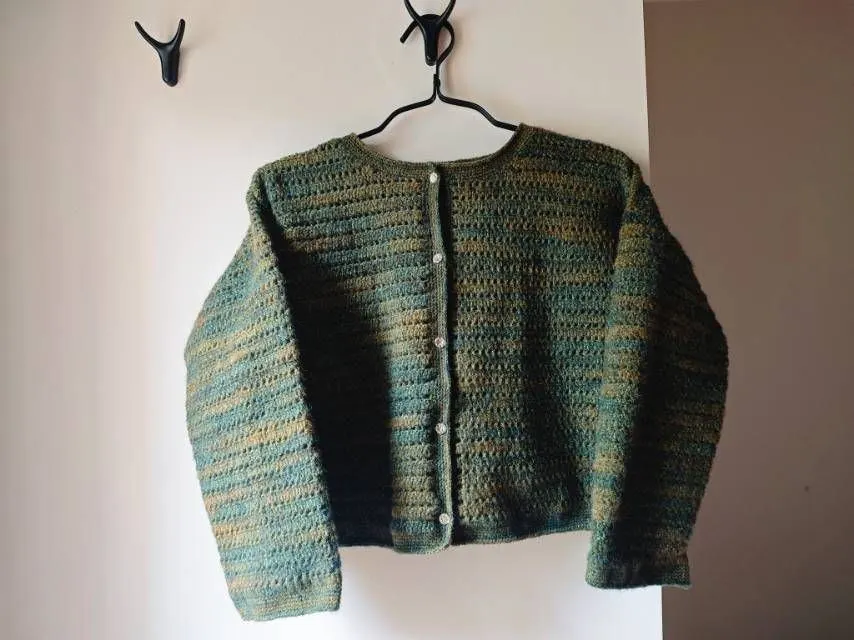
| Spring Rain - Small | Monet Impression | 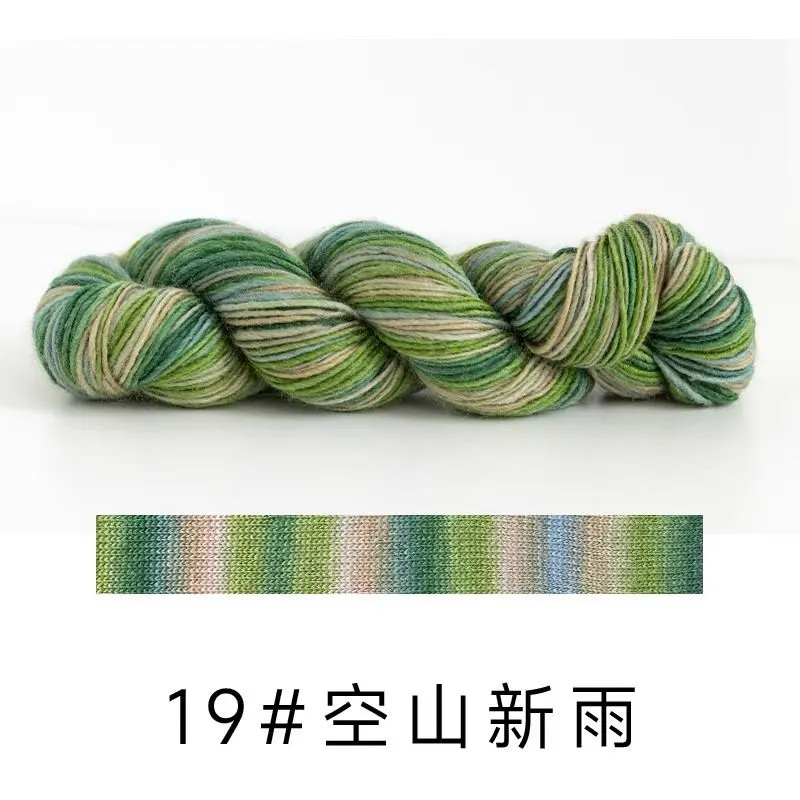 19#Spring Rain x 7 19#Spring Rain x 7 22#Pinetree Moon x 4 22#Pinetree Moon x 4 |
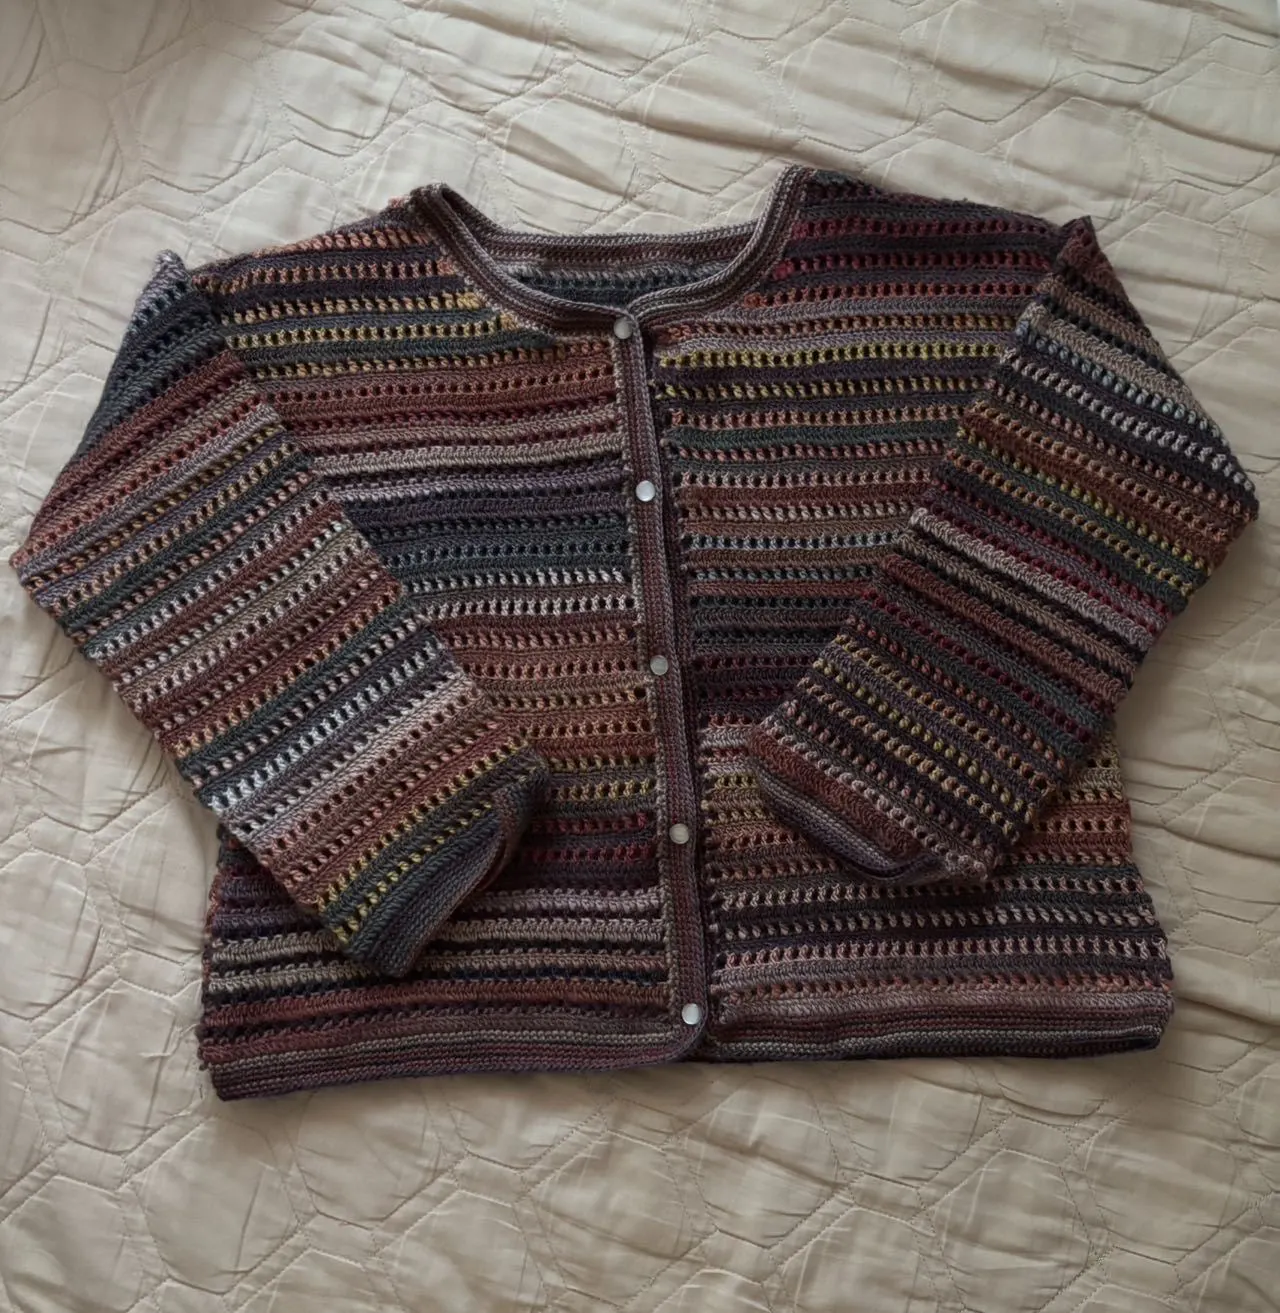
| Late Fall - Small | Monet Impression |  07#Late Fall x 7 07#Late Fall x 7 12#Dawn x 4 12#Dawn x 4 |
| Florescence - Small | Monet Impression |  13#Florescence x 7 13#Florescence x 7 21#Zither Strings x 4 21#Zither Strings x 4 |
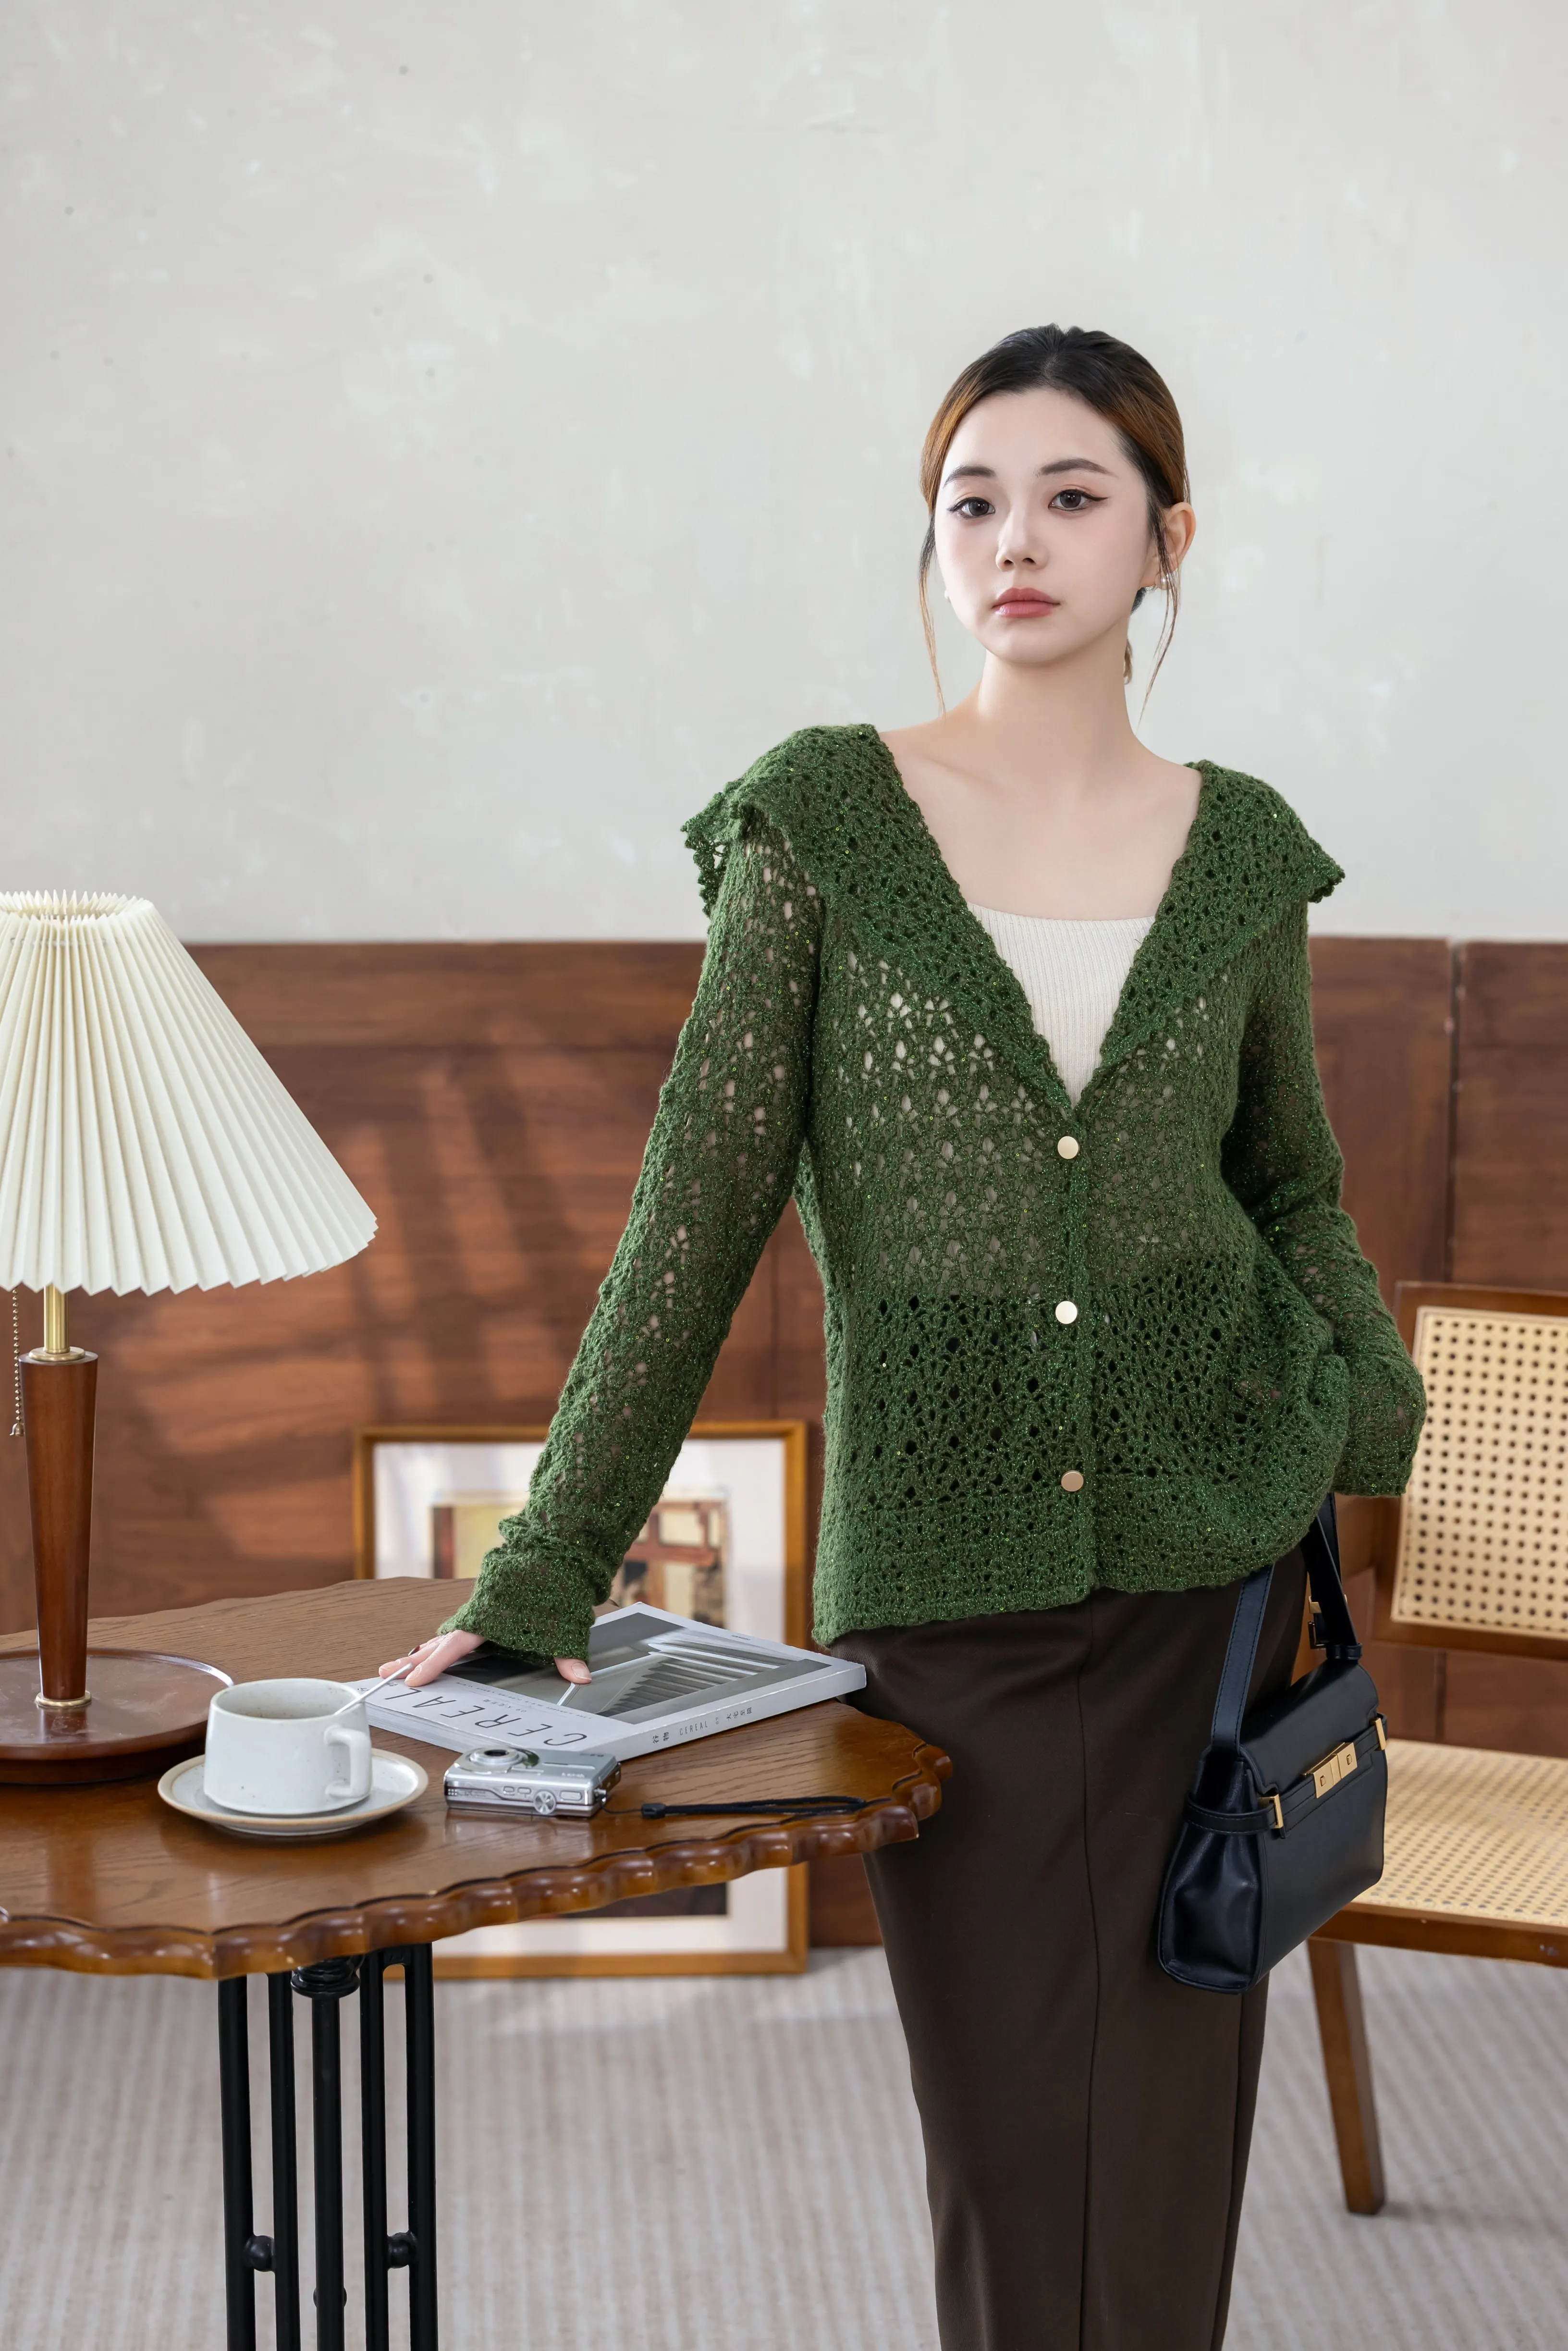
The cardigan consists of the right front, left front, back body, sleeves, cuff edging, overall edging, and buttons.
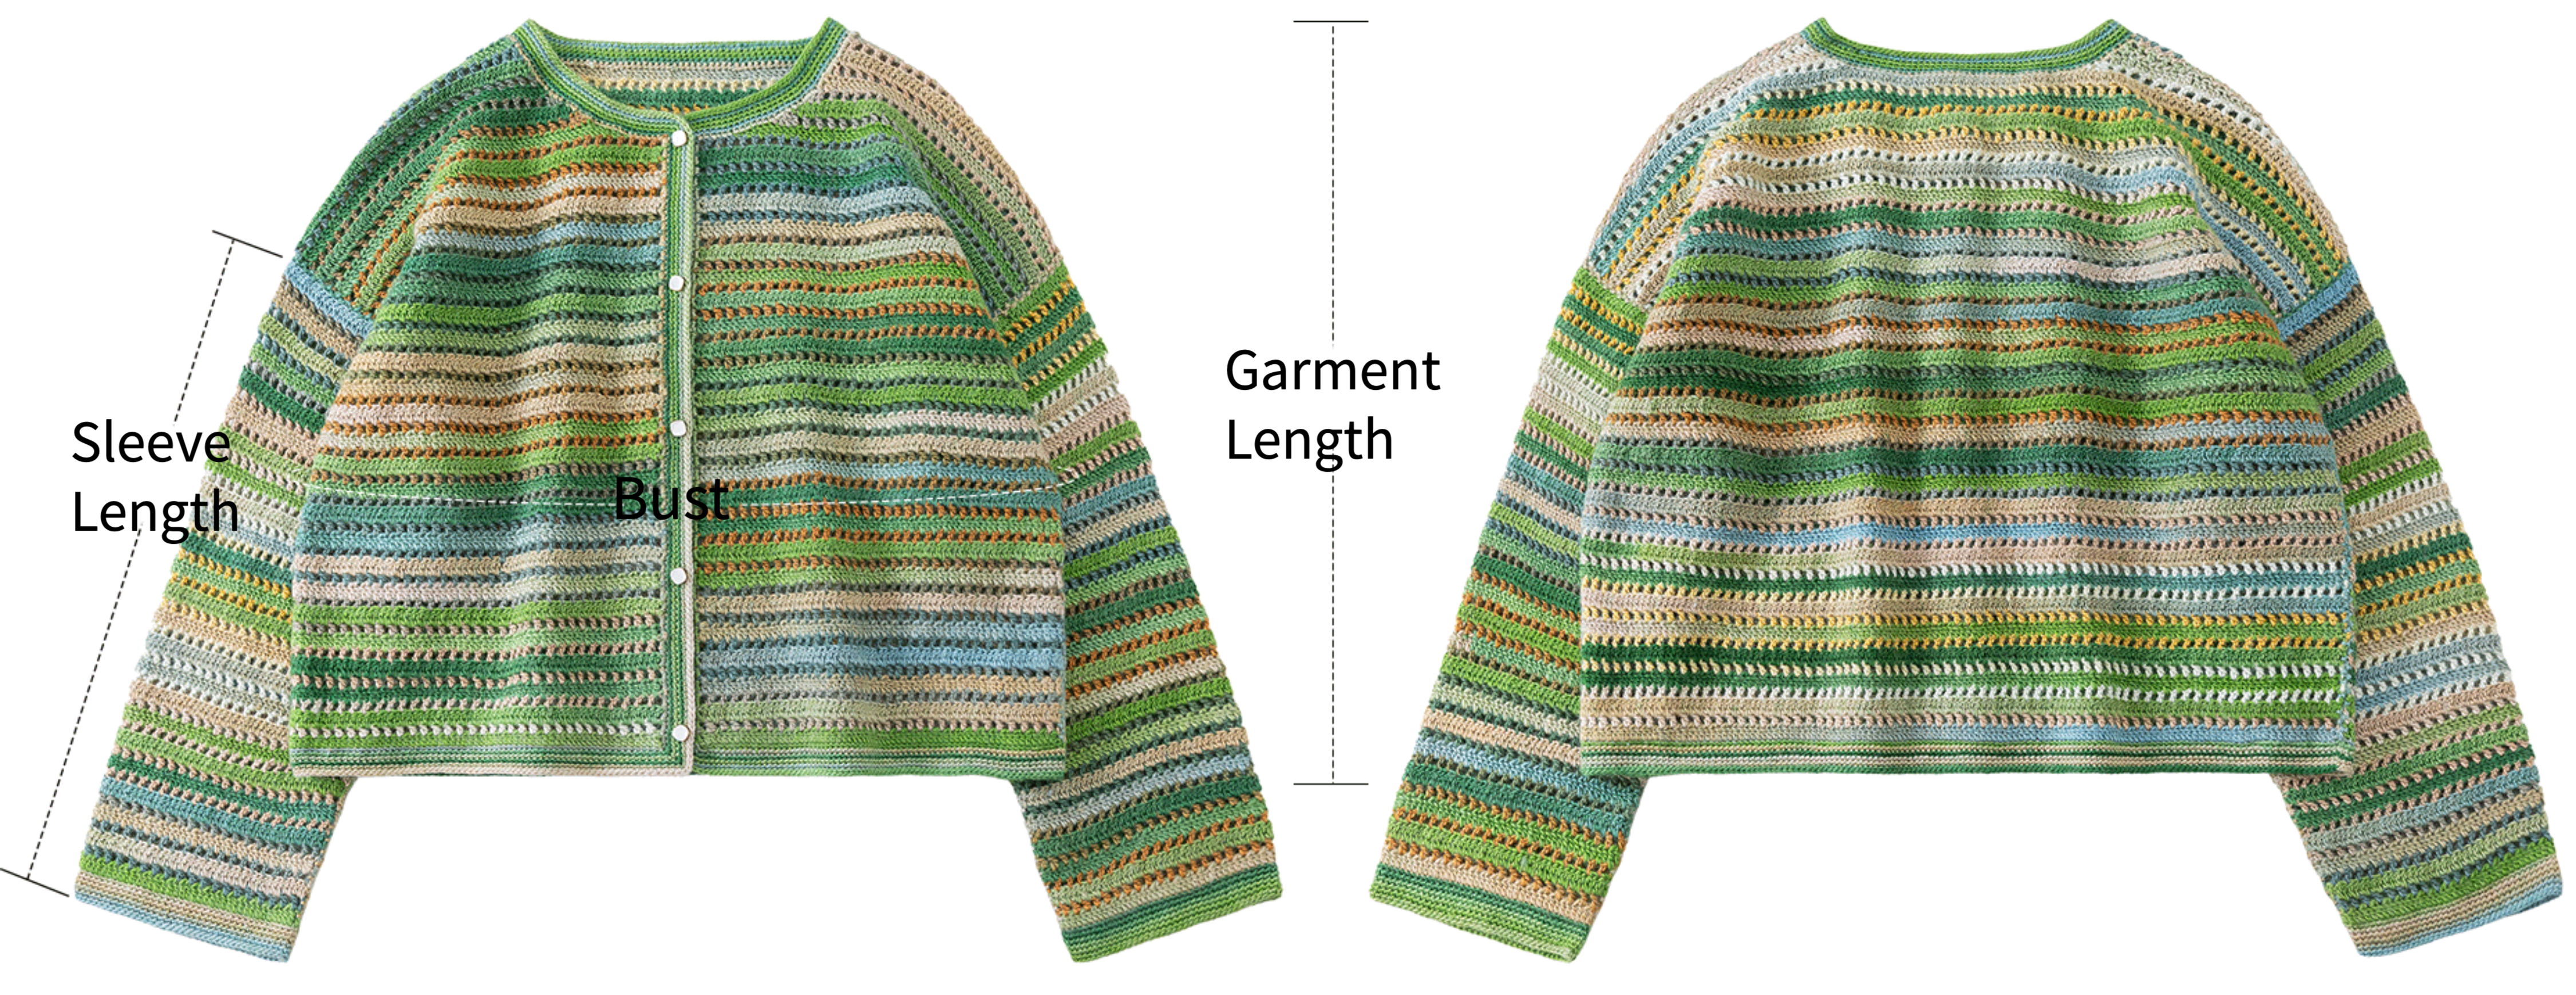
| unit: cm | bust | garment length | sleeve length |
| small size | 106 | 51 | 41.5 |
Note: Hand-measured, with a margin of error of 1-2 cm. Due to differences in individual tension, the sample size is for reference only.
Note: Variegated yarn has multiple color segments, and the finished effect will vary depending on where you start crocheting.
Yarn: Susan's Family Monet Impression.
Tools: 3.00 mm crochet hook.

The tutorial demonstrates with the smallest size as an example; please refer to the corresponding diagrams for other sizes.
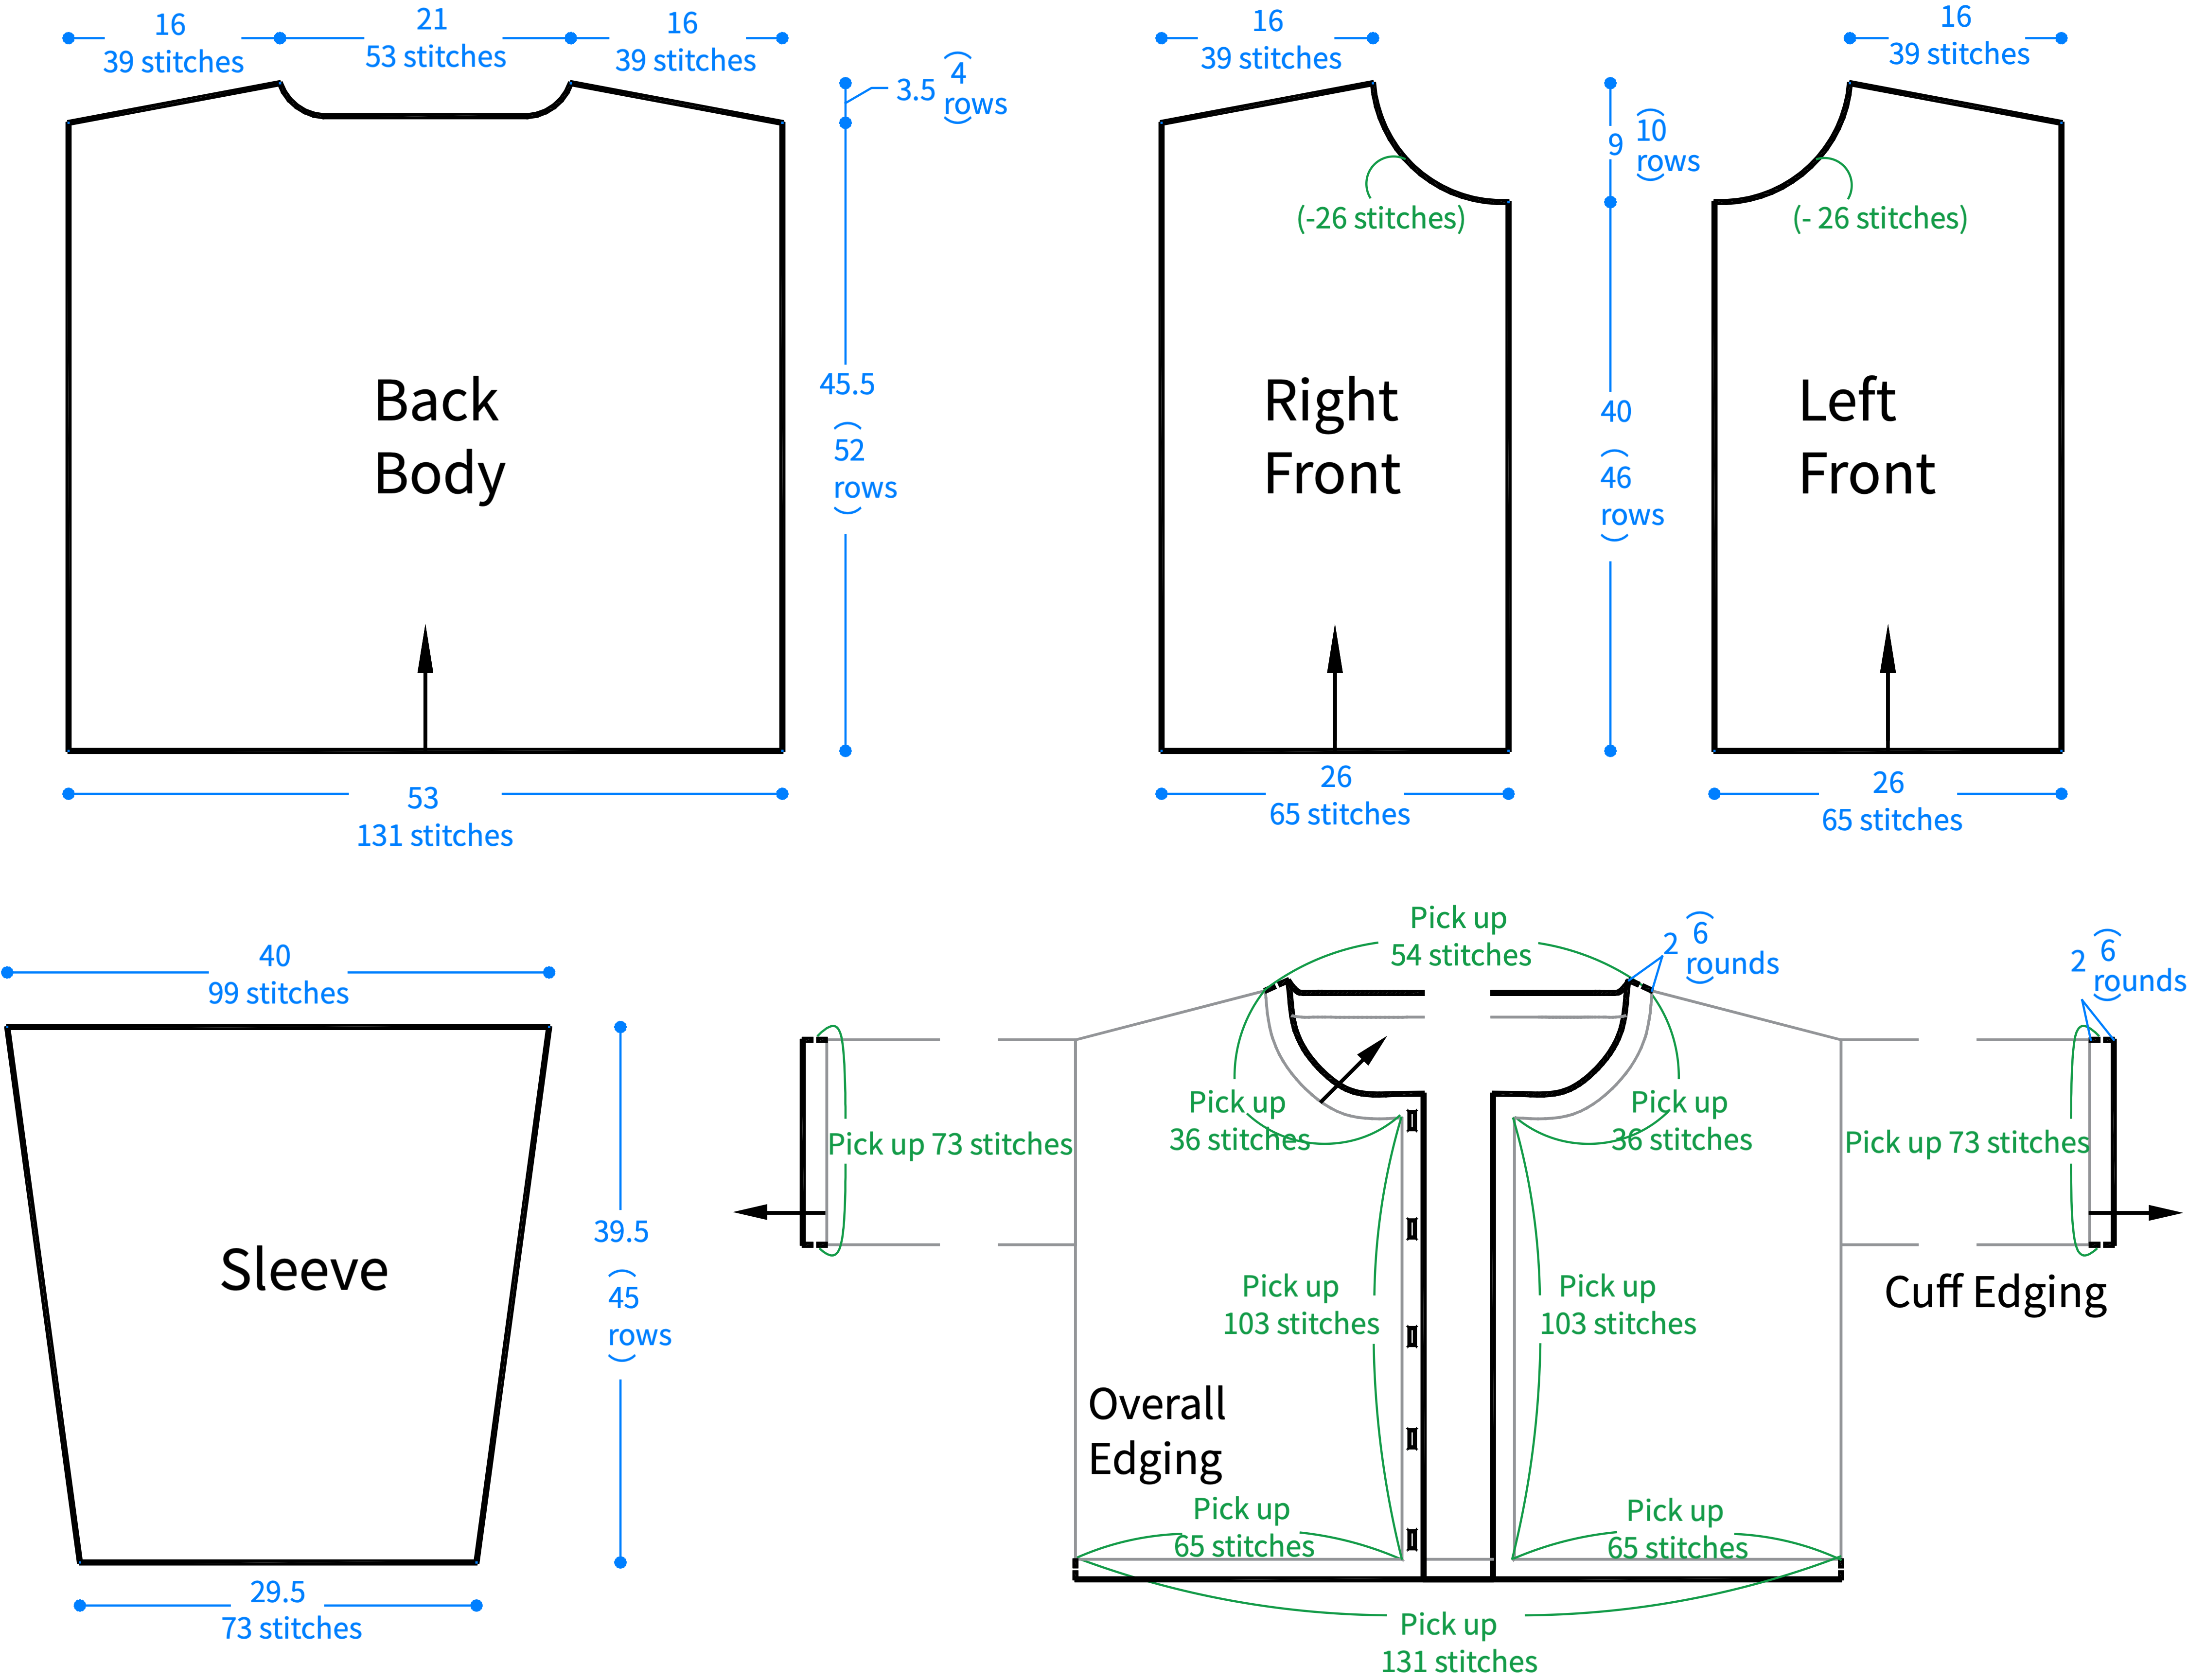
Structure Diagram
gauge swatch
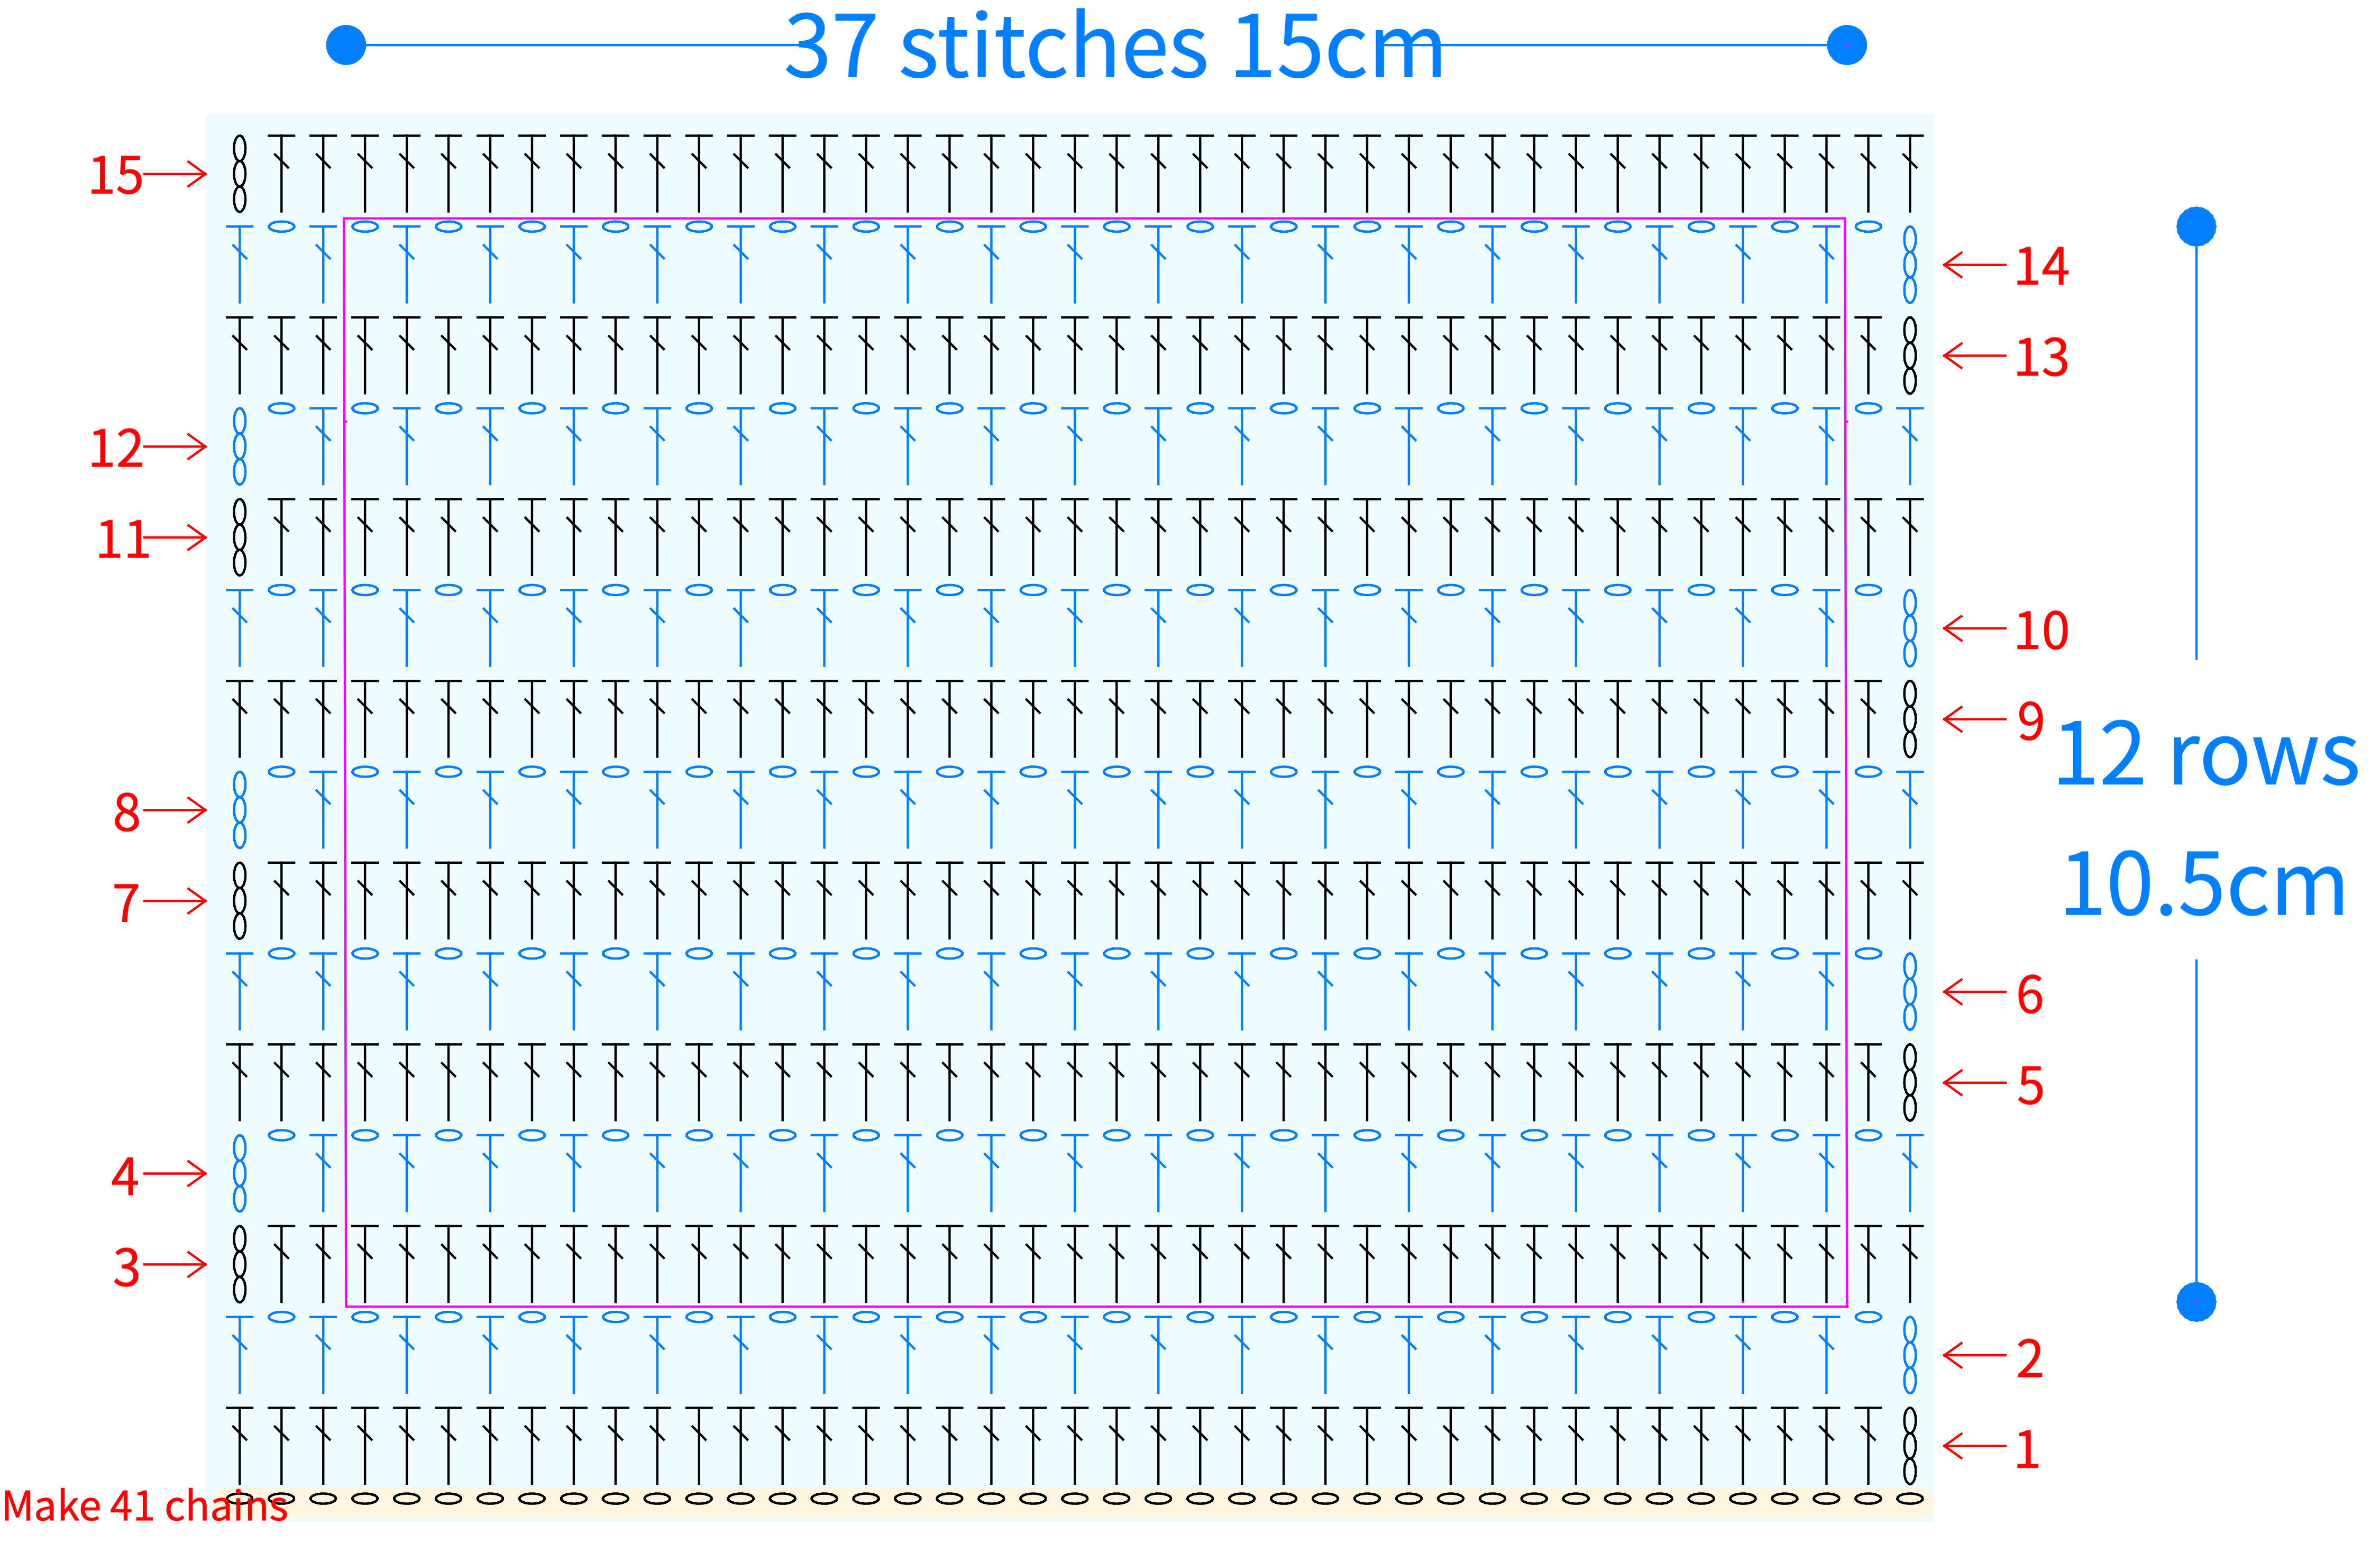
Chart Key











Note:
This pattern is making in Chinese crochet pattern terms, and the stitch name is written using American terminology. All measurements in charts are in cm.

| parts | Aurora | Spring Rain | Late Fall | Florescence |
| Yarn A, seaming, cuff edging, overall edging | 24# Aurora | 19# Spring Rain | 07# Late Fall | 13# Florescence |
| Yarn B | 29# Spring Fiesta | 22# Pinetree Moon | 12# Dawn | 21# Zither Strings |
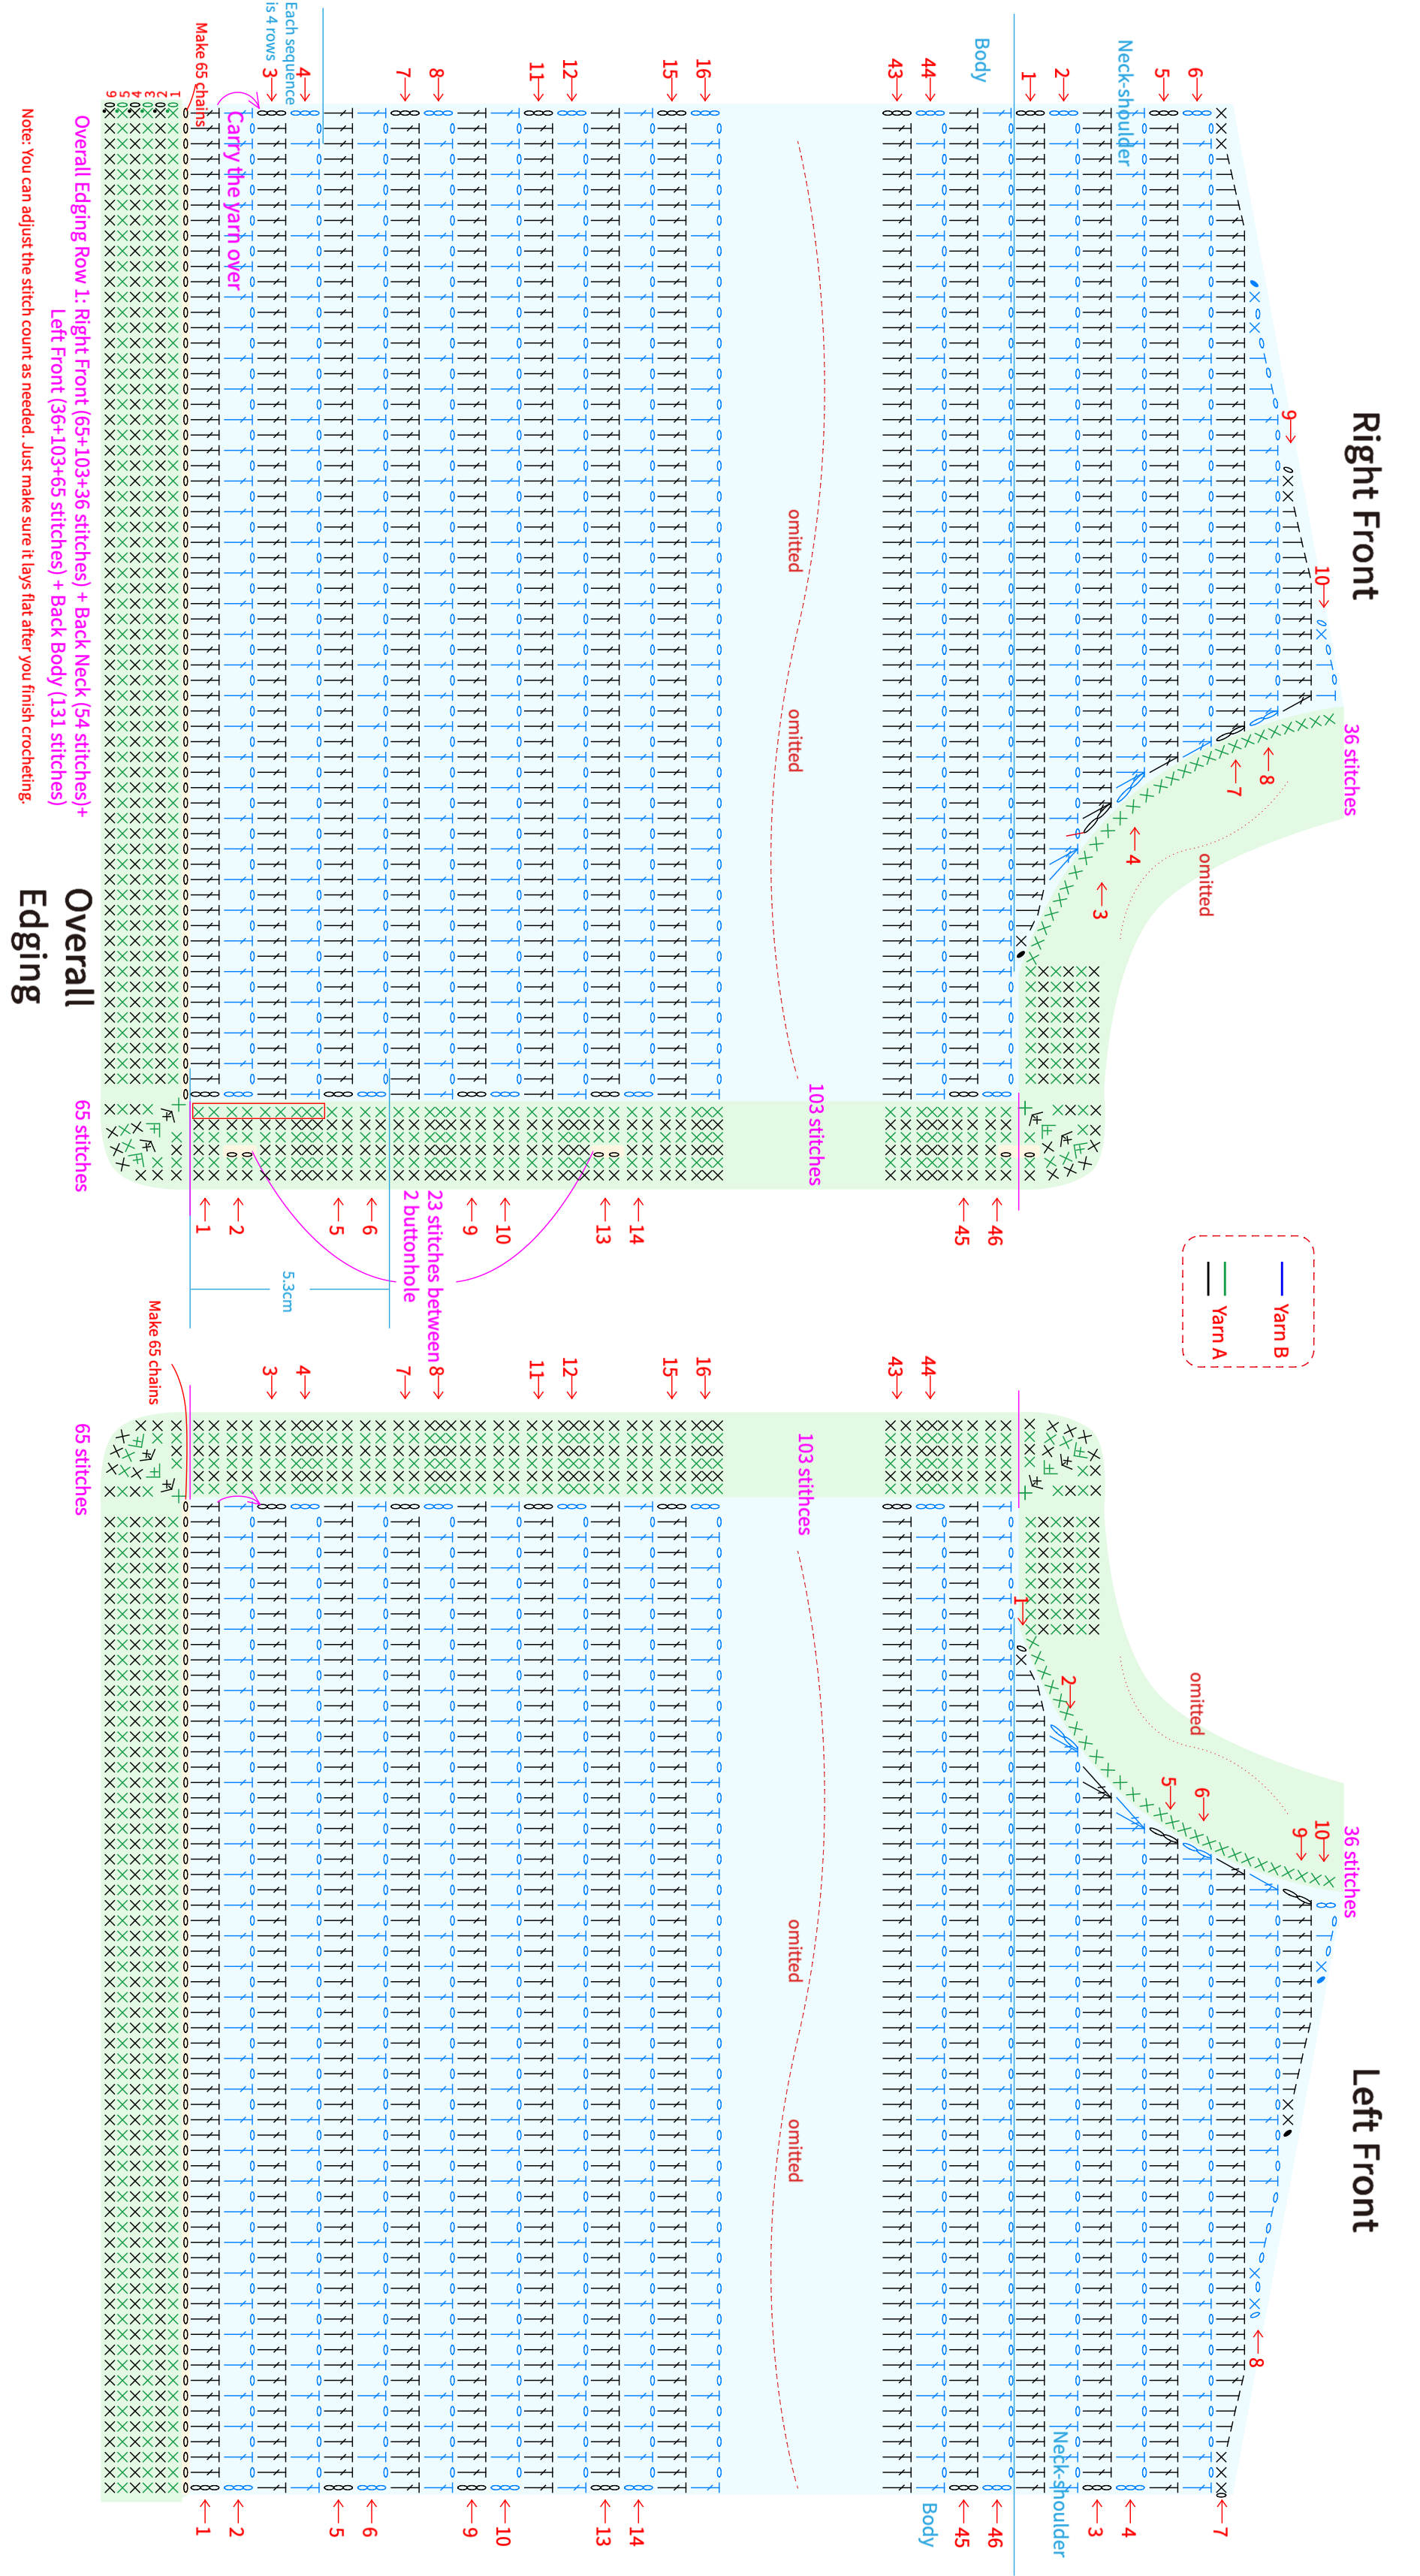
PART1 Right FrontA 03' 41''
The right front is divided into two parts: the body and the neck-shoulder section. Work back and forth with chain stitches, making sure to change yarn at the end of every row and switch direction every 2 rows. When joining new yarn, use the carried yarn technique to minimize ends. For details, please refer to the video demonstration.
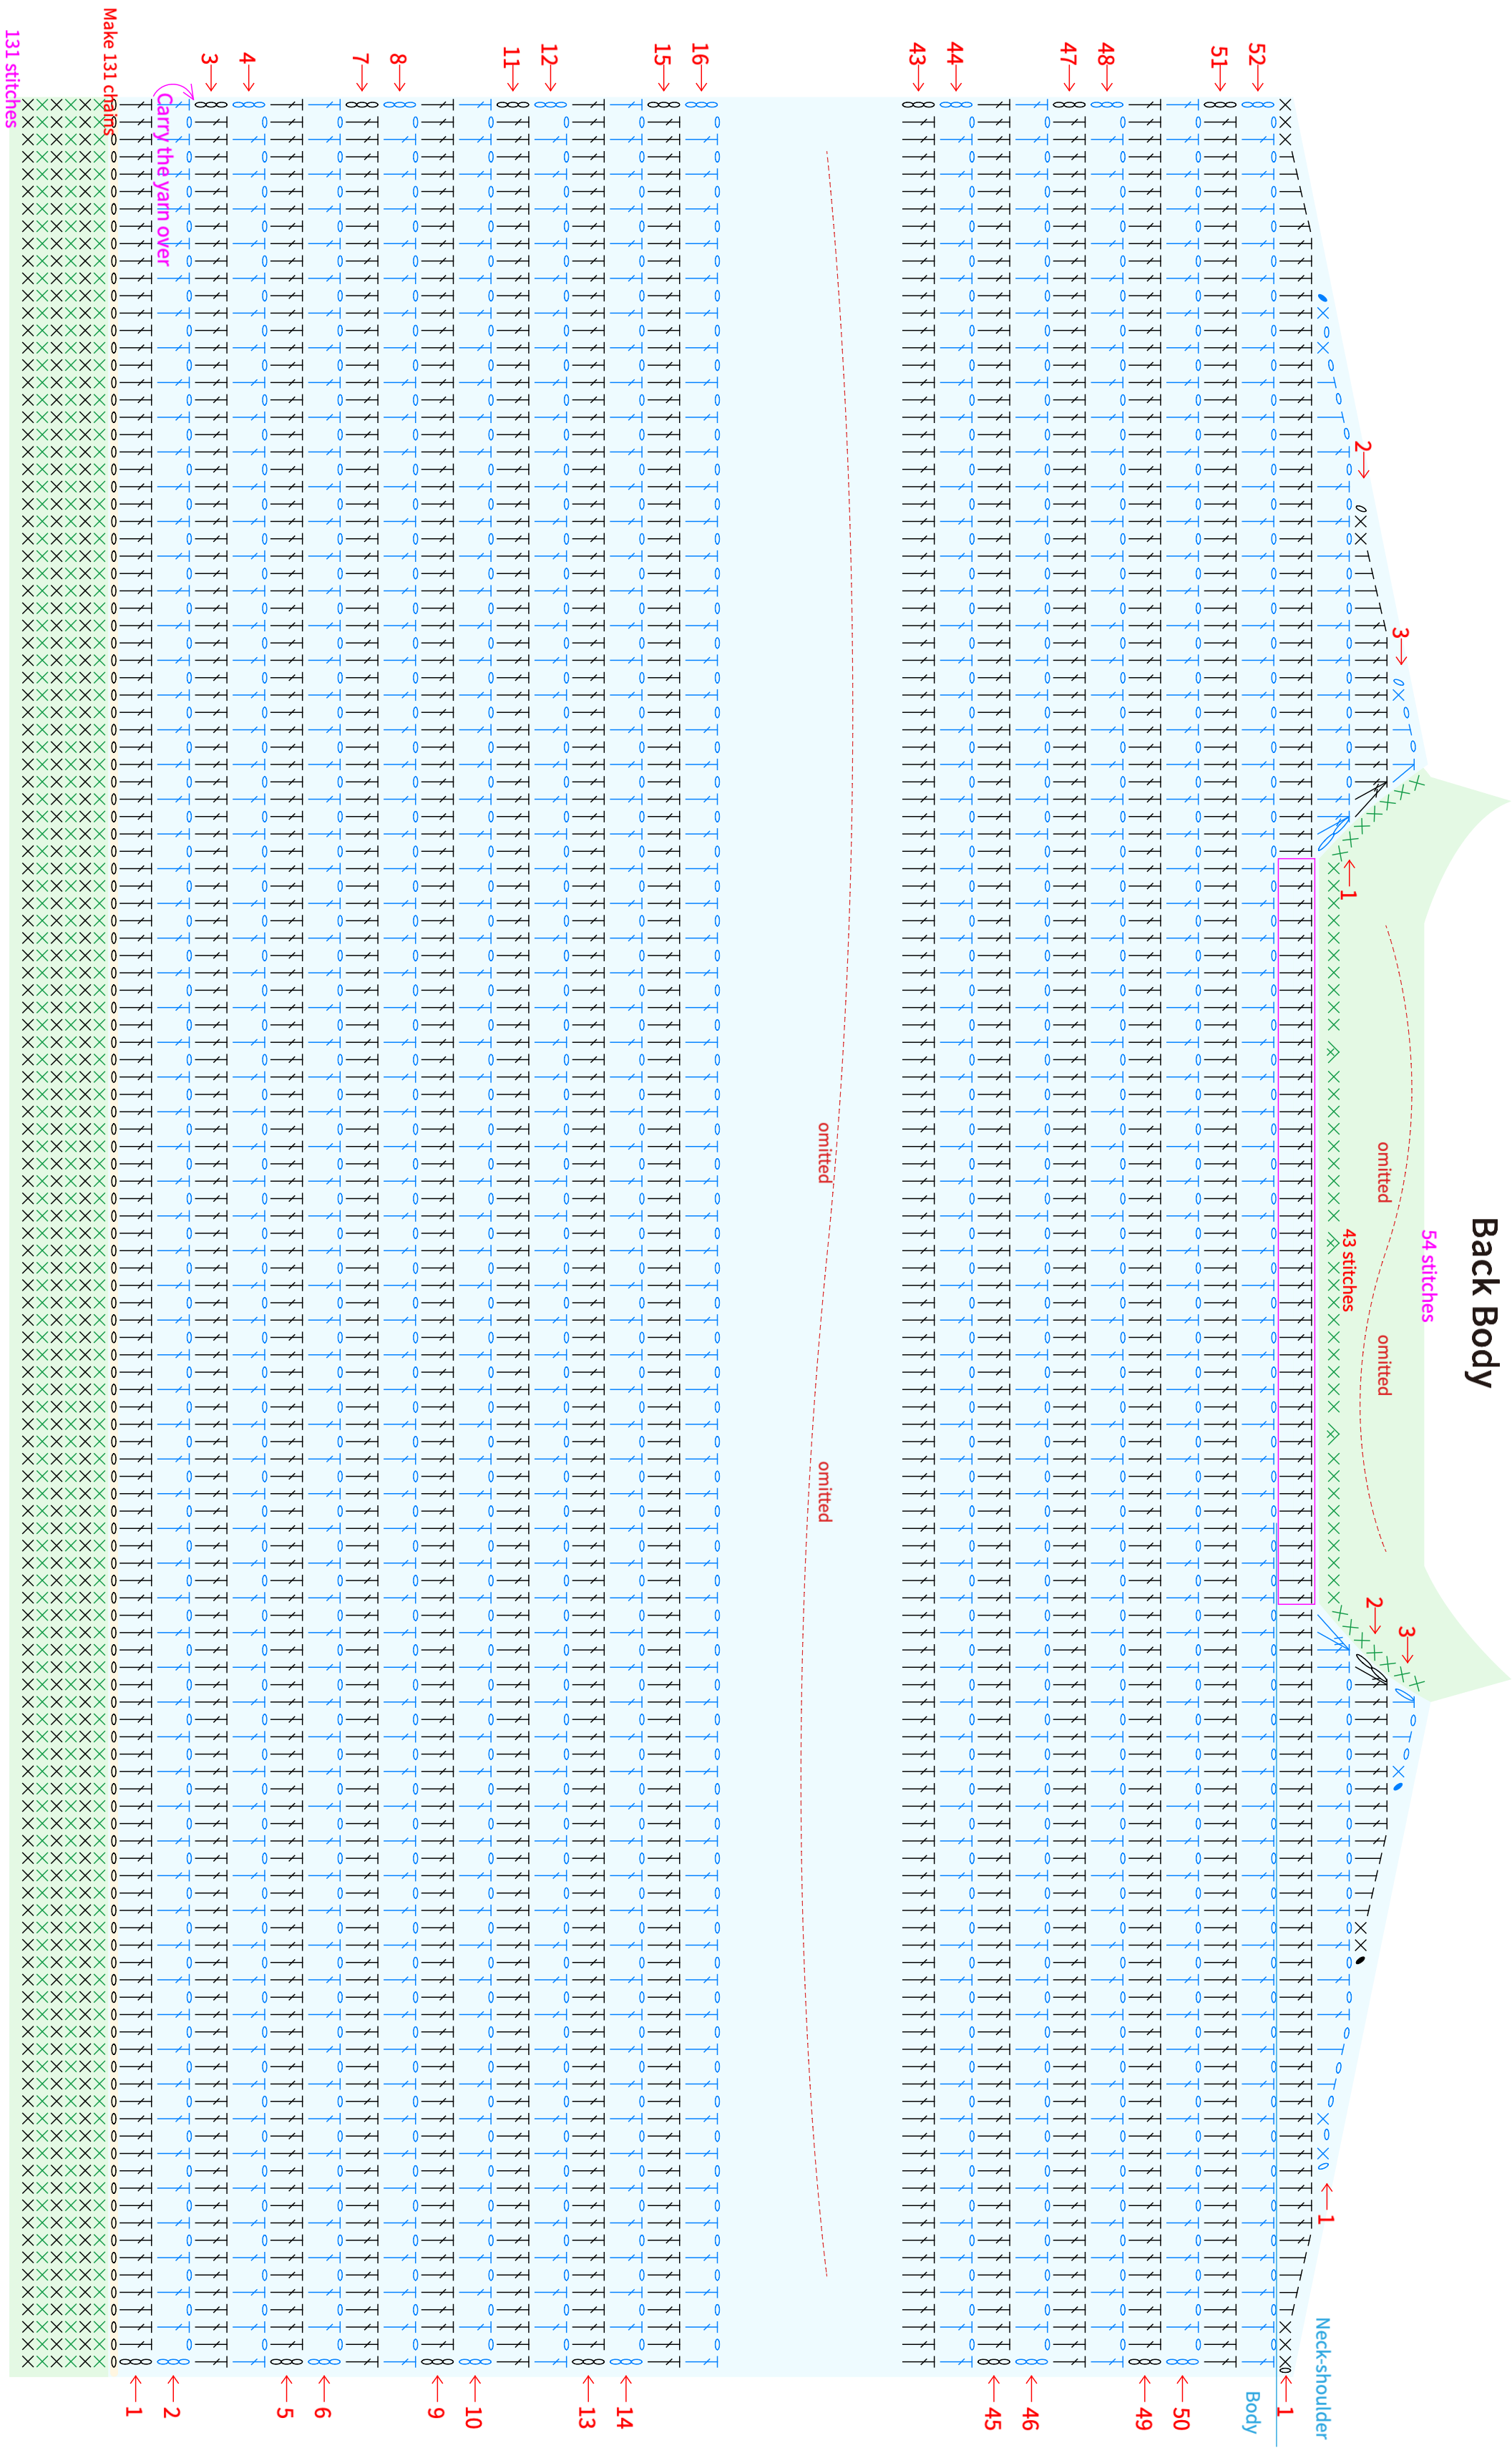
PART2 Left Front, Back BodyB 27' 30''
The left front is divided into the body and neck-shoulder sections. The back body is similarly divided into the body and neck-shoulder sections, with the back neck-shoulder further split into Row 1 and left/right neck-shoulder parts. The crochet technique is similar to the right front, using chain stitches to start and working back and forth. Once all pieces are completed, align the wrong sides of the left front, right front, and back body, then join the shoulders using alternating slip stitches and chain stitches. For details, please refer to the video demonstration.
PART3 Sleeves ×2C 34' 36''
The sleeves are started with a chain stitch and worked back and forth. Remember to increase stitches on both sides. Once all the sleeves are completed, align them with the wrong sides together and join the sleeves using alternating slip stitches and chain stitches. First, join the sleeve sides, then align with the front and back pieces to join the armhole areas, and finally join the remaining side seams of the body. For details, please refer to the video demonstration.
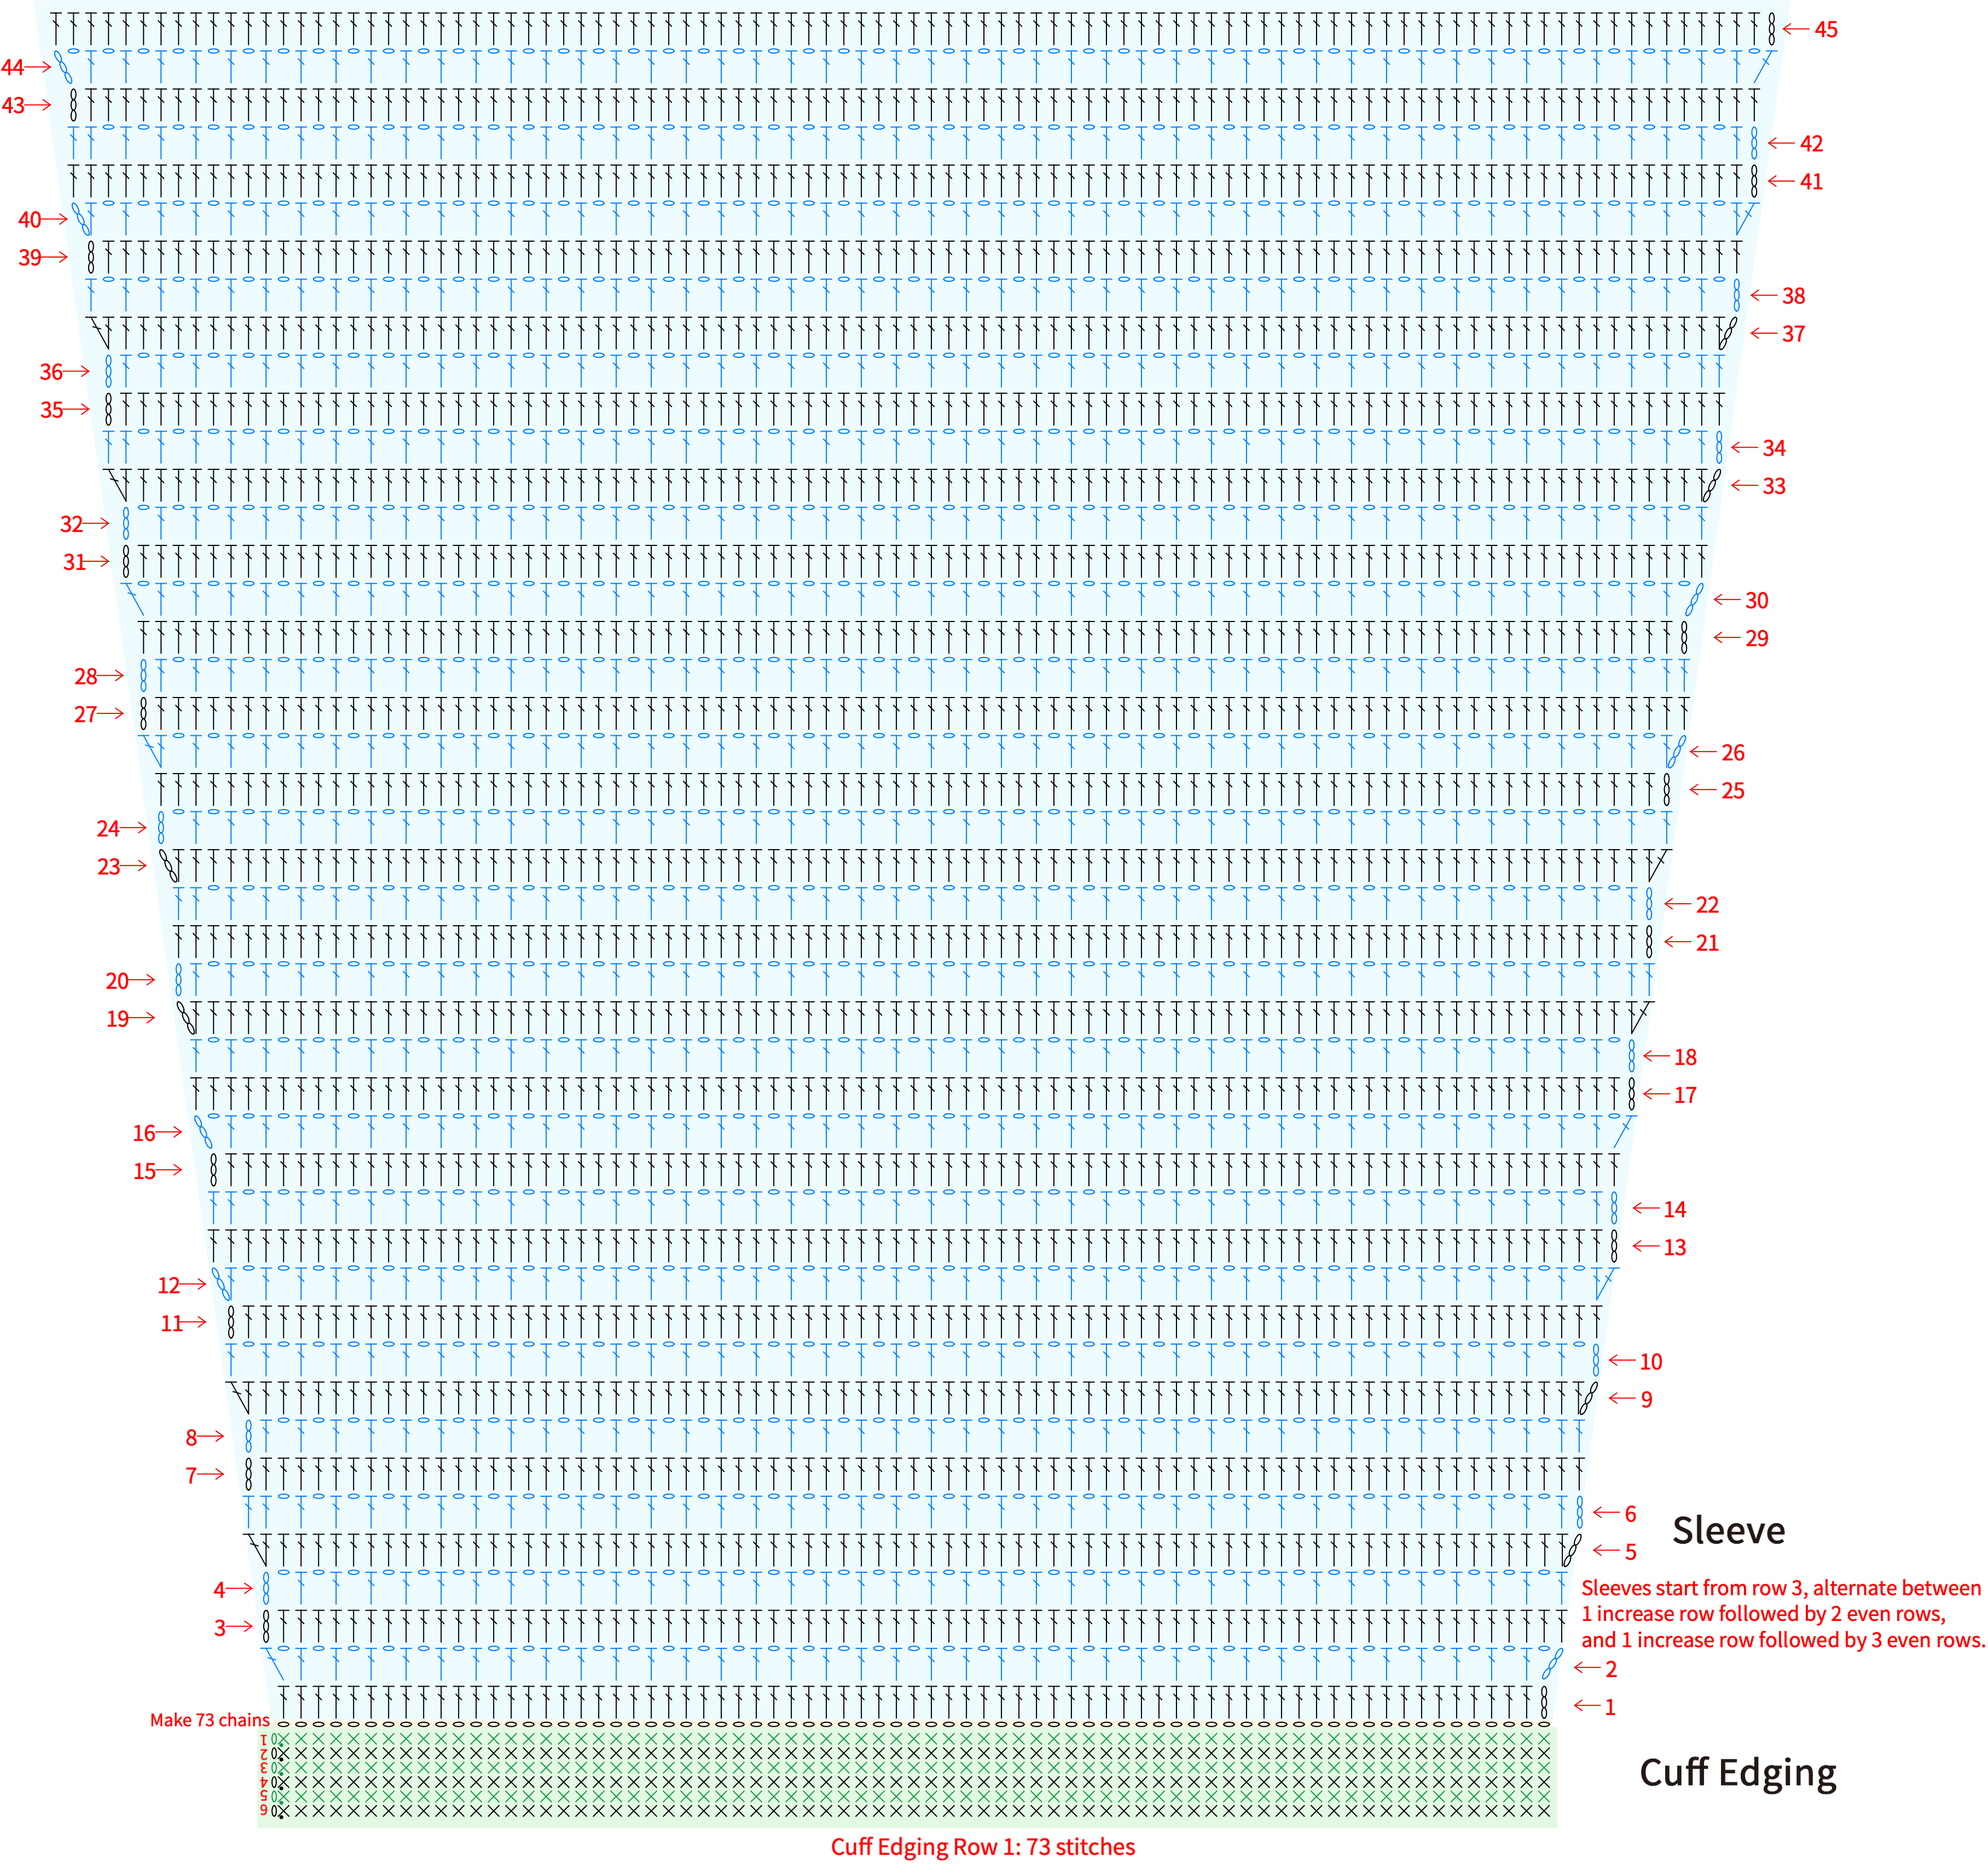
PART4 Cuffs EdgingD 42' 00''
The edging on the cuffs is worked counterclockwise around the starting edge of the sleeves, as shown in the sleeve diagram. For details, please refer to the video demonstration.
PART5 Crochet the Edging and ButtonsE 45' 31''
The overall edging is crocheted counterclockwise around the edges of the left front, right front, and back body after assembly, as shown in the diagrams for the left front, right front, and back body. Once all edging is completed, align the edging sections and sew the buttons onto the 3rd round corresponding to the buttonholes using the edging yarn. Please refer to the video demonstration for details.
Made by the community