Home / Mat
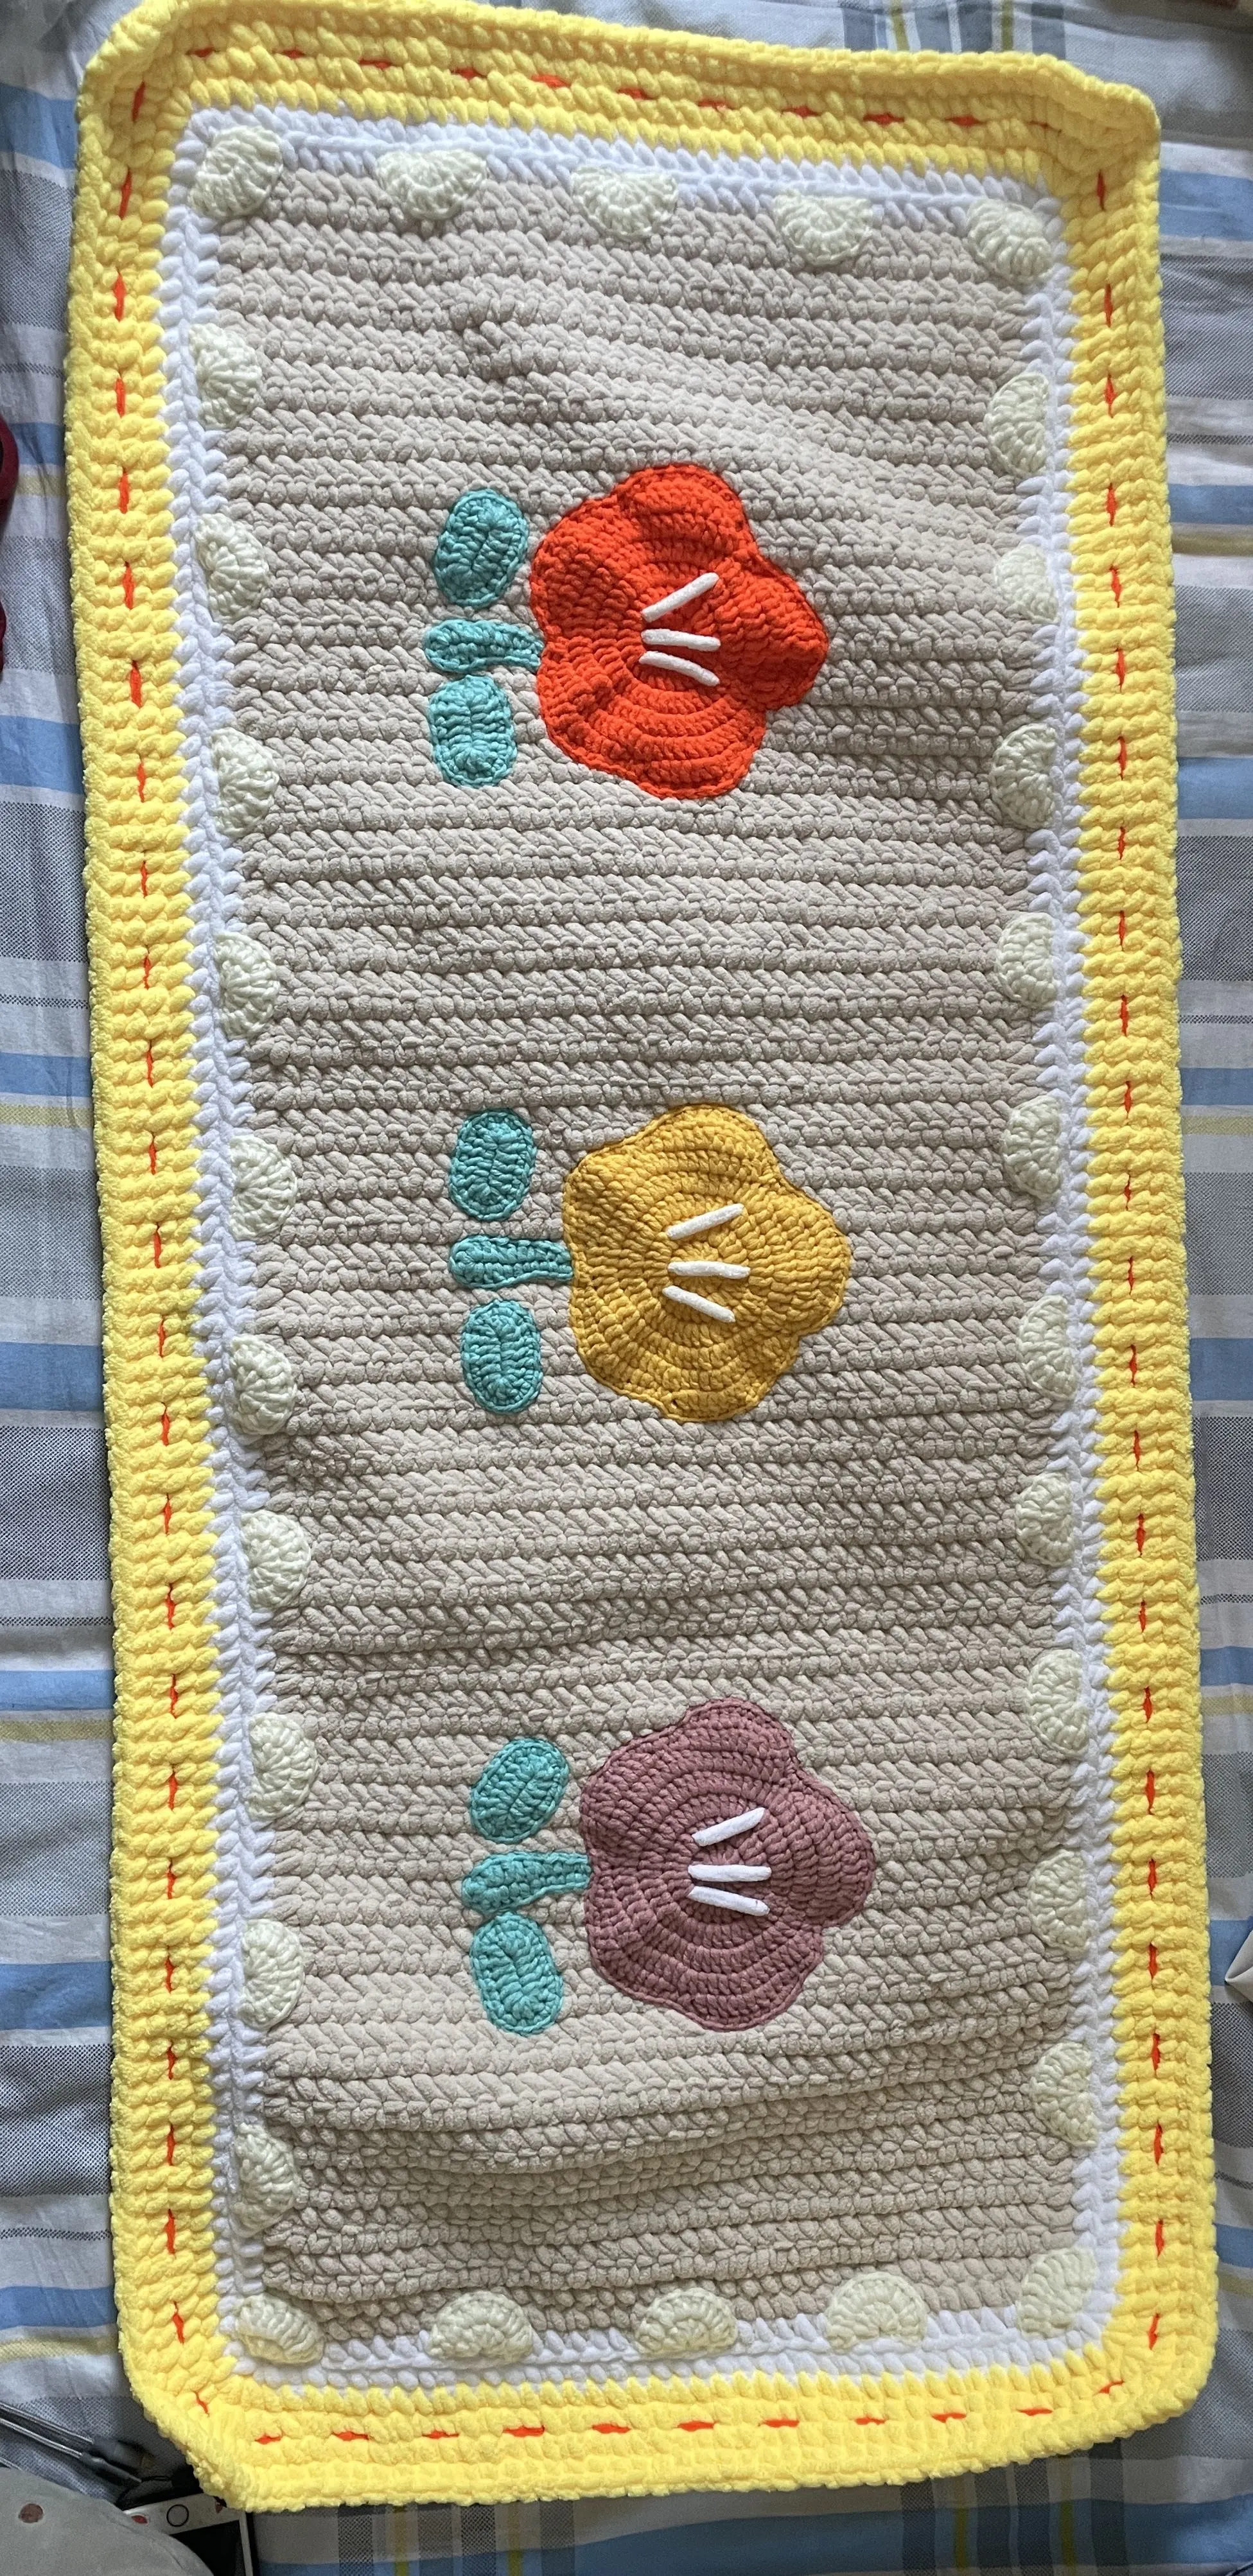
Sweet Blossom
Project preview
See the finished project
Pattern format
Instructions
| Style | Yarn | Color |
|---|---|---|
| Purple Taro Cream [Cushion Style & Bay Window Pad Style] | Handcrafted No.2 Knit Thread |  01#Whisper White  07#Fair Green  34#Gossamer Pink |
| CloudPlus |  12#Whisper White  13#Winsome Orchid  18#Baby Blue | |
| Cheese Cream [Cushion Style & Bay Window Pad Style] | Handcrafted No.2 Knit Thread | 01#Whisper White 19#Orangeade 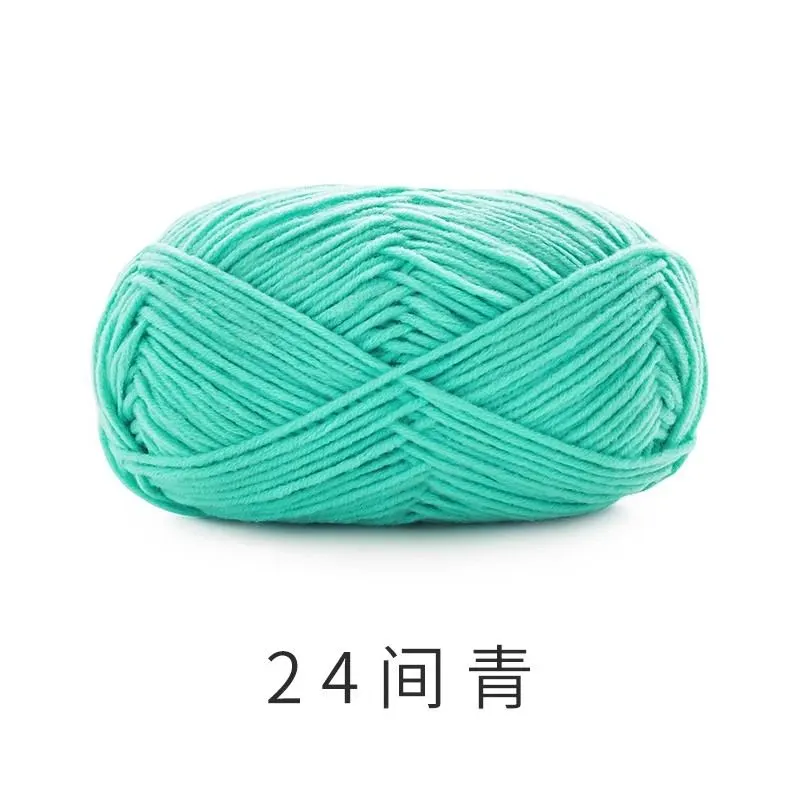 24#Aqua Green |
| CloudPlus |  04#Pastel Yellow12#Whisper White  19# Light Khaki |
Purple Taro Cream [Cushion Style & Bay Window Pad Style]
Cheese Cream [Cushion Style & Bay Window Pad Style]
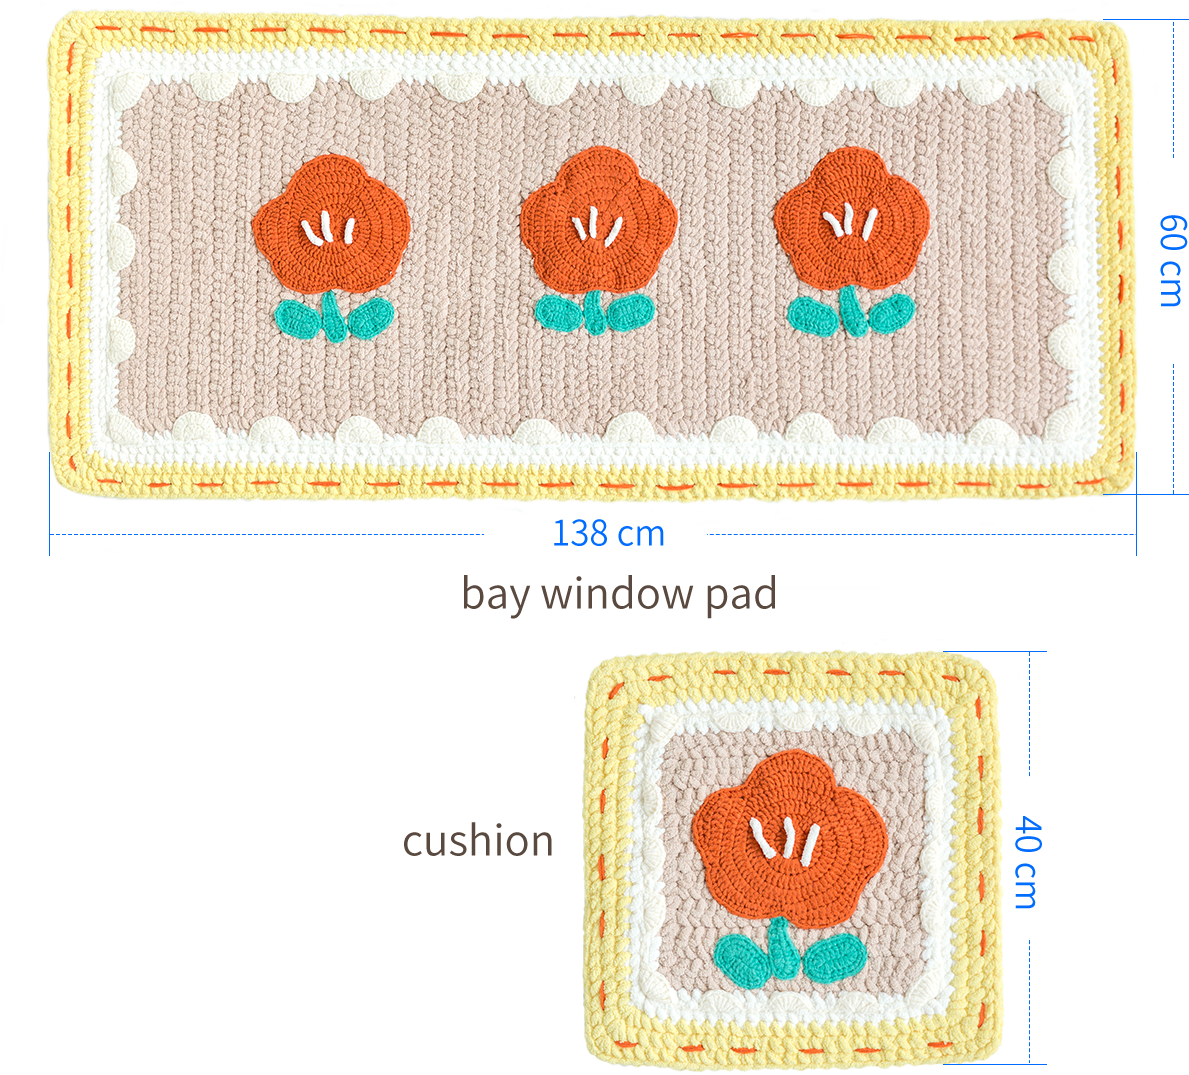
The handcrafted measurements may have an error of 1 to 2 cm.
Due to variations in individual tension, the size of the sample is for reference only.
Materials: Handcrafted No.2 Knit Thread & CloudPlus
Tools:5.80 & 6.00 mm crochet hook(CloudPlus)
3.50 & 3.60 mm crochet hook(Handcrafted No.2 Knit Thread)
ABBREVIATIONS
MRadjustable magic ring
Xsingle crochet
V = sc2-in-12 single crochets into the same stitch
W = sc3-in-13 single crochets into the same stitch
Thalf double crochet
TV = hdc2-in-12 half double crochets into the same stitch
Sslip stitch
Fdouble crochet
FV = dc2-in-12 double crochets into the same stitch
Etreble crochet
EV = tr2-in-12 treble crochets into the same stitch
turnturn the piece
Dao4start in 4th CH from the hook
BLOback loop only
Dao2start in 2nd CH from the hook
Note:
1.Working in joined round
When crocheting in rounds without further guidance, working in closed rounds, start each round with a set number of beginning chains and close with a slip stitch. The beginning chain preceding a single crochet and the slip stitch used for joining rounds are not included in the total stitches.
2.The stitches in [ ] brackets indicate crocheting into the same position.

Part 1 Main Part
The crochet methods for the two main parts are identical, only the stitch counts differ. Both are divided into Section 1 and Section 2.
Step 1 Section 1
Section 1 will start with a foundation chain, and then work back and forth along the row of starting chains, crocheting upward.
| Cushion Main Part, Section 1 (Yarn: CloudPlus) | ||||
| Round | Stitch Instructions | Total Sts | Cheese Cream | Purple Taro Cream |
| Cast on, R1 | 20CH, Dao2, 19X | 19 | 19# Light Khaki | 18#Baby Blue |
| R2—R16 | CH, turn, even 19X | 19 | ||
| Note: CH is the starting chain for single crochet, which does not count as a stitch; do not cut the yarn after completion. | ||||
| Bay Window Pad Main Part, Section 1 (Yarn: CloudPlus) | ||||
| Round | Stitch Instructions | Total Sts | Cheese Cream | Purple Taro Cream |
| Cast on, R1 | 34CH, Dao2, 33X | 33 | 19# Light Khaki | 18#Baby Blue |
| R2—R88 | CH, turn, even 33X | 33 | ||
| Note: CH is the starting chain for single crochet, which does not count as a stitch; do not cut the yarn after completion. | ||||
Step 2 Section 2
Section 2 is crocheted counterclockwise around the completed Section 1, with color changes during the process.
| Cushion Main Part, Section 2 (Yarn: CloudPlus) | ||||
| Round | Stitch Instructions | Total Sts | Cheese Cream | Purple Taro Cream |
| R1 | CH, turn, V, 17X, W, 15X, W, 17X, W, 15X, X | 76 | 19# Light Khaki | 18#Baby Blue |
| R2 | V, 19X, W, 17X, W, 19X, W, 17X, X | 84 | 12#Whisper White | 12#Whisper White |
| R3 | (BLO) V, 21X, W, 19X, W, 21X, W, 19X, X | 92 | ||
| R4 | V, 23X, W, 21X, W, 23X, W, 21X, X | 100 | 04#Pastel Yellow | 13#Winsome Orchid |
| R5 | V, 25X, W, 23X, W, 25X, W, 23X, X | 108 | ||
| R6 | V, 27X, W, 25X, W, 27X, W, 25X, X | 116 | ||
| Note: Each round begins with a CH standing stitch and ends with a slip stitch connection. | ||||
| Bay Window Pad Main Part, Section 2 (Yarn: CloudPlus) | ||||
| Round | Stitch Instructions | Total Sts | Cheese Cream | Purple Taro Cream |
| R1 | CH, turn, V, 31X, W, 87X, W, 31X, W, 87X, X | 248 | 19# Light Khaki | 18#Baby Blue |
| R2 | V, 33X, W, 89X, W, 33X, W, 89X, X | 256 | 12#Whisper White | 12#Whisper White |
| R3 | (BLO) V, 35X, W, 91X, W, 35X, W, 91X, X | 264 | ||
| R4 | V, 37X, W, 93X, W, 37X, W, 93X, X | 272 | ||
| R5 | V, 39X, W, 95X, W, 39X, W, 95X, X | 280 | 04#Pastel Yellow | 13#Winsome Orchid |
| R6 | V, 41X, W, 97X, W, 41X, W, 97X, X | 288 | ||
| R7 | V, 43X, W, 99X, W, 43X, W, 99X, X | 296 | ||
| Note: Each round begins with a CH standing stitch and ends with a slip stitch connection. | ||||
Part 2 Decorations
The decorations of both styles include lines, lace trim, flowers, stems, leaves, and anti-slip fabric. The lace trims of the two styles are different, while the rest of the parts are identical.
Step 1 Thread
The thread is whip-stitched around Section 2.
Purple Taro Cream [Cushion Style & Bay Window Pad Style]: CloudPlus(12#Whisper White) 1 needle
Cheese Cream [Cushion Style & Bay Window Pad Style]:Handcrafted No.2 Knit Thread(19#Orangeade)2 needle
Step 2 Bay window pad style lace trim
First, crochet the pieces separately, then sew the completed pieces onto the main body.
| Fabric Piece 1 (Yarn: Handcrafted No.2 Knit Thread) 4 pieces | ||||
| Round | Stitch Instructions | Total Sts | Cheese Cream | Purple Taro Cream |
| Cast on, R1 | 4CH, Dao2, 5F | / | 01#Whisper White | 01#Whisper White |
| R2 | [4CH, E], 5EV | 12 | ||
| Note: The 4CH in R2 counts as one treble crochet stitch. | ||||
| Fabric Piece 2 (Yarn: Handcrafted No.2 Knit Thread) 26 pieces | ||||
| Round | Stitch Instructions | Total Sts | Cheese Cream | Purple Taro Cream |
| Cast on, R1 | 4CH, Dao4, 7F | / | 01#Whisper White | 01#Whisper White |
| R2 | [3CH, F], 7FV | 16 | ||
| Note: The 3CH in R2 counts as one treble crochet stitch. | ||||
Step 3 Cushion style lace trim
| Cushion Style Lace Trim(Yarn: Handcrafted No.2 Knit Thread) | |||
| Round | Stitch Instructions | Cheese Cream | Purple Taro Cream |
| Cast on, R1 | In the main part, Section 2, Row 2, join the yarn at any corner position. {[8E], 3S, [8F], 3S, [8F], 3S, [8F], 3S}*4 |
01#Whisper White | 01#Whisper White |
| Note: The number of slip stitches is not taken into account. | |||
Step 4 Flower
The flower consists of the pistil, petals, and stamens. The pistil is made using the magic ring method, crocheting in rounds counterclockwise along the magic ring. After completing the pistil, crochet the petals separately based on the pistil. Then crochet 1 round of edges along the petals. Finally, sew the stamens in the middle.
| Flower (Yarn: Handcrafted No.2 Knit Thread) Cushion Style *1, Bay Window Pad Style *3 | |||||
| Part | Round | Stitch Instructions | Total Sts | Cheese Cream | Purple Taro Cream |
| Flower Center | Cast on, R1 | MR, 3CH, 14F | 15 | 19#Orangeade | 34#Gossamer Pink |
| R2 | [3CH, F], 14FV | 30 | |||
| R3 | 3CH, FV, (F, FV) *14 | 45 | |||
| R4 | [3CH, F], 2F, (FV, 2F) *14 | 60 | |||
| Note: Do not break the yarn after completion. | |||||
| Petal 1 | R1 | 2CH, 2F, FV, 3F, FV, 3F, T, X | 15 | ||
| R2 | CH, 2X, T, TV, 3F, TV, 3T, 2X, S | 16 | |||
| Note: Break yarn after completing R1, don't cut the yarn after finishing R2. | |||||
| Petal 2 | R1 | 2CH, 3F, FV, 4F, FV, 4F, FV, 3F, T, TV, X, S | 26 | ||
| R2 | 2CH, T, 3F, FV, 3F, T, X, S, [S, 2CH], 5F, FV, T, 2X, S |
26 | |||
| R3 | CH, 3X, 3T, X, S | 8 | |||
| Note: Break the yarn after completing every row. | |||||
| Petal 3 | R1 | CH, X, TV, T, 3F, FV, 4F, FV, 4F, FV, 4F, FV, T | 28 | ||
| R2 | CH, 2X, 2T, F, FV, F, 3T, X, S, [S, 2CH], 3F, FV, 2F, 3T, X |
26 | |||
| Note: Break yarn after completing R1, don't cut the yarn after finishing R2. | |||||
| Edging | Work a round along the edge of the completed petals. | ||||
Step 5 Flower Stem,Leaf
| Flower Stem (Yarn: Handcrafted No.2 Knit Thread) Cushion Style *1, Bay Window Pad Style *3 | |||
| Round | Stitch Instructions | Cheese Cream | Purple Taro Cream |
| Cast on, R1 | 12CH, Dao2, 3X, 3T, 4F, [6F], 2F, 2T, 6X | 24#Aqua Green | 07#Fair Green |
| Leaf (Yarn: Handcrafted No.2 Knit Thread) Cushion Style *2, Bay Window Pad Style *6 | |||
| Round | Stitch Instructions | Cheese Cream | Purple Taro Cream |
| Cast on, R1 | 8CH, Dao2, [2F], 3F, [6F], 3F, [3F] | 24#Aqua Green | 07#Fair Green |
| R2 | 3V, 3X, 6V, 3X, 3V | ||
Step 6 Sew the flowers together
Sew the crocheted stems, leaves, and flowers onto the main piece. First, arrange them roughly on the main body to decide the positions, then sew them on. Use the same color yarn in the corresponding positions (take 4 strands out of it).
Step 7 Anti-slip Fabric
Sew the anti-slip fabric onto the wrong side of the main part (using sewing thread).
Made by the community